- Continue Shopping
- Your Cart is Empty
Summer Plum Wine

What You'll Need
Equipment
- large stainless steel bowl
- large jar or food grade bucket with airlock hole
- large stockpot
- airlock
- musting cap
- strainer or cheesecloth
- 1 gallon jug
- half-gallon jar
- long spoon
- bottling funnel
- measuring cups and spoons
- bottle filler
- 3' plastic tubing
- racking cane/auto siphon
- air tight bottles
Ingredients
for 1 gallon finished wine- 5 pounds plums
- 1 1/2 cups honey
- juice of 1 lemon
- 1/4 teaspoon active wine or champagne yeast
The final color of this wine depends on the variety of plum you use, but we’ve yet to see one that wasn’t beautiful, in shades of gold and orange and pink and red and purple. This is a great recipe for the loads of tiny wild plums that are too small and pesky to pit for jam or fresh eating, but it works equally well with the massive Elephant Hearts, Santa Rosas, or Red Beauties that are common in these parts. Drink some of it young, and some of it after it’s spent a couple months in a bottle; the flavor shifts and changes, getting clearer and drier, the older it gets.
Directions
Sterilize all equipment before using.
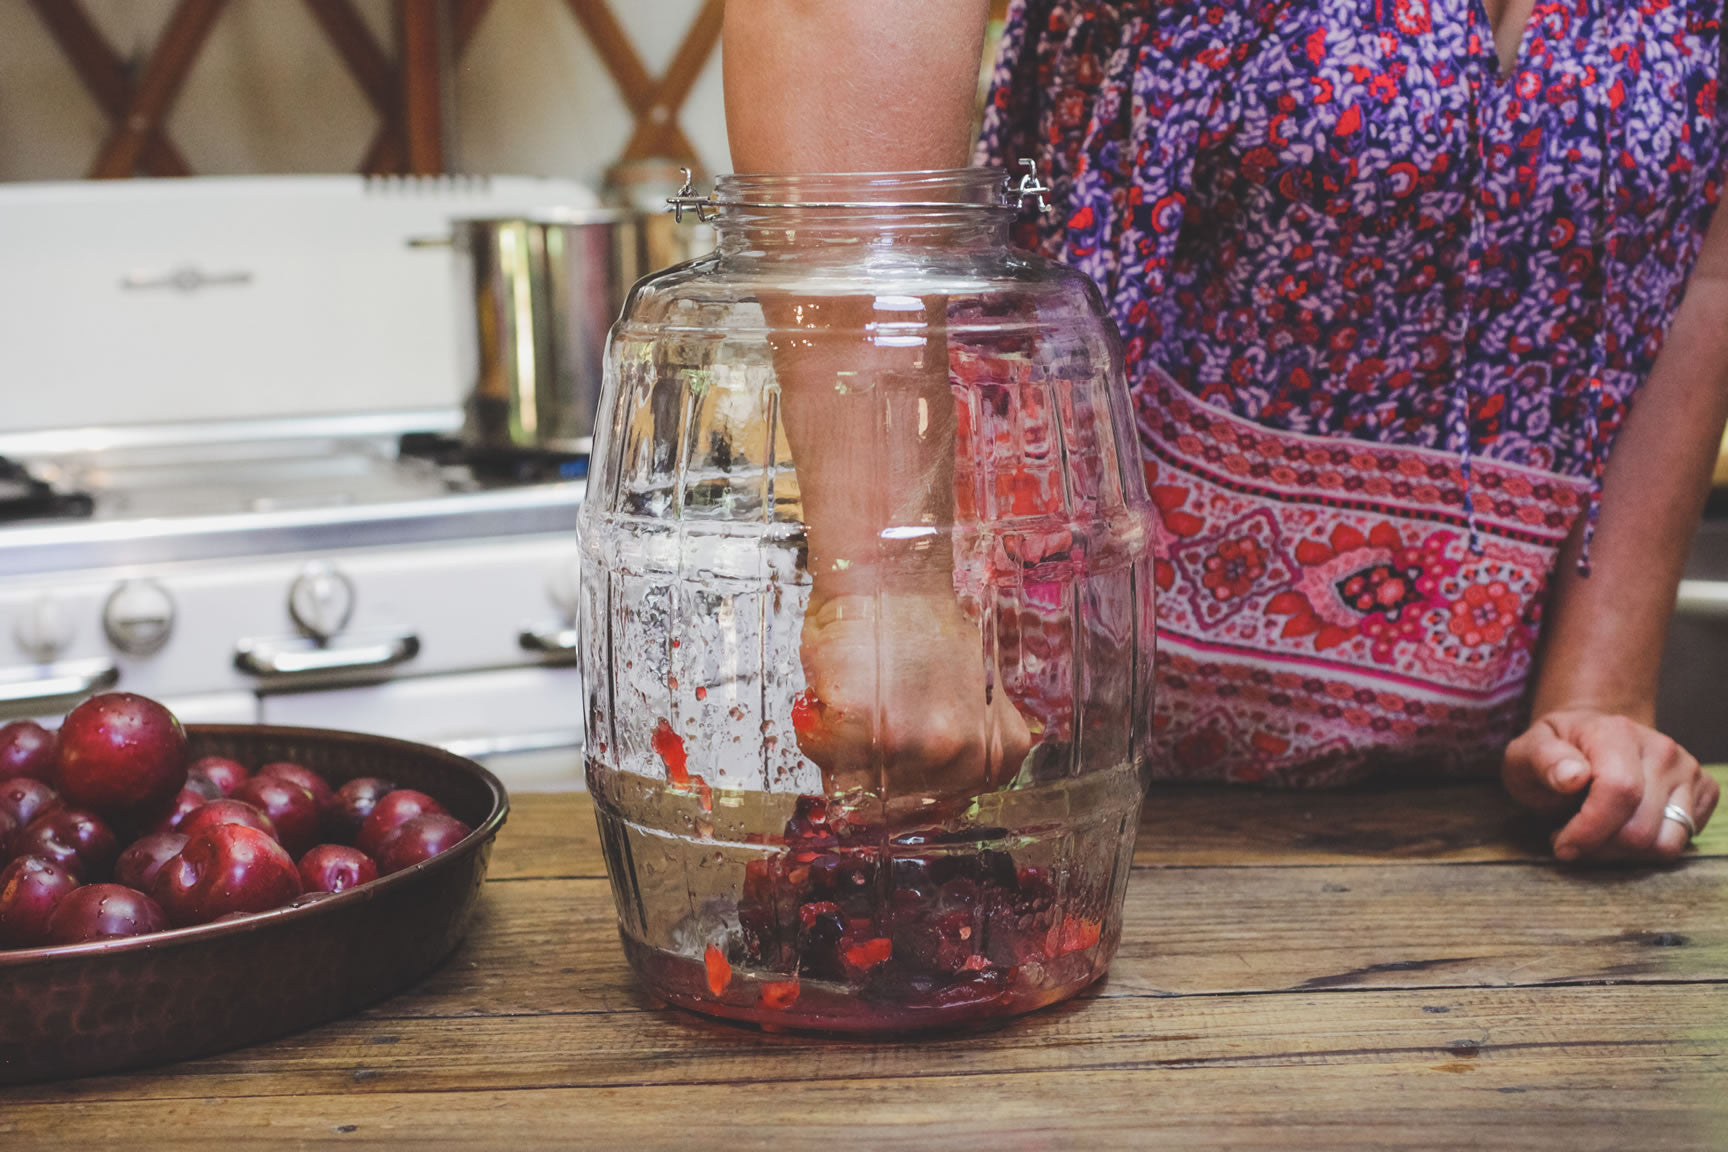
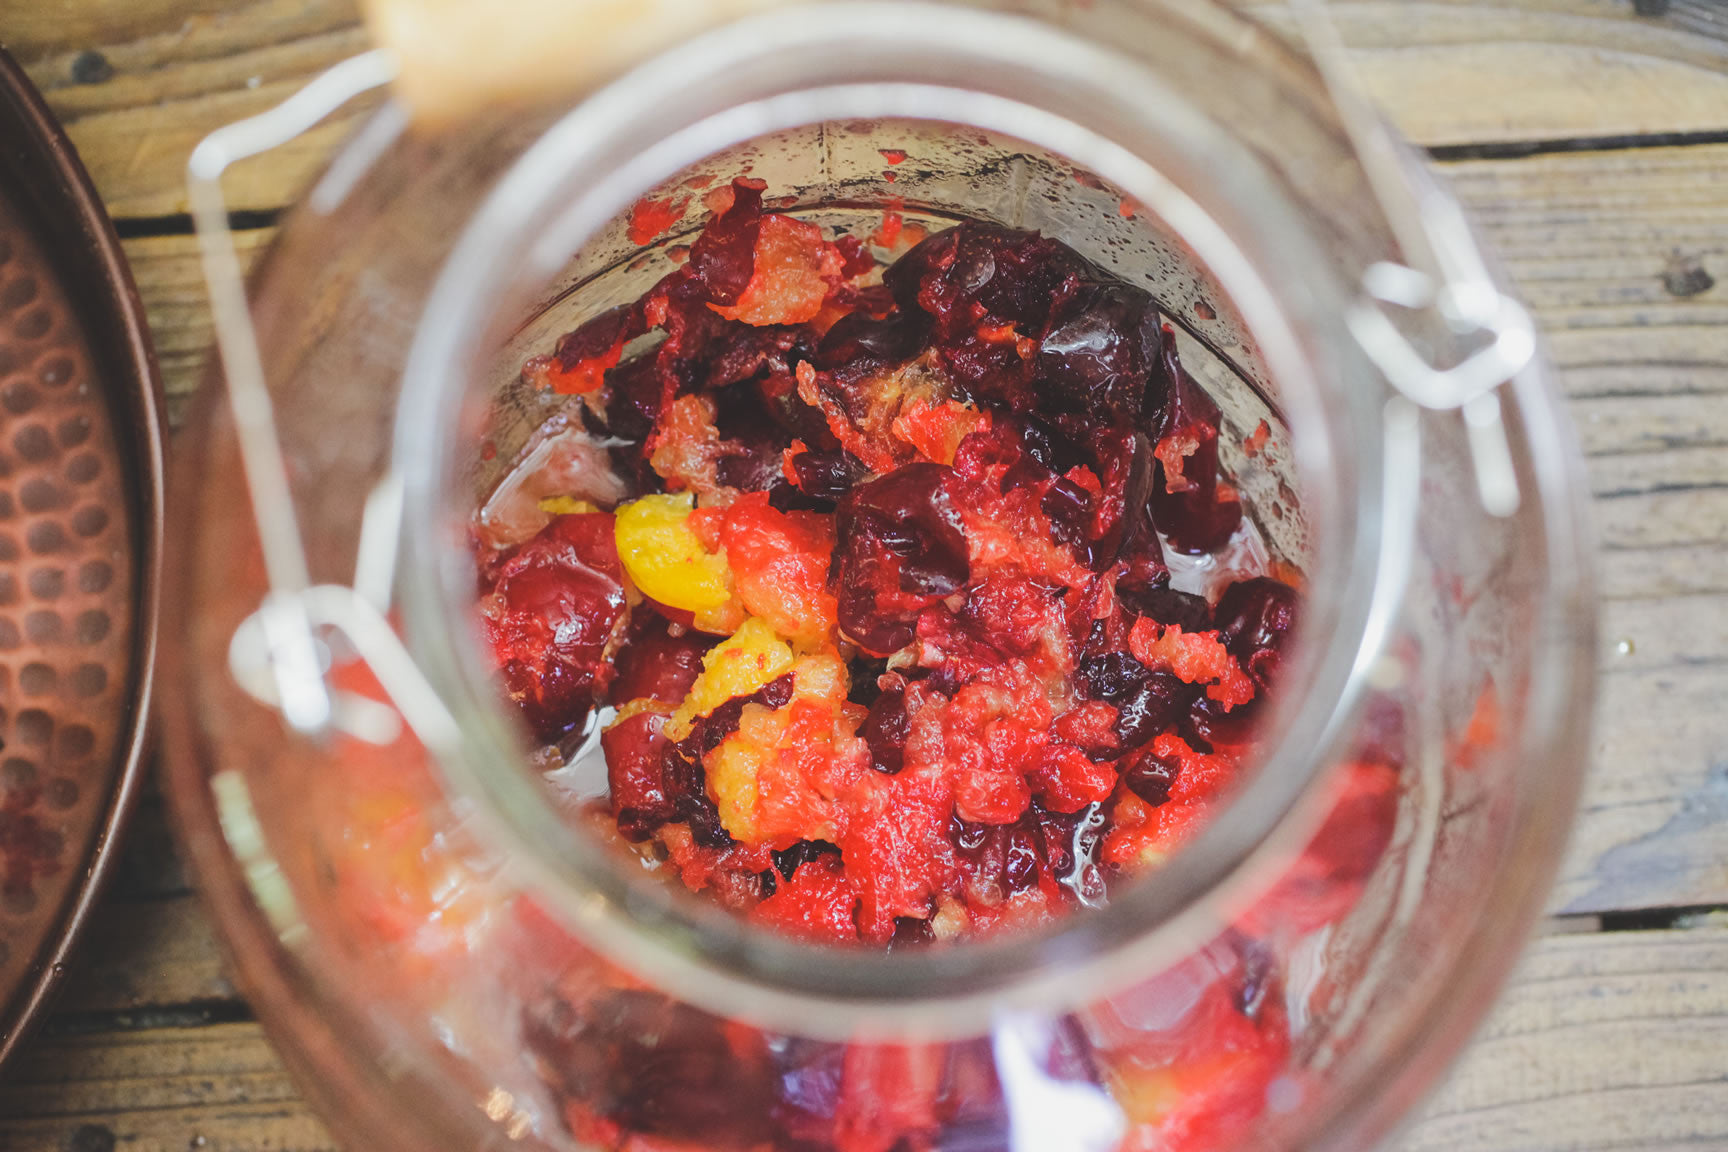
Wash the plums well, discarding any that are overly bruised or moldy. Using your hands, or a potato masher, smash the plums in a wide-mouthed fermentation vessel. This 2.5 gallon barrel jar works well, or a plastic fermentation bucket with an airlock. Leave the pits in at this stage.
Bring a gallon of water to a boil, and pour it over the crushed plums.
Secure an airlock on the top of the fermentation vessel, and allow it to ferment naturally, with no added yeasts, for 3 or 4 days, swirling or stirring it several times a day. Agitating the mixture at this stage prevents mold from growing the surface of the fruit as it floats. The flavor of the plum fruit and the almond flavor of the pits will infuse into the liquid.
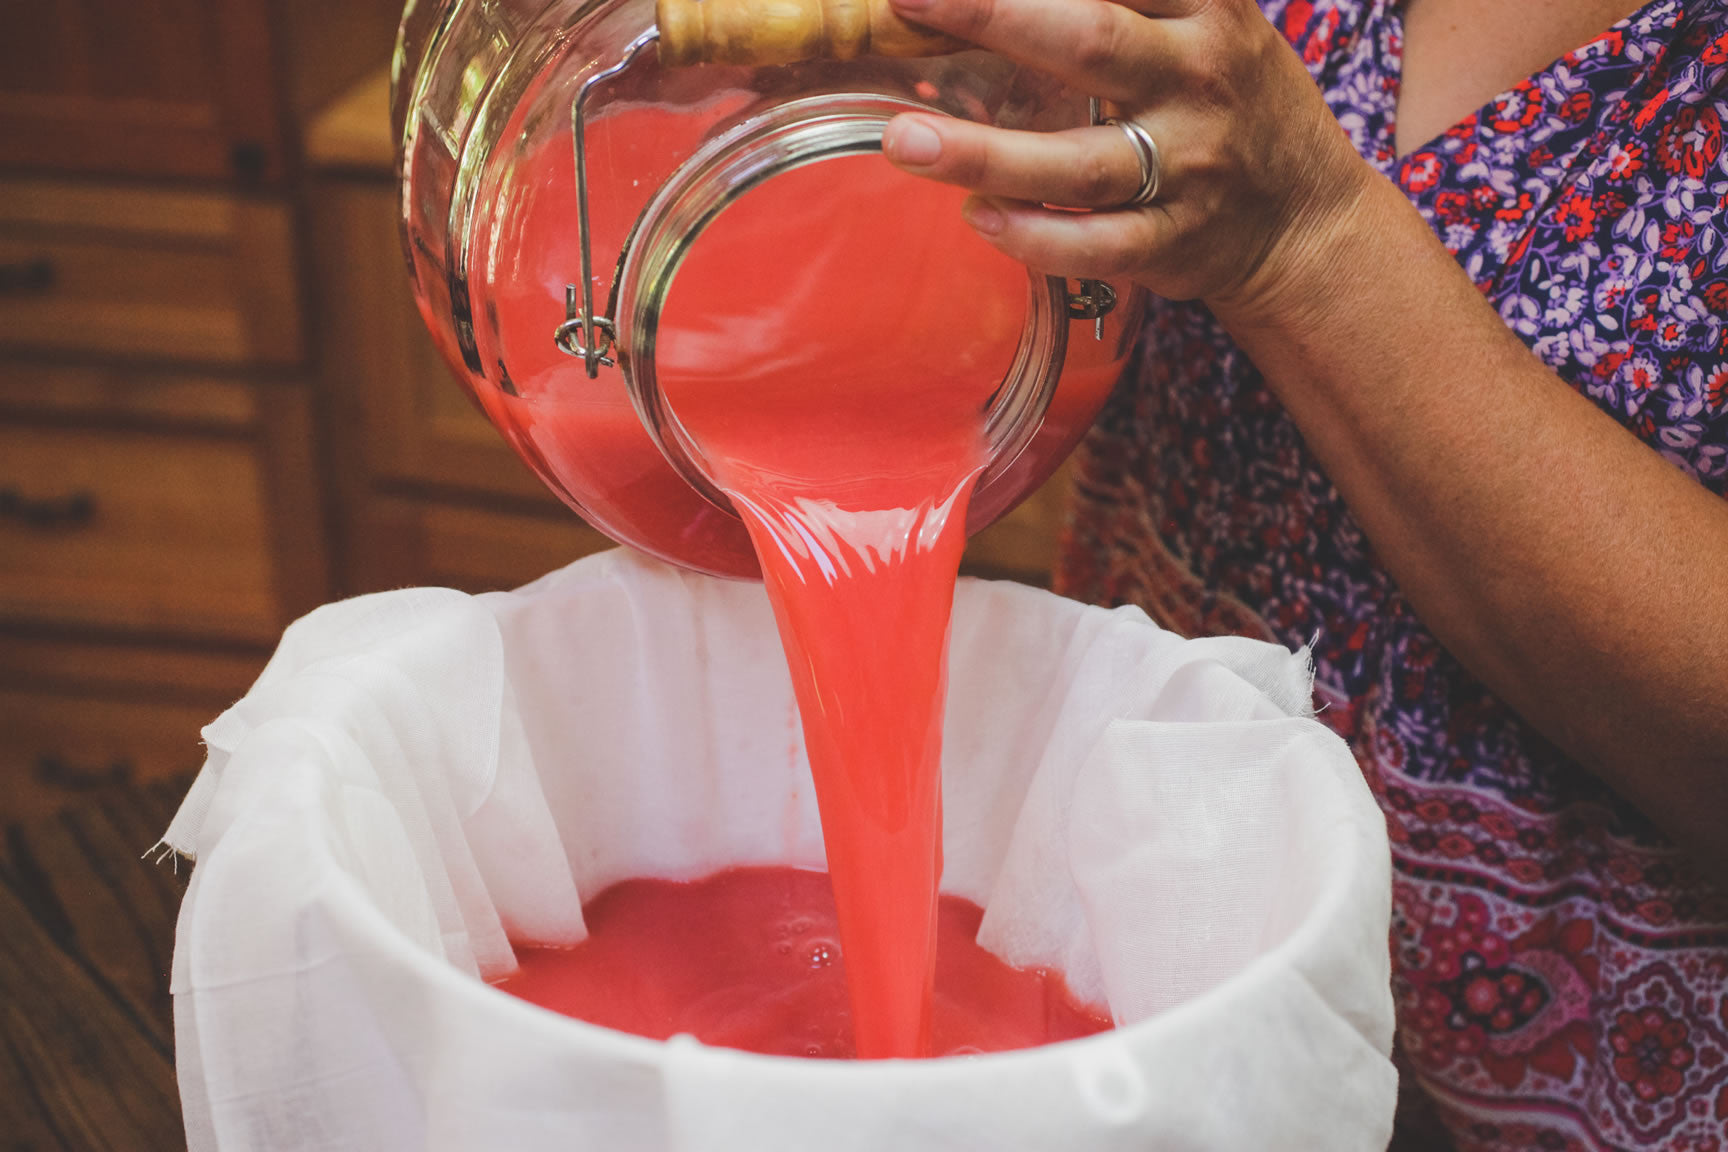
Strain out the plums and pits, so the wine flows into another clean, sanitized vessel.
 You will have about a gallon and a half of young wine. The mixture at this stage is wonderful, tart and sparkling, even without the added honey. I like to strain 1 gallon of it into a 1 gallon carboy, to continue fermenting and aging, and drink the other 1/2 gallon young.
 The young wine tastes like a fruity sour beer without honey, or it you can add honey to taste. However, you can also put the stray half-gallon into a Ball half gallon jar with the Perfect Pickler top, or into a half gallon carboy with musting cap and airlock, and continue fermenting after adding 3/4 cup honey and juice of half a lemon. Whatever vessel you use, the jar should be full within a few inches of the top; too much air in the fermentation vessel can lead to unwanted yeast and mold growth.
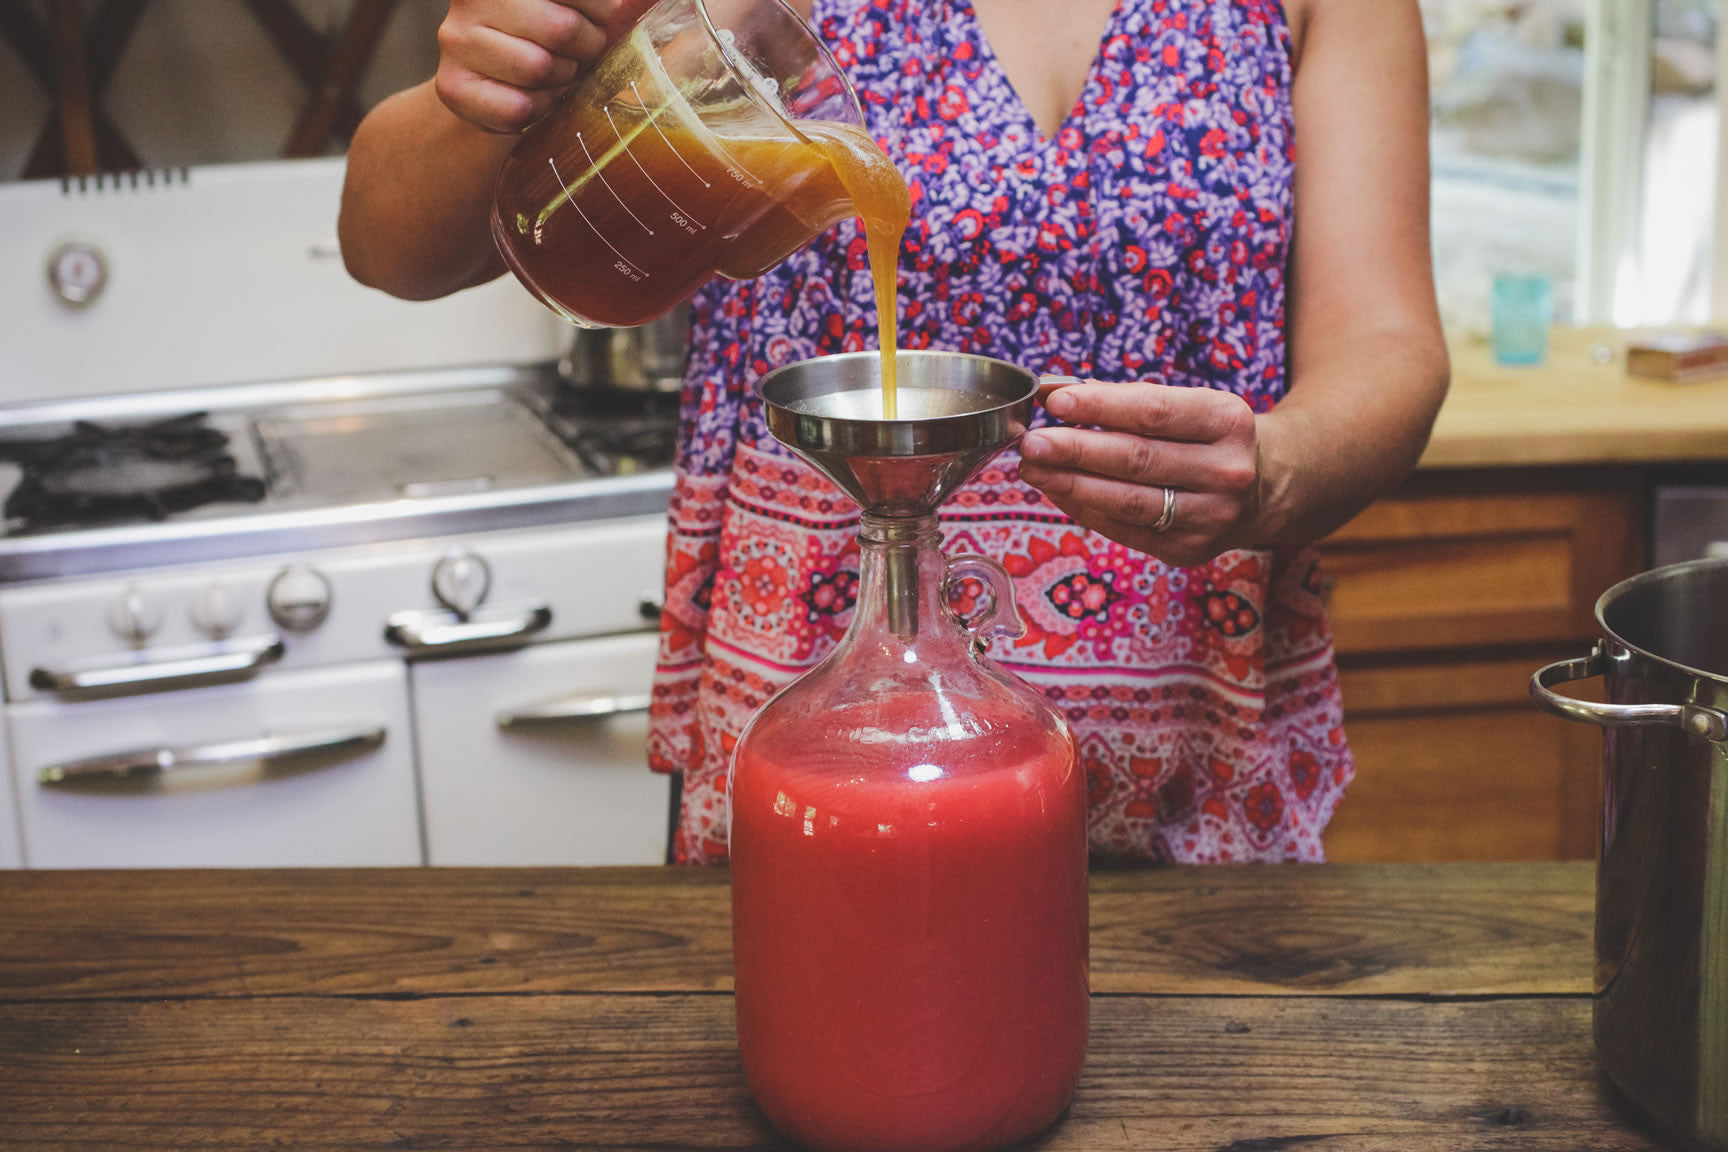
For each gallon of juice, add the juice of 1 lemon and 1 1/2 cups of honey. Stir well with a sanitized spoon to mix, or swirl and shake the carboy until the honey dissolves. The wine at this stage will be quite cloudy, but once left to sit for a few days, it clears up nicely. If you like, use a hydrometer to determine the alcohol potential of the beverage at this time.
Sprinkle 1/4 teaspoon of yeast per gallon over the top of the wine. Allow the yeast to float for a minute, then swirl or stir to mix it in.
Allow the wine to ferment at warm room temperature, out of direct sun, for at least 1 month. The wine will clear and sediment will collect at the bottom.
The wine can be drunk any time after 3 weeks, but should not be bottled until the month is out, to minimize the chance of trapping too much residual sugar in sealed bottles (which could lead to excess carbonation and/or exploding bottles.) Hydrometer readings at this stage, compared to the ones taken previously, can help you determine how much sugar has been digested by the yeasts.
When the wine has finished fermenting, air bubbles will no longer rise out of the airlock. Watch an airlock for several minutes to make sure the sugars have been digested before bottling. Using an Auto-Siphon or a racking cane, rack the wine off of the lees and into another sanitized carboy before bottling.
Bottle and store in a cool, dark place.
Over to You
It’s part of our mission here at Mountain Feed to help you make delicious, sustainable, homemade food more often. Stop by and say hello on Facebook, Twitter, Instagram or Pinterest. Or, as always, you can do it the old fashioned way and come by the store to speak with one of our in-house experts.
