- Continue Shopping
- Your Cart is Empty
Beyond Lemonade - When Life Gives You Lemons: Delicious Recipes & Tips

Lemon tree, very pretty
And the lemon flower is sweet
But the fruit of the poor lemon
Is impossible to eat...
We probably had this song on 8-track, by Peter Paul and Mary, (yep, I'm THAT old) but what I remember most is my mother singing this song when we were children. We'd groan and beg her to stop, in that way children have. A funny, trilling kind of song, catchy in it's way; I find myself humming it as I snip lemons off of the laden tree, even knowing full well as I do, just how many ways lemons can, in fact, be eaten

Lemons are among the most productive of fruit trees, and many of them can bear fruit for nearly half the year. Even as one flush of lemons is ripening on the tree, another is budding, the lovely and fragrant white flowers clustering like stars against the dark green leaves. One tree, even a few years old, can produce far more lemons than a family can readily use. That is, unless you make an effort to utilize all of the goodness this special, sour fruit has to offer.
How About Preserved Lemons?
If life has given you lemons, and salt as well, you simply must make preserved lemons. Ever since Jennifer McGruther featured a gorgeous photo of them on the cover of her book The Nourished Kitchen, I had wanted to try my hand at making them.
I put it off for far too long, unfamiliar as I am with the Moroccan-style of cuisine the recipe hails from. Finally my curiosity, combined with a surfeit of lemons, got the better of me, and I made a batch. I am so glad I did. Not only are they simply beautiful as they ferment on the counter, but they are delicious as well!
I find use for them much as one would use an olive. They are pungent, salty, and intensely flavorful, best fermented in larger pieces and then diced into smaller, bite sized pieces for use in dishes as varied from pasta, roast poultry, lentil stews, pizza... and more. Some of the sourness is lost, mellowed, or perhaps a better word is transformed, balanced by the saltiness and the pleasantly bitter rind. Use them anywhere you want a salty kick.
Although McGruther calls for them to be fermented for up to 8 weeks, I find that even after 3 or 4 days of lactic fermentation, the lemons are transformed, into something else entirely. Taste them periodically and decide for yourself when is the best time to eat them.
They become both less abruptly sour and less bitter, the longer they are fermented. While some recipes call for the addition of spices, such as cinnamon, mace, bay, rosemary, or clove, I find that I love these morsels best with just the pure notes of lemon and salt. Variations abound, however, so feel free to experiment!
The acidity and salinity of this ferment makes it one of the safest and most fail proof of all the lactic acid ferments. In fact, it may more properly be called a salt cure. Just be sure to keep the lemons beneath the brine.
Instructions for Preserved Lemons
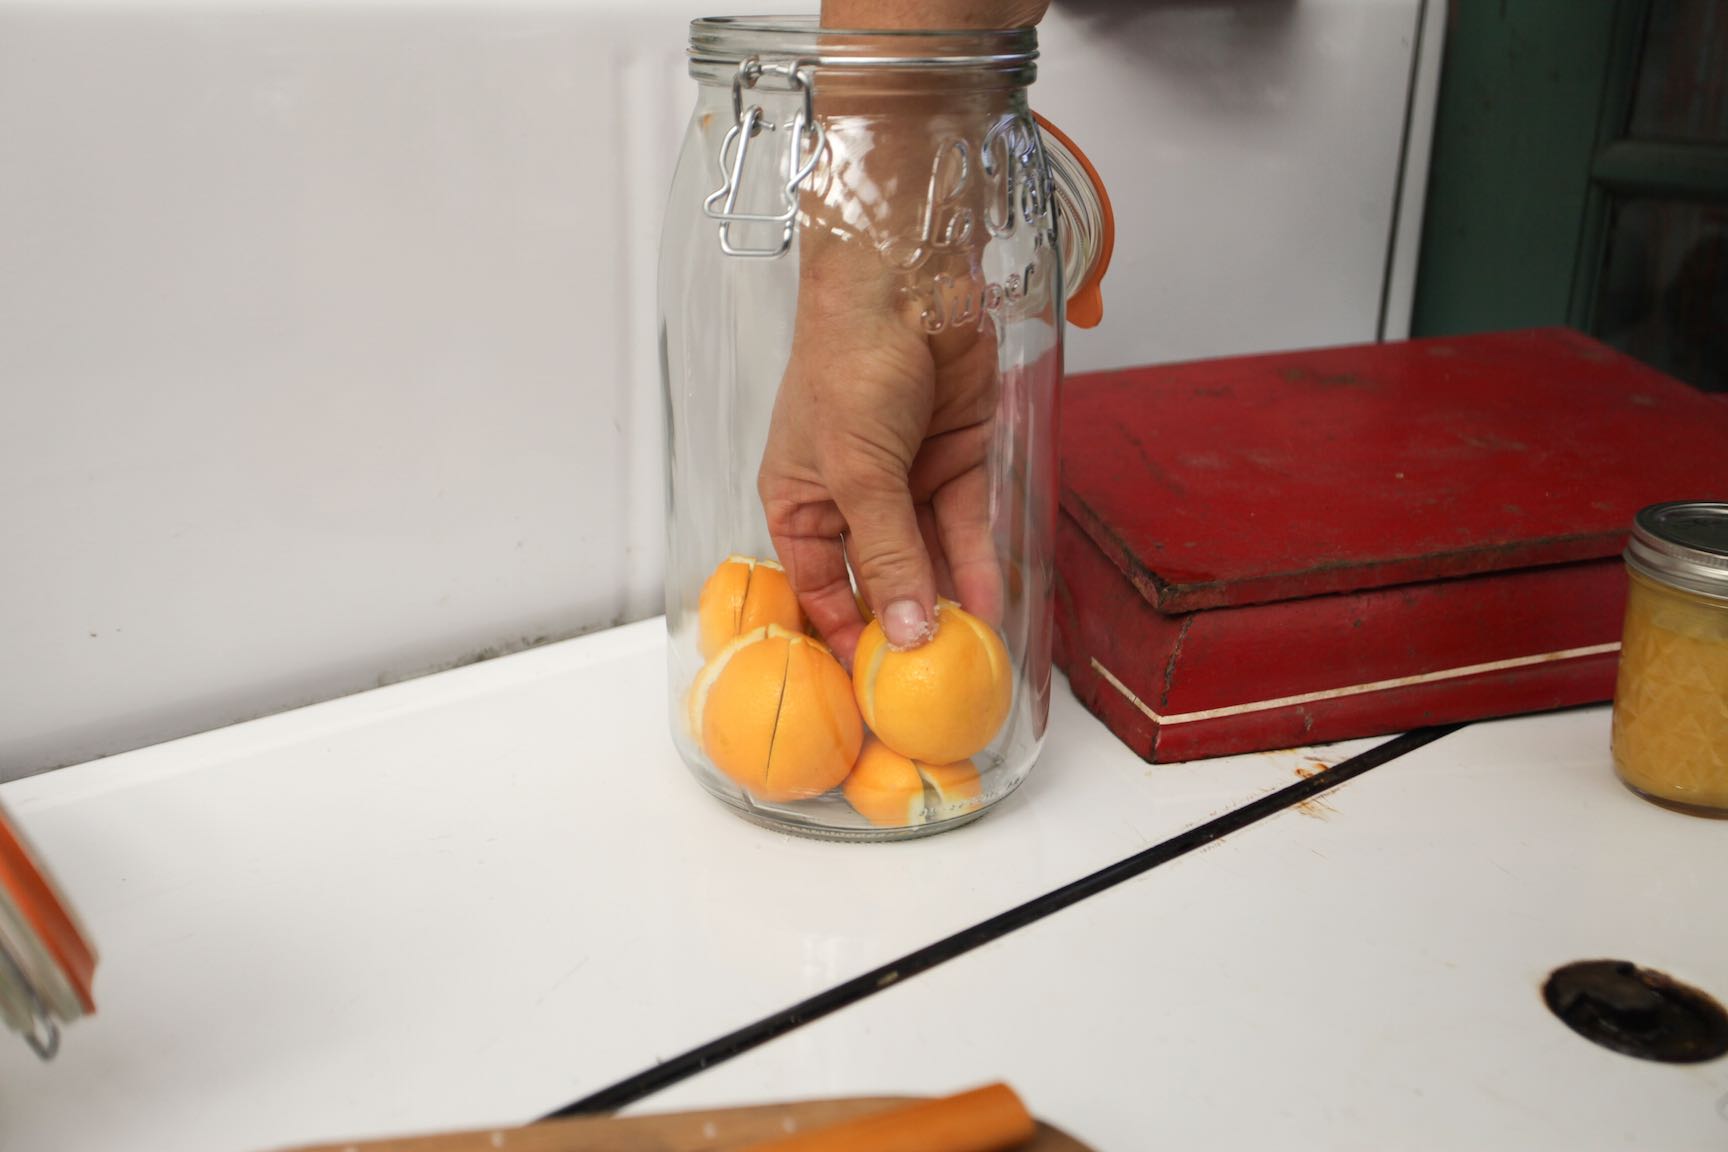
 Slice the blossom and stem end off of each yellow lemon. Then, nearly quarter each fruit; slice it lengthwise almost down to the bottom, but leave enough flesh so that the lemon now looks like a tulip flower, 4 citrus 'petals' joined at the base.

Hold this lemon 'flower' in your hand and sprinkle some salt into it. Recipes vary widely, from 1/8 tsp salt (McGruther) to 1 tsp salt, (Brooks Vinton) for each lemon. Personally, I use the nebulous "pinch". Whatever feels safe and delicious to you, is the best way to do it. In a recipe like this, which is composed mostly of salt and acid, there is far more leeway than with other ingredients, which for food safety reasons may require more strict adherence to a balance of sugar, salt, and acid. (See lemon curd recipe below.)

Place each lemon into a pickling crock or mason jar, the bottom of each lemon "tulip" resting in the open top of another. Periodically tamp the layers down, so that they fit tightly together, using a wooden muddler to release the juices from each layer as you go.

Make sure by the time that the jar is full, that the salty lemon brine is covering the top layer of fruit. If necessary, use a glass or ceramic weight, a sterilized stone, or a clean 4 oz jelly jar, to weigh the lemons down enough to keep them submerged in their brine.

Ferment this delight, out of direct sunlight, for up to 2 months before refrigerating it. Once in the chill of a refrigerator, they will keep for years, if you can resist them for that long.
Don't Forget About Lemon Curd

If you are not familiar with the water bath canning method watch our water bath canning video workshop. Always make sure you are following all safety guidelines outlined by the USDA when canning anything.
A common pithy wisdom passed from adults to children is this: When life gives you lemons, make lemonade. Now, while lemonade is all well and good, of course, that's only useful so long as life has also provided you with lots of sugar. Make the best of every situation, certainly. Lemonade is delicious, and needs no explanation here.
If you are exceptionally lucky, and have both lemons and sugar, as well as eggs and butter, you can make a lemon curd. Rich as custard, yellow and smooth, tart and sweet, lemon curd tastes like February sunshine in a jar. Spread it on toast, or between layers of cake. Or heck, eat it out of the jar with a spoon. I do!
This recipe is adapted from Sheri Brooks Vinton, in her book Put 'em Up! Many lemon curd recipes call for the curd to be eaten right away; since it contains butter and eggs, it is not as shelf stable as other canned products.
Instructions for Delicious Lemon Curd
 Her recipe calls for the curd to be canned in a water bath, where it will be shelf stable for up to a year. Worried? Don't be. It won't last that long, it is so delicious.

Combine: 1 TBS lemon zest, 1 cup lemon juice, 11/2 cups sugar, 1 1/2 sticks of butter cut into slices, 4 eggs, and 1/2 tsp salt in the top of a non-reactive double boiler.

Bring the water in the bottom of the pan to a low boil and whisk the curd constantly until it thickens, about 15 minutes. Strain through a fine mesh sieve, removing the coarse zest for a finer texture. At this point the curd can be refrigerated and enjoyed for up to 2 weeks.

Or, process it in a water-bath canner for longer shelf life. If you have used Meyer lemons, check the pH of your curd at this stage, making sure that it is at least 4.6; sometimes Meyer lemons are not as acidic as Lisbon or other lemon varieties.
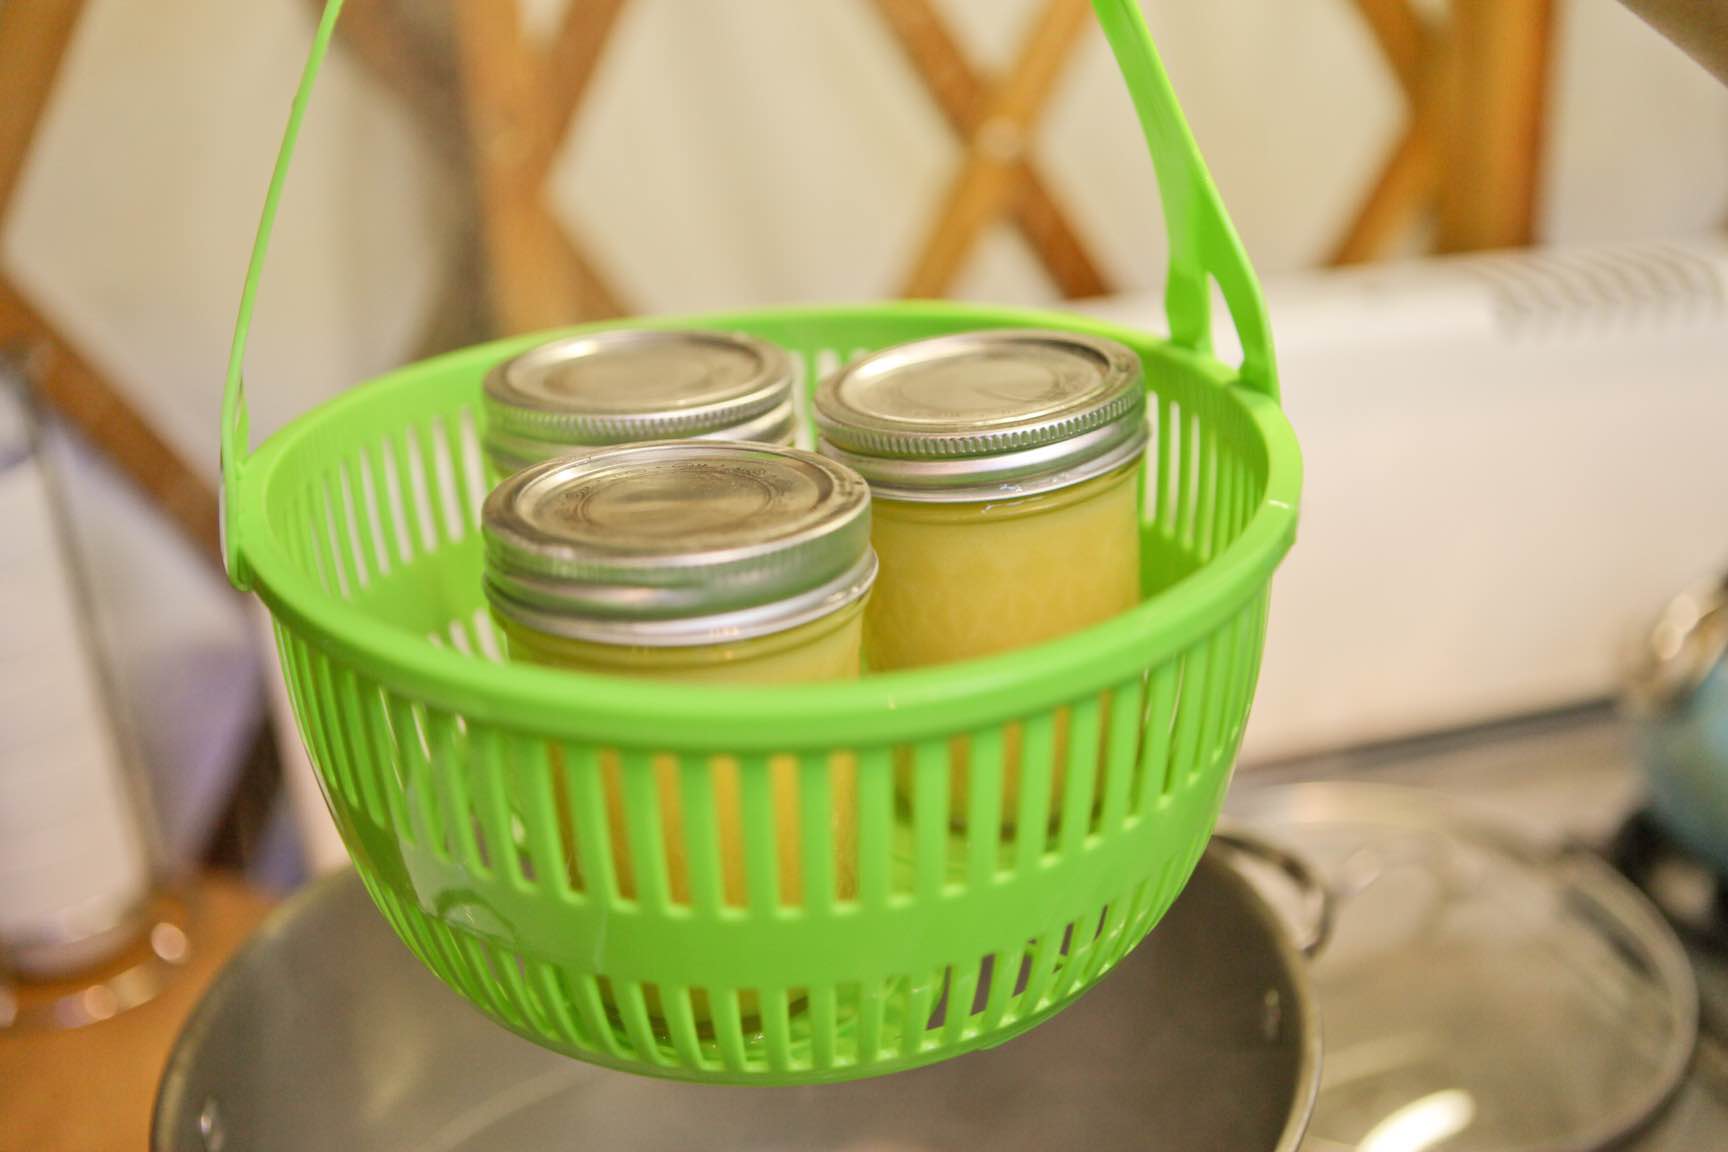
Ladle the hot curd into clean, hot 4oz or half-pint jars, leaving 1/4 inch of headspace. Wipe the rims clean and release any trapped air in the jar before placing the clean lid on the jar and screwing the band down finger-tight.

Process for 10 minutes.
Turn off the canner and remove canner lid; let the jars rest in the water for 5 minutes. Remove the jars and set them aside for 24 hours. Check the seals, then store in a cool dark place for up to one year.
Always follow proper water bath canning techniques. See our Water Bath Canning Video Workshop and our Must-Have List of Home Canning Supplies for more info.
Dehydrated Lemons - Easy & Tasty

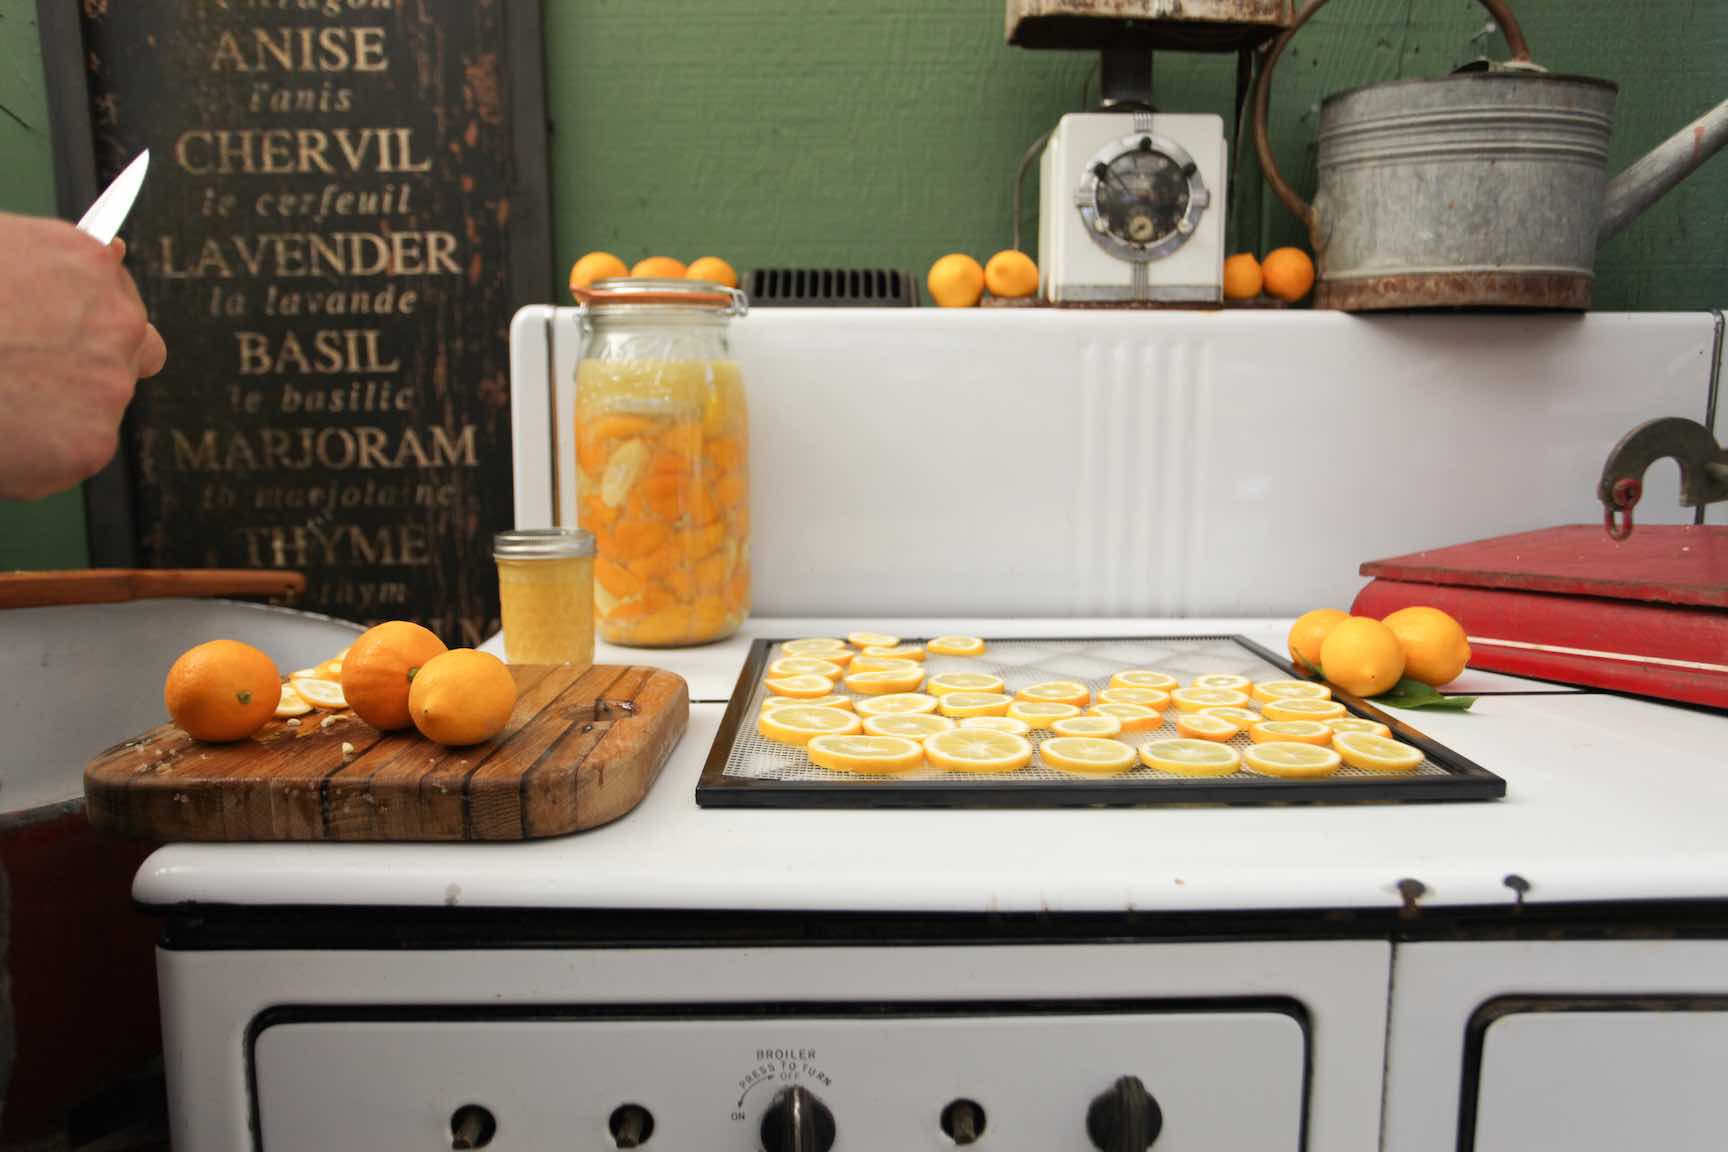
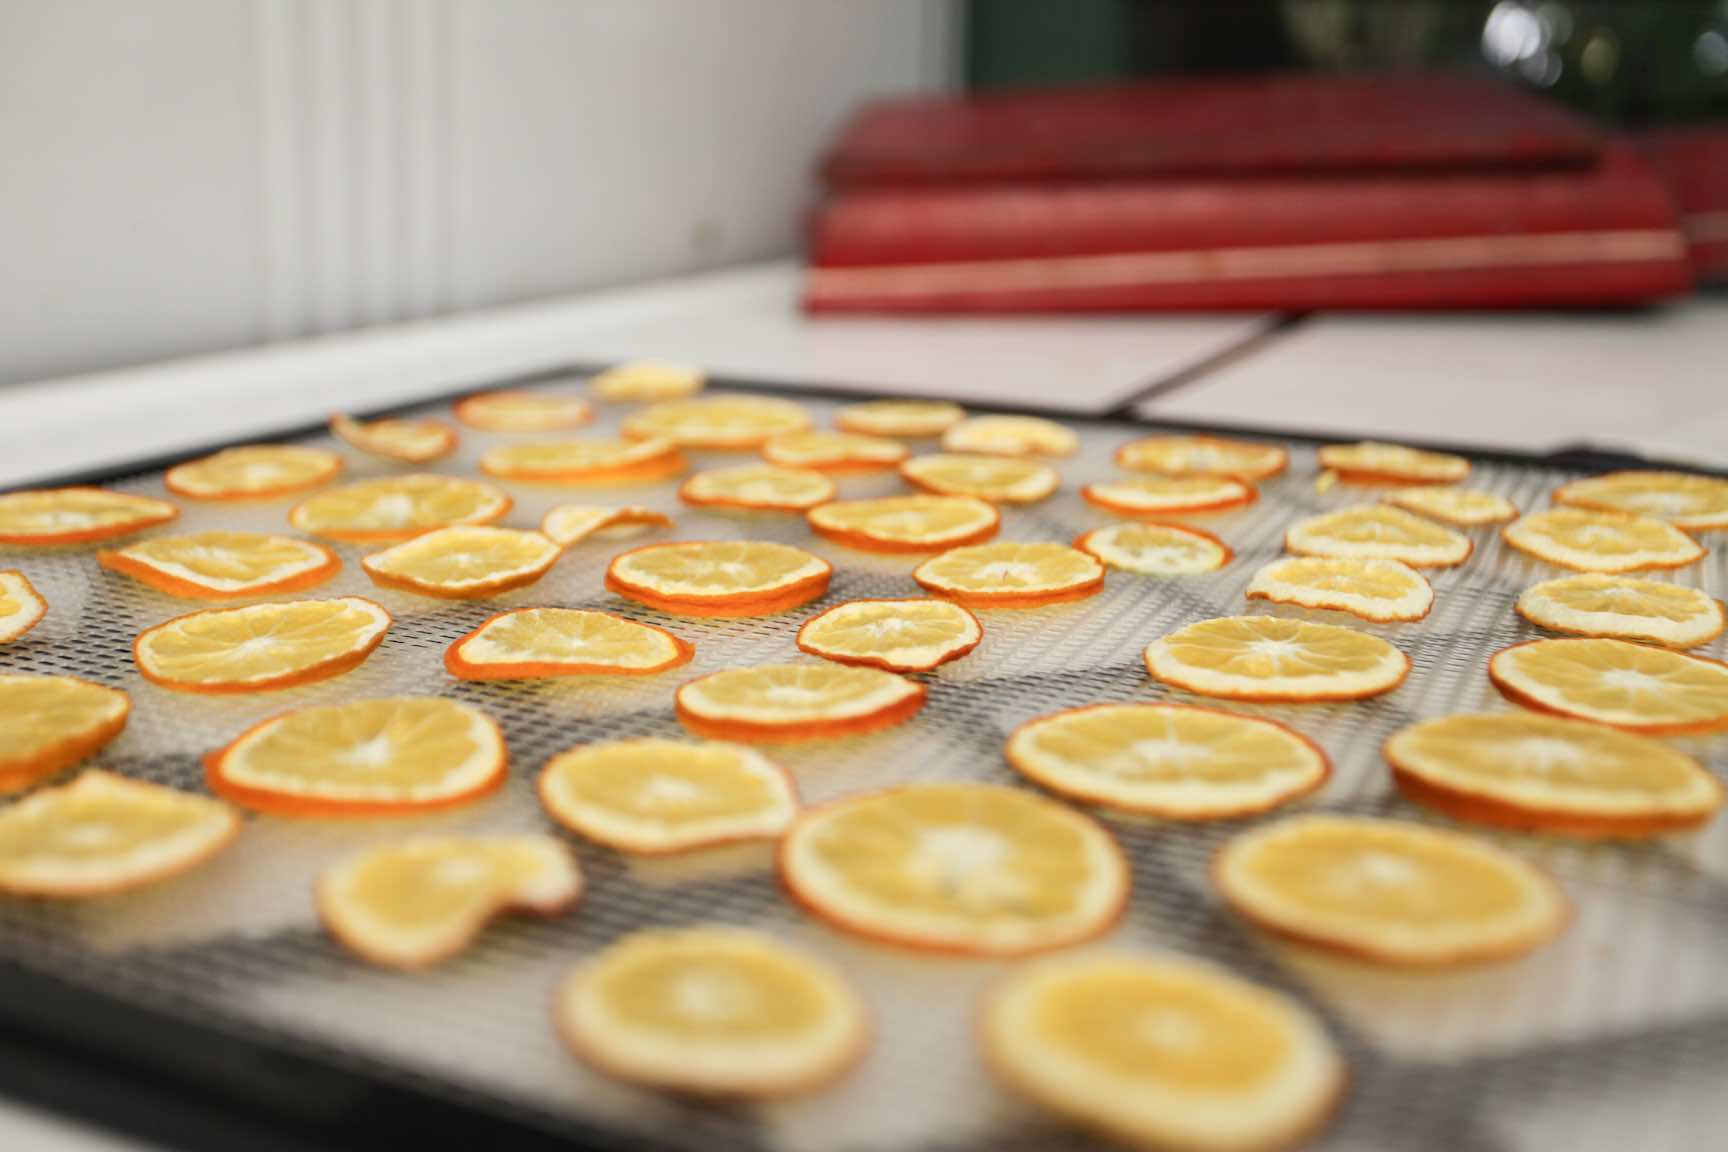
Lemons can also be dehydrated, to delicious effect. Cut into round slices 1/4" thick, they look like tiny golden suns, or like little stained glass windows.

After drying in a food dehydrator, they can be stored in jars indefinitely. These dried little suns can also be snipped into anything that wants a note of lemon flavor; broths, pastas, bean dishes, even baked goods. While I have yet to see a recipe that calls for them in this form, a creative cook will find many a use for their concentrated flavor.

For a special treat, dredge them in sugar before dehydrating. They will remain more moist and chewy than in their unsugared form, like the best lemon candy, sweet and tart and intensely delicious.
Dehydrated Lemon Zest for Lemon Pepper for Other Uses

Another way to capture the flavor of lemon in a dehydrator is the more conventional one, of zesting the rind and dehydrating that alone. A Microplane grater works great for this, making short work of the soft rind.

Try to zest just the outer, yellow rind, leaving the white pith behind. Just a few hours at a low temperature (4 hours at 150 degrees, say) will dry the rind sufficiently; it can be stored as is, or blended with other herbs and salt to make a lemon pepper.
And Of Course, You Can Always Save the Juice
When you are done zesting all of those lemons, they need not go to the compost quite yet. Slice them in half and juice them! Depending on the amount, this can be done manually or with an electric juicer.
The pale, flavorful juice can then be safely water bath processed, without any further additions, for prolonged storage, or simply frozen. I like to use an assortment of jars, ranging from 4oz to 8oz and 12oz. These different portion sizes allow me to open the amount most suited to the dish I will be making.
I use the canned juice in large-batch sauces and salsas, although it is important to check the acidity of such batches before processing; home grown lemons, especially Meyer lemons, are generally less acidic than commercially prepared lemon juice.
A pH of 4.6 is generally considered safe for water bath canning, so use pH test strips to determine the final acidity of any product that you intend to process in a water bath.
The jars of pure juice are also wonderful as additions to flavoring various fermented beverages, such as kombucha and water kefir, or for use in cocktails. Try making a simple syrup, with lemon and ginger, and you will be most of the way to a delicious beverage, no matter what else you add.
Oh, Dear Lemon. I Could Go On and On

I have not yet even mentioned lemon meringue pie, my very most favorite desert! Or the subtly gorgeous recipe I found on the packaging for my best Bundt pan; a recipe for lemon and white pepper Bundt cake, that wins acclaim every time I make it. (I can take little credit; the pan and the recipe do all the work.)
Suffice it to say, lemon bakes ridiculously well. In previous posts, we've talked about using lemon in sauerkraut, and of course there is the delicious lemon cheese ... marmalade ... candied lemon slices...
Whether the flavor you are craving is savory or sweet, a splash, a squeeze, a sprinkle or a slice of lemon can go a long way toward making your food sing.
Over to You
It’s part of our mission here at Mountain Feed to help you make delicious, sustainable, homemade food more often. Stop by and say hello on Facebook, Twitter, Instagram or Pinterest. Or, as always, you can do it the old fashioned way and come by the store to speak with one of our in-house experts.
Keeping a great journal leads to delicious results! Get inspired by new recipes, expert articles and homemade food adventures in our Monthly Journal.
If you are not familiar with the water bath canning method watch our water bath canning video workshop. Always make sure you are following all safety guidelines outlined by the USDA when canning anything.

