- Continue Shopping
- Your Cart is Empty
Make Your Own Beeswax Cotton Sandwich Wraps

What You'll Need
Materials
- 3/4 yard of medium-weight cotton fabric, such as twill
- scissors
- 1 pound beeswax
- double boiler; use an old pot or one from the thrift store, as the inner pot will be hard to clean
- tongs
- paper towels
- heat gun
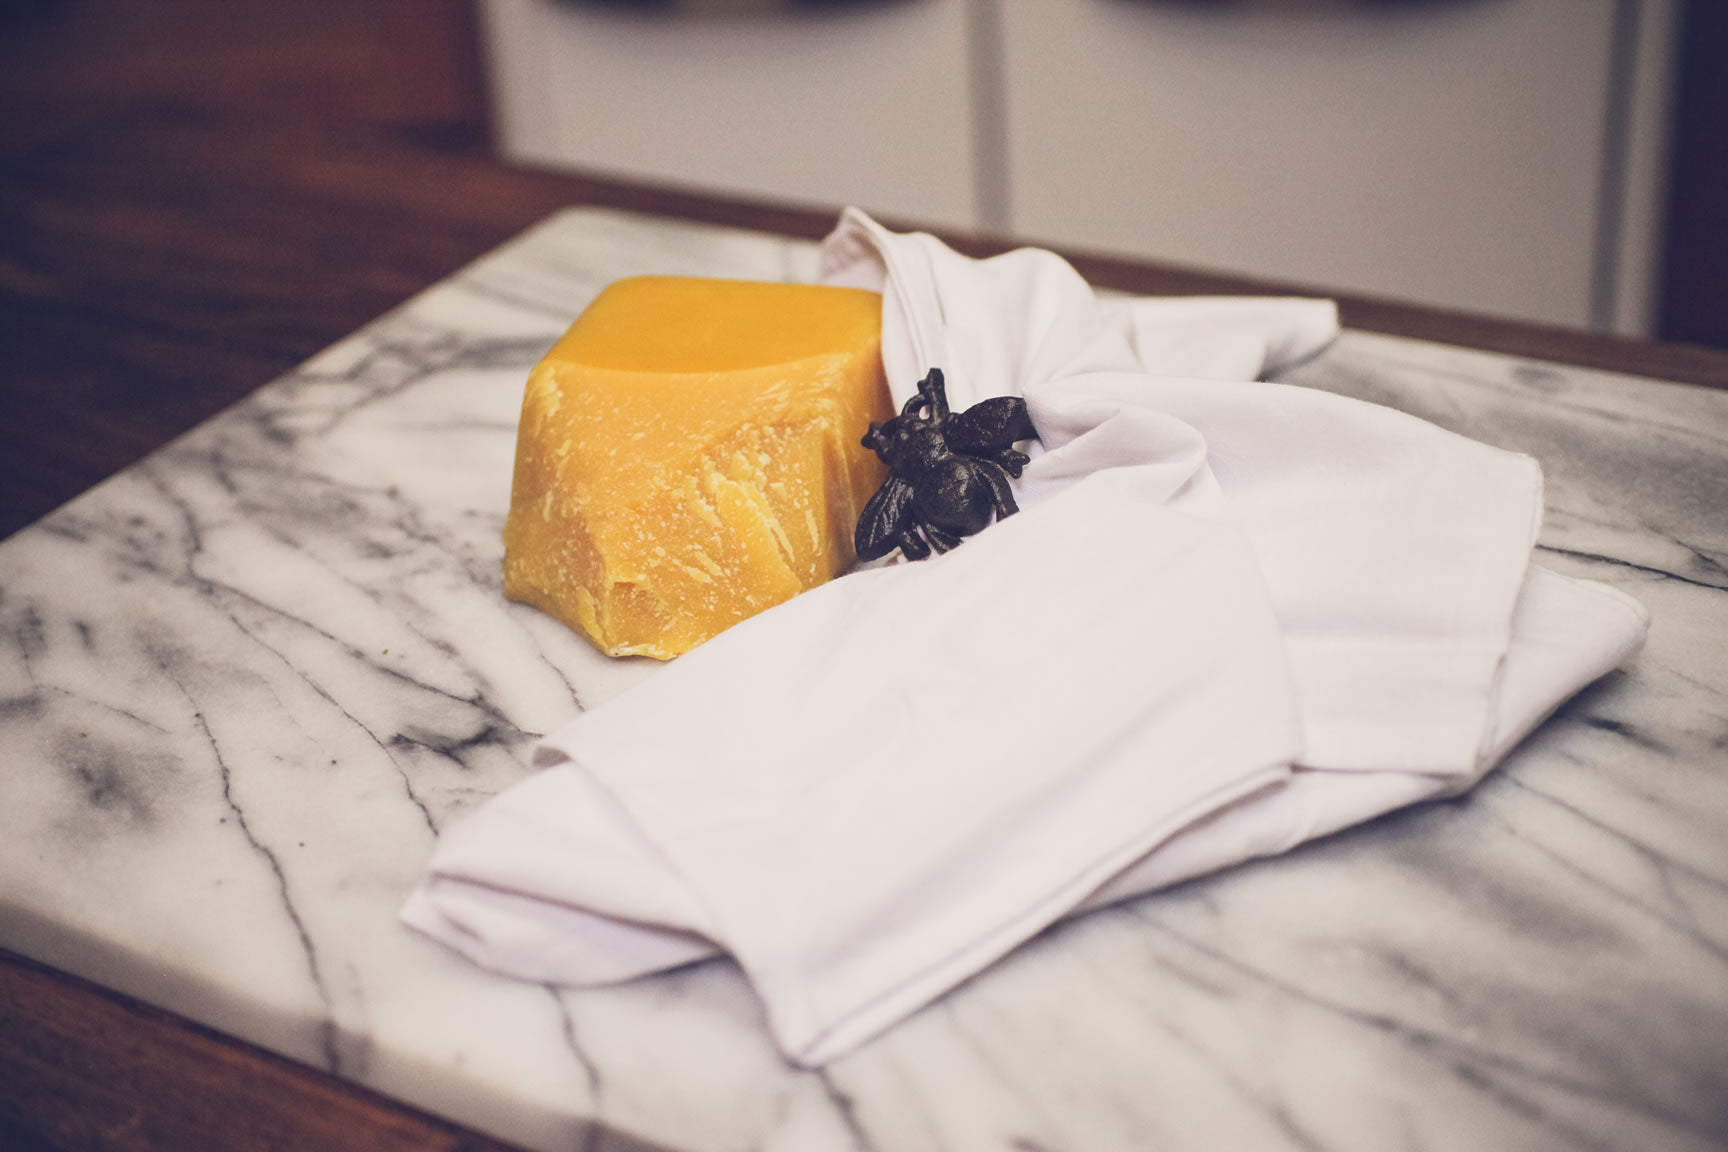
This would be a great use of old wax comb that a beekeeper has removed from the hive, or from the broken bits of the foundation that seems to accumulate wherever bees are kept. However, it’s just as easy (more so!) to purchase a block of beeswax and begin the process from that fresh, sweetly scented chunk of wax, already strained and cleaned and ready for use.
You can, of course, make these wraps in whatever size and shape appeal to you. A typical bandana (about 12” square) makes an adorable sandwich wrap for a large sandwich, but so does a flour sack towel, cut into quarters. A pillowcase, or an old sheet, can be cut into shape and given new life as a beeswax wrap, or fresh cotton can be bought at the fabric store, usually in widths of 45” or 60”. These large sheets must be cut down into smaller sizes to be of use.
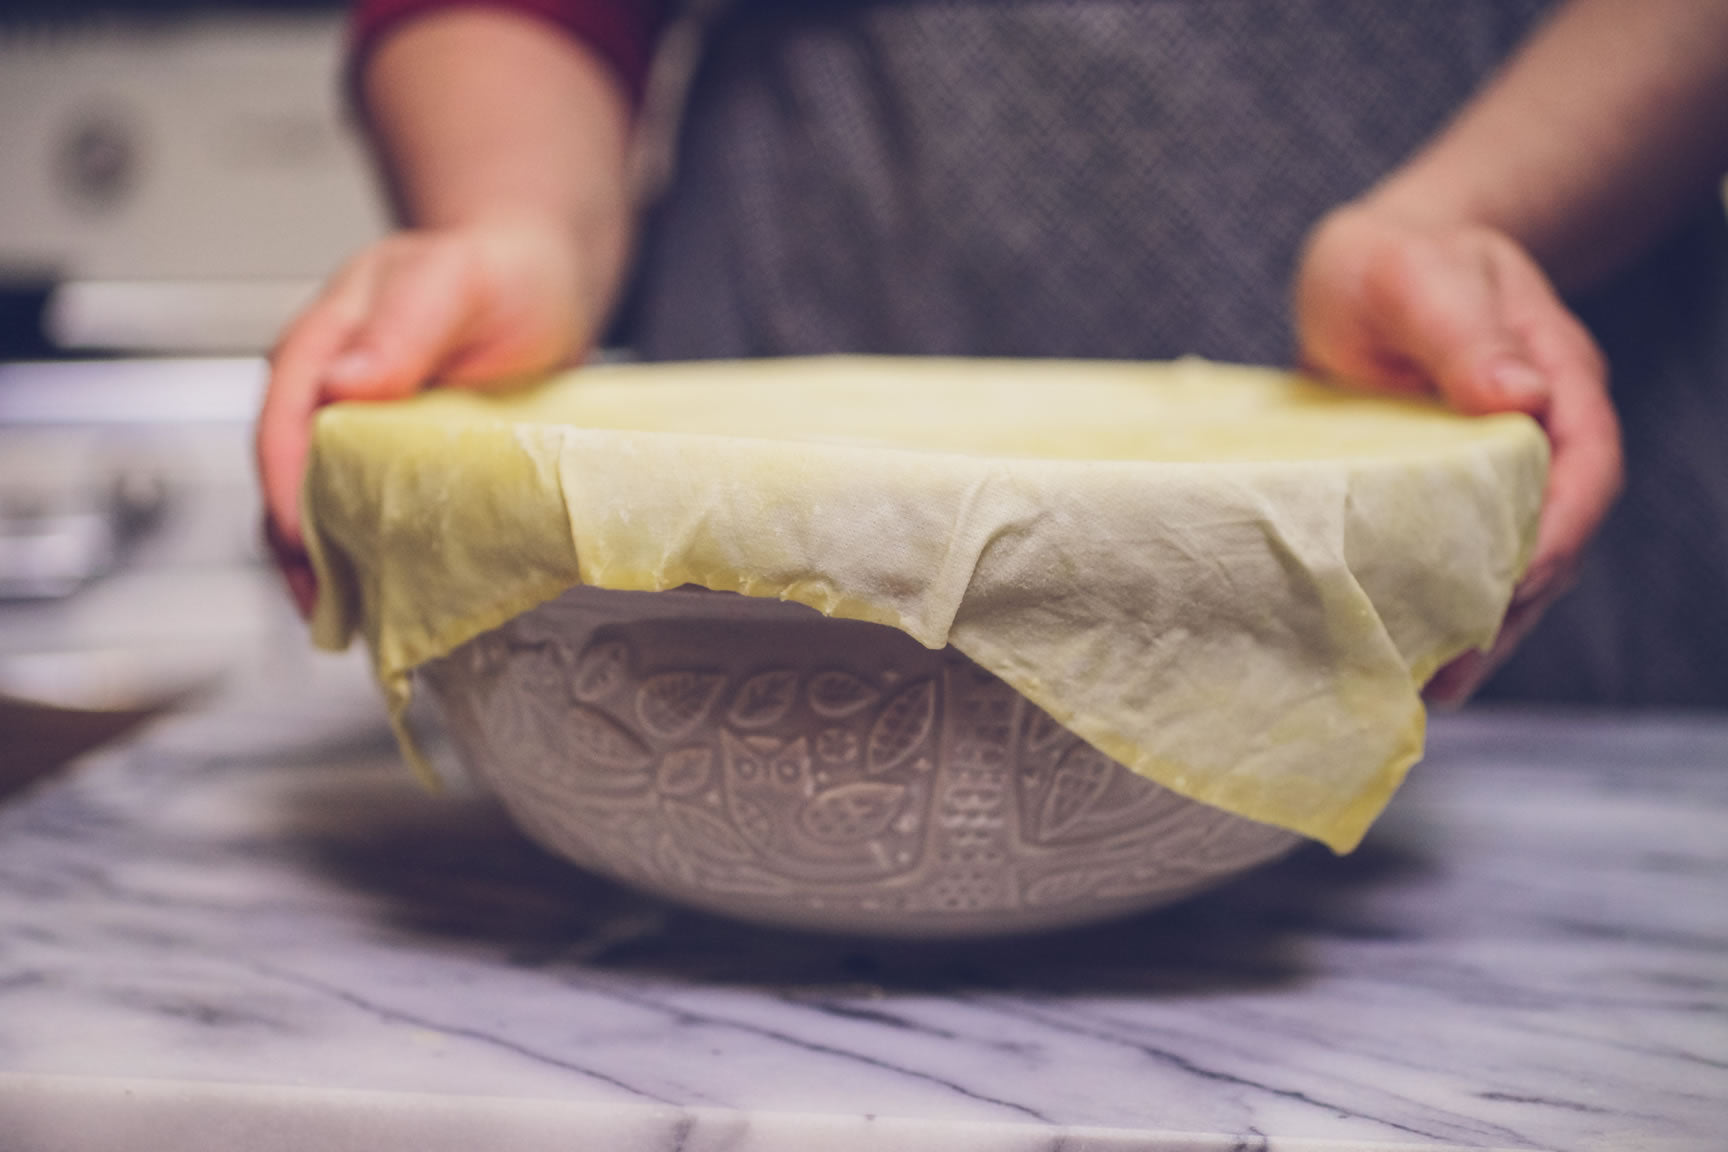
If making a simple sandwich wrap, the most efficient use of fabric may be to make a 12” square, or as close to that as your particular fabric allows. I like to make these in several sizes, from the smallest size that keeps a loaf of cheese fresh, a medium size for sandwiches as well as wild mushroom foray wraps, and of course at least a few larger wraps that can envelop an entire fresh baked loaf of bread. I like to use a single large piece over a bowl of rising bread dough instead of plastic wrap, to keep moisture in and contaminants out. They’re great in the fridge, for leftovers too. You’ll find many a use for these, in every size and shape, and you may even be tempted to make more than you need. The smell of the warm beeswax is enchanting, and the whole process takes no more than an hour from start to finish. Get waxin'!
Directions
Measure and cut the fabric to the desired size. A 12’ square makes a good-sized sandwich wrap.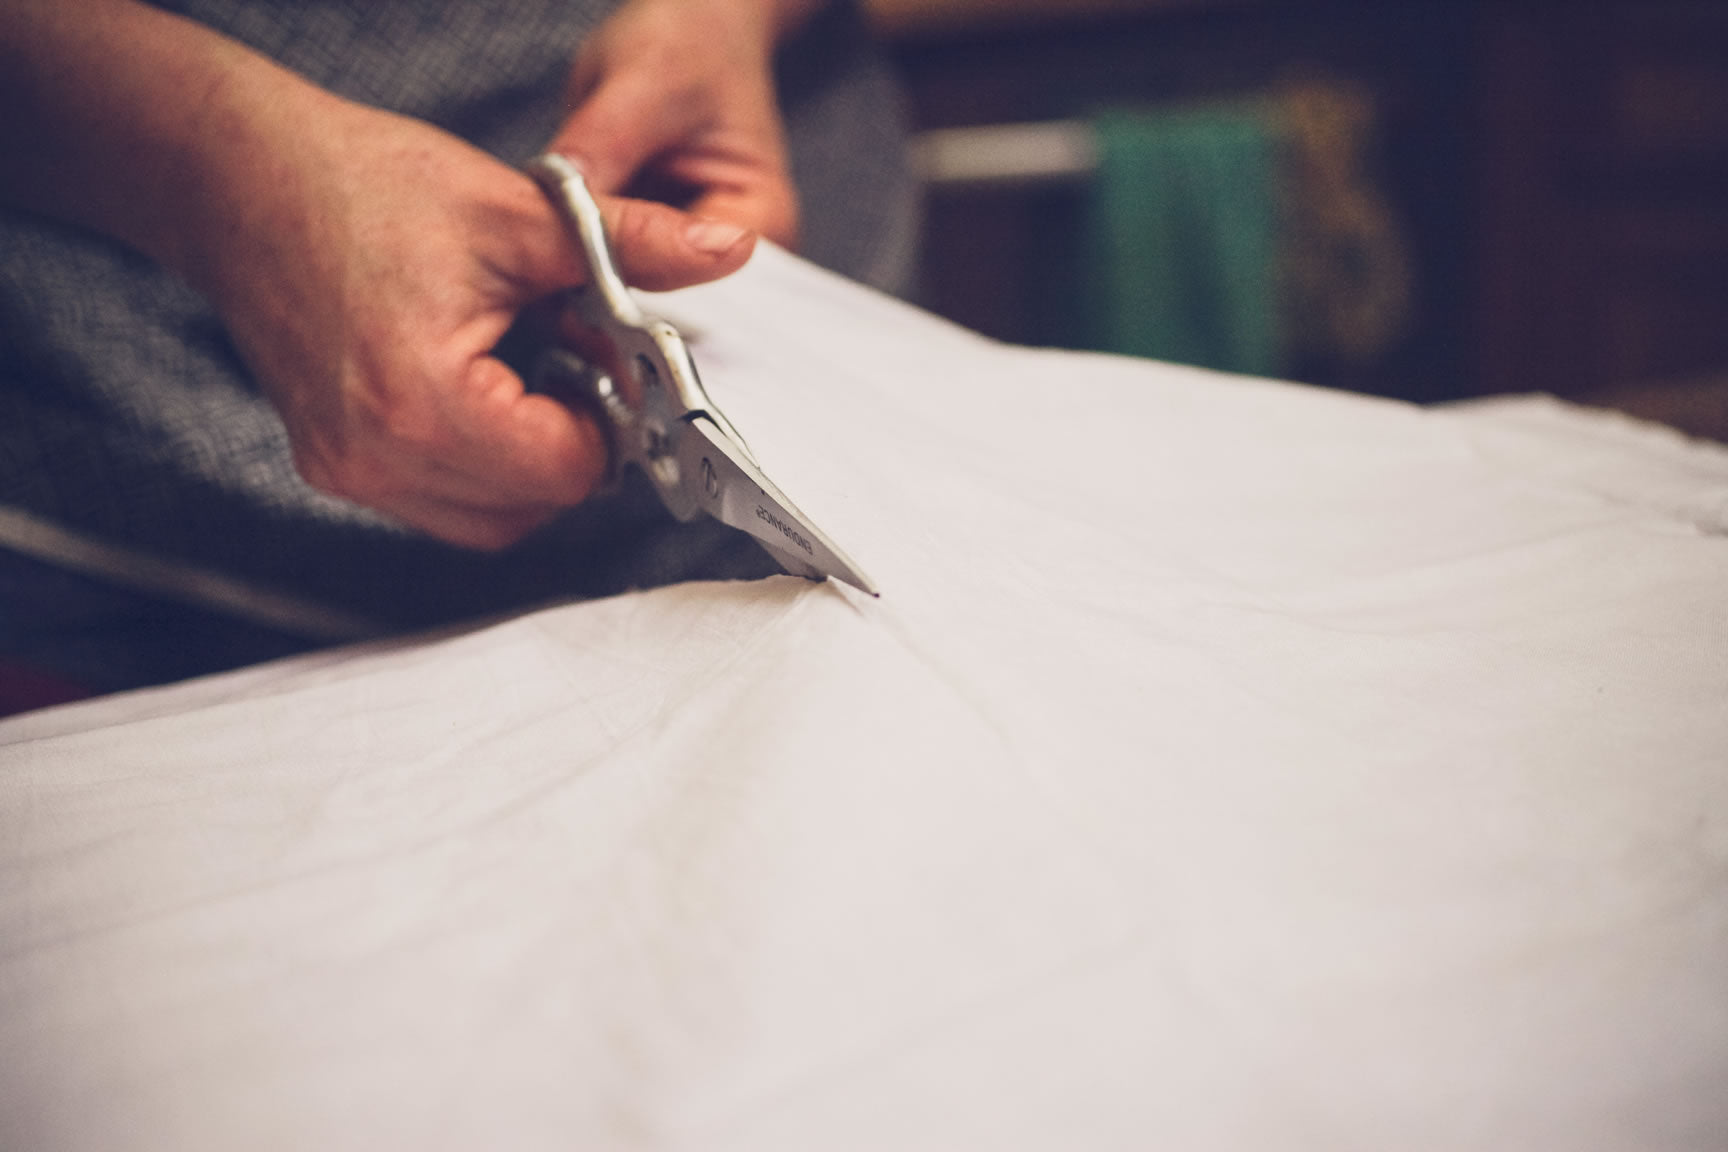
Melt the wax gently, over, not in hot water in a double boiler. 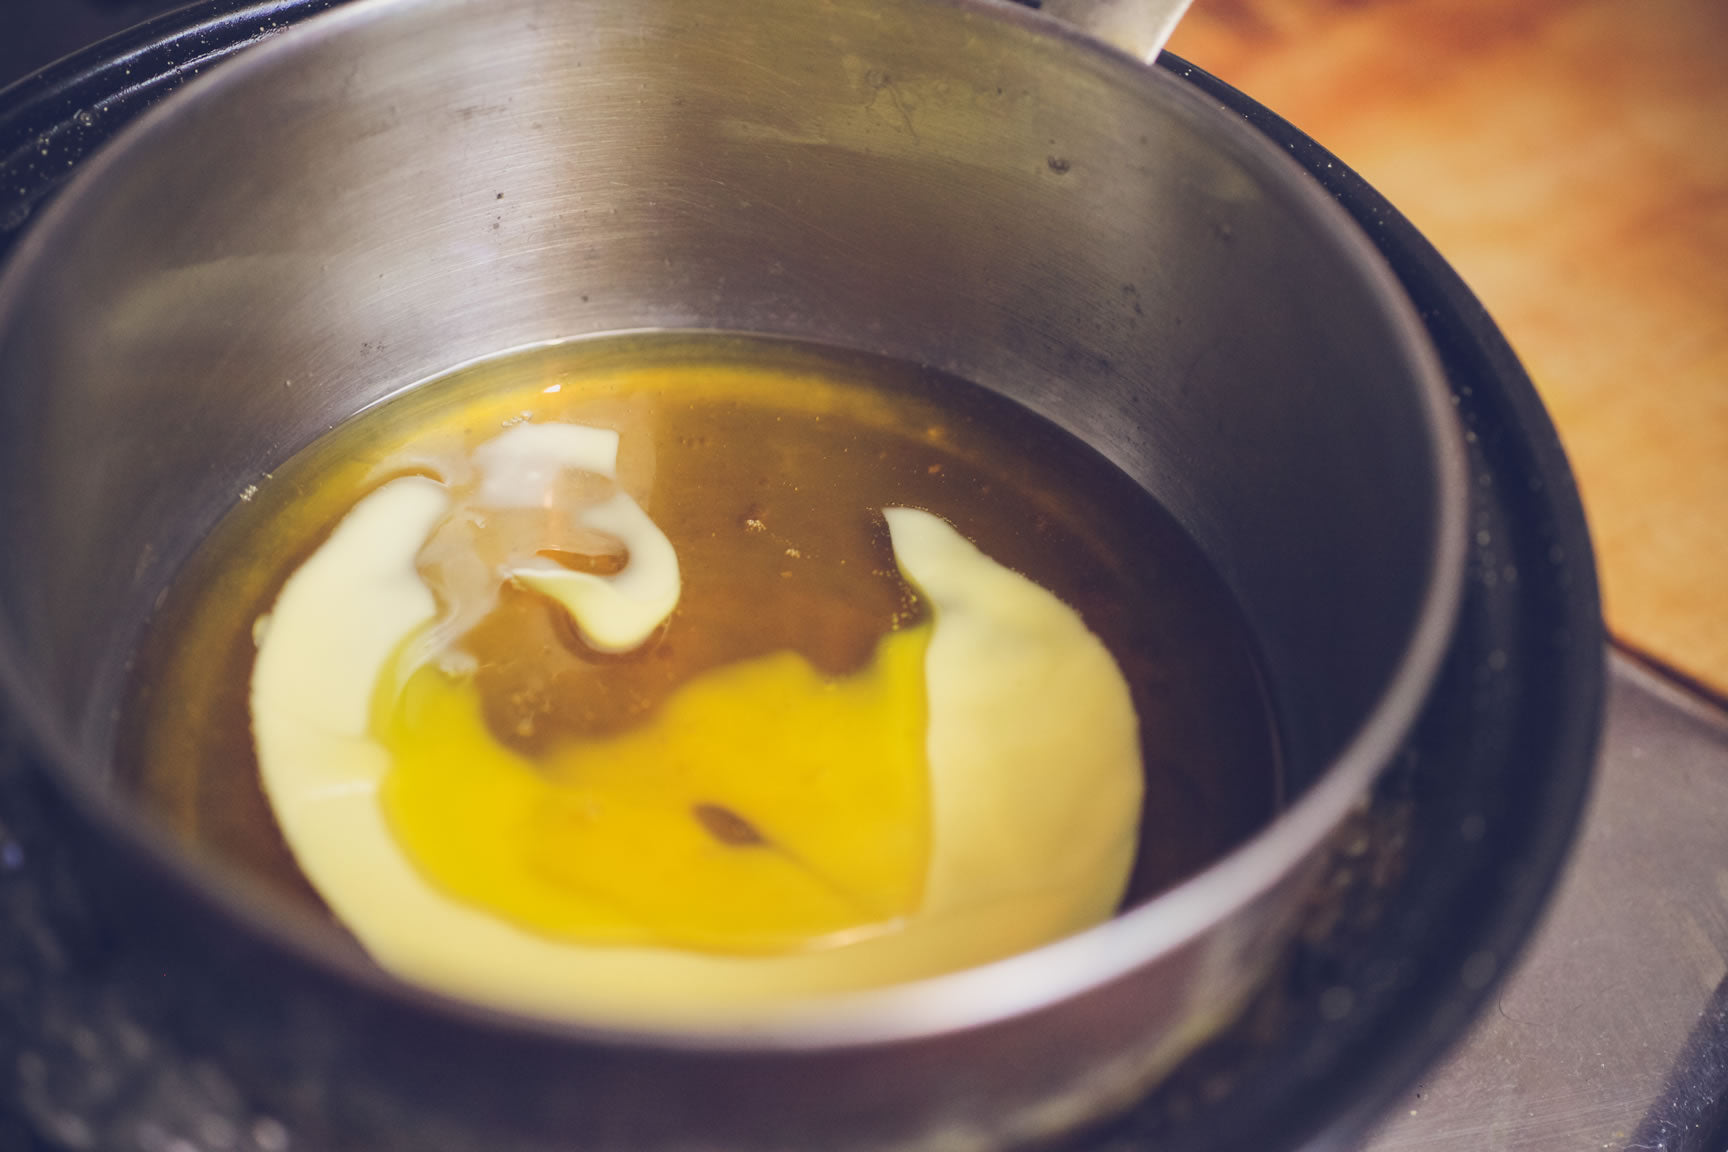
When the wax has melted completely, lay a single piece of fabric into the hot wax. Using tongs, flip it over, if necessary, to ensure that all surfaces of the fabric are covered.
Lift the waxed fabric from the pot and hold it over the pot. Allow the excess wax to drip back into the pot; this may take a minute or two, as a surprising amount of liquid wax continues to drip from the fabric, As it drips and cools, the fabric slowly gets stiffer. Take the opportunity to hold it from different corners, and make it as straight as possible.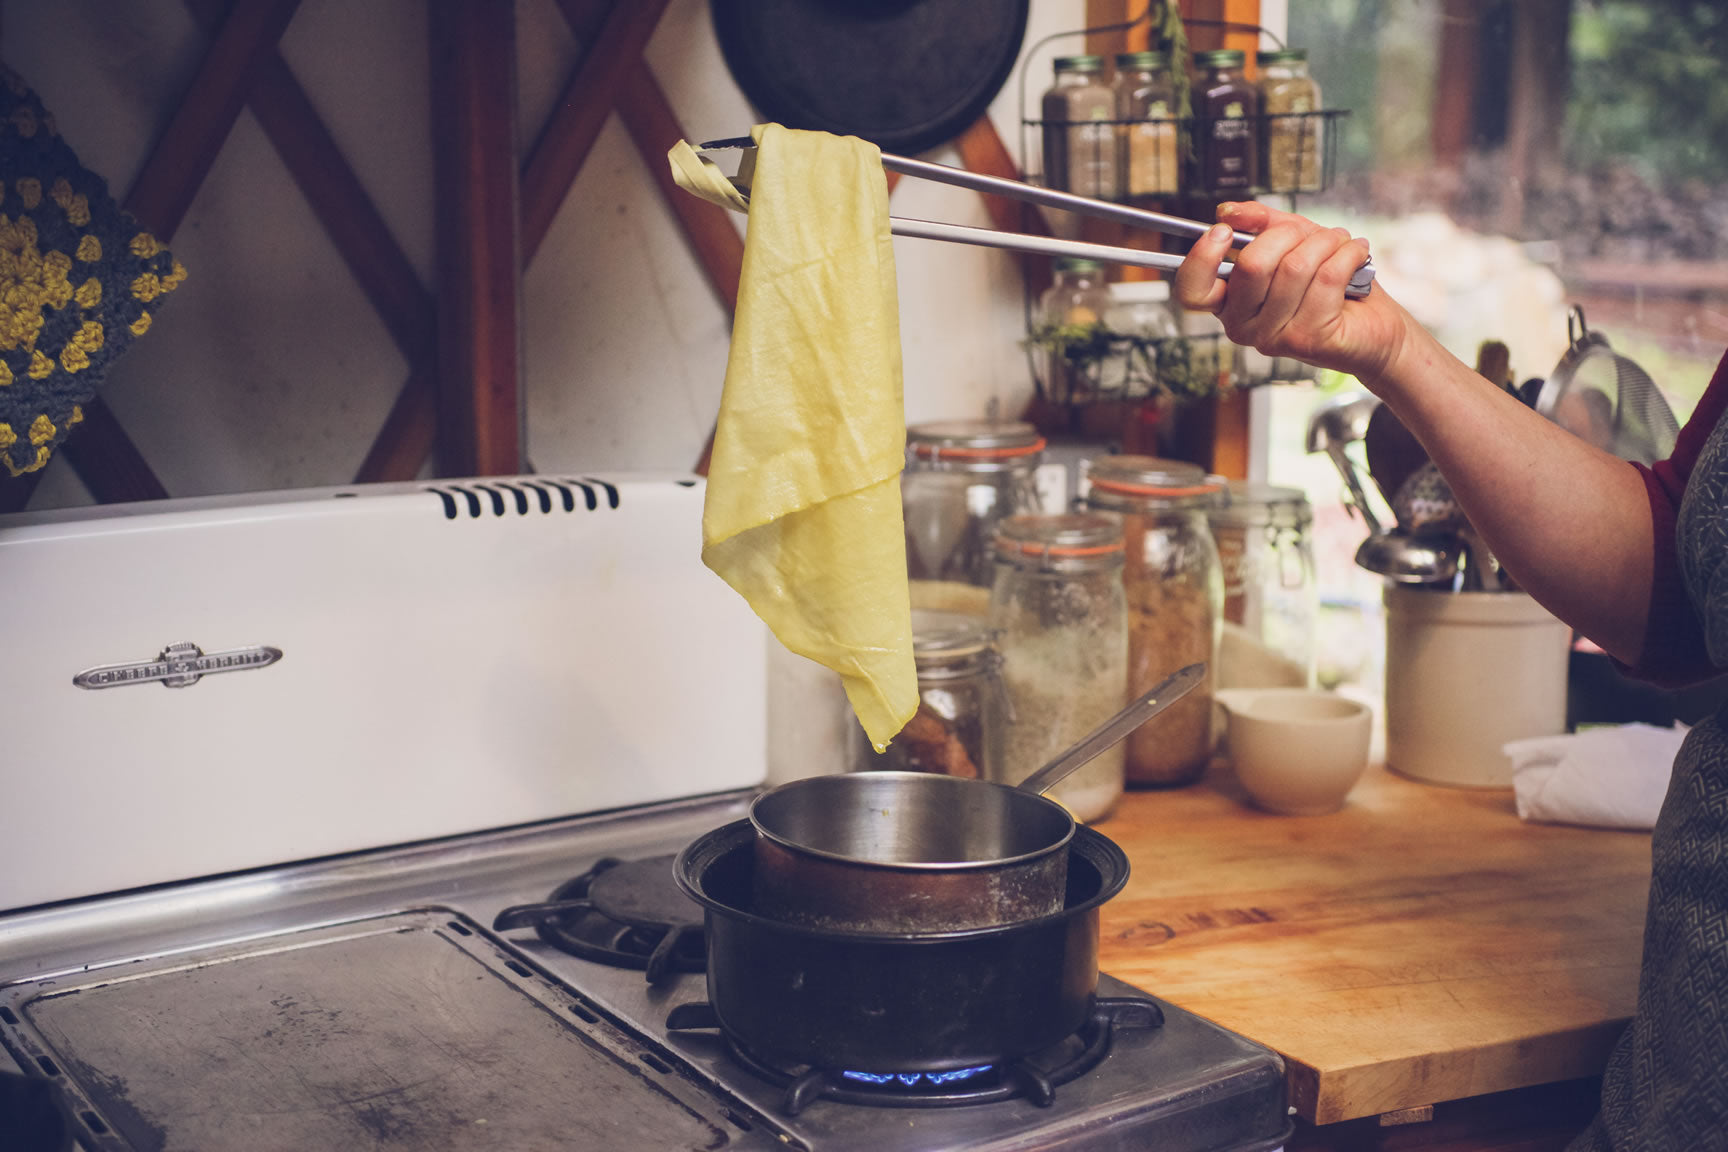
When all the wax has dripped off (or your arm gets sore), set the fabric aside on a non-permeable surface, and lay it out as flat as possible, without being too fussy. Repeat this treatment with the next piece of fabric.
If there is excess wax on the surface of the fabric, you will need to use the heat gun to dissolve it. Cover a work surface with paper towels, and lay an unwaxed piece of scrap fabric over the towels so that they do not cling to the wrap. If desired, this “scrap fabric” can actually be an unwaxed sandwich square; it will absorb some of the wax from the fabric above it and will wind up at least partially waxed.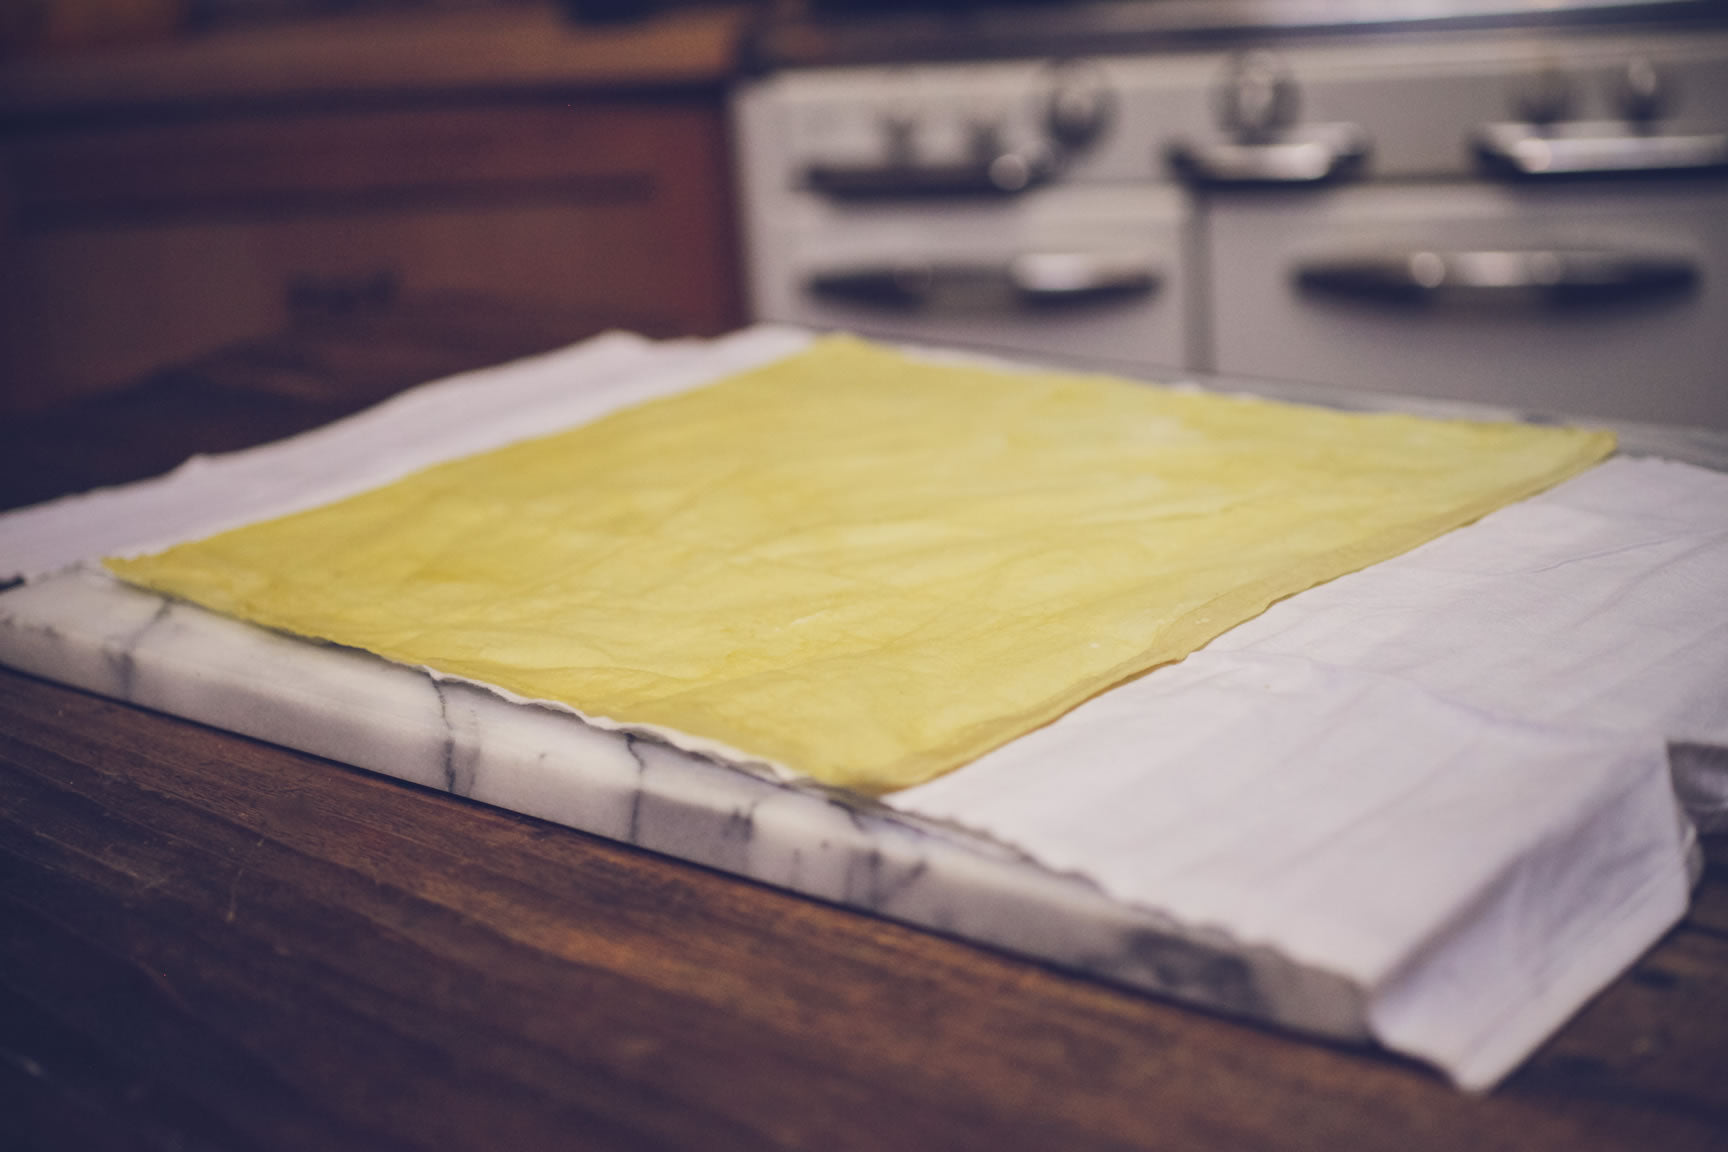
Lay the freshly waxed fabric over the top of the work surface, on top of a scrap of unwaxed fabric. Using the heat gun, slowly run the heat over the wrap, starting in one corner and working methodically across the fabric until all the surface has been warmed.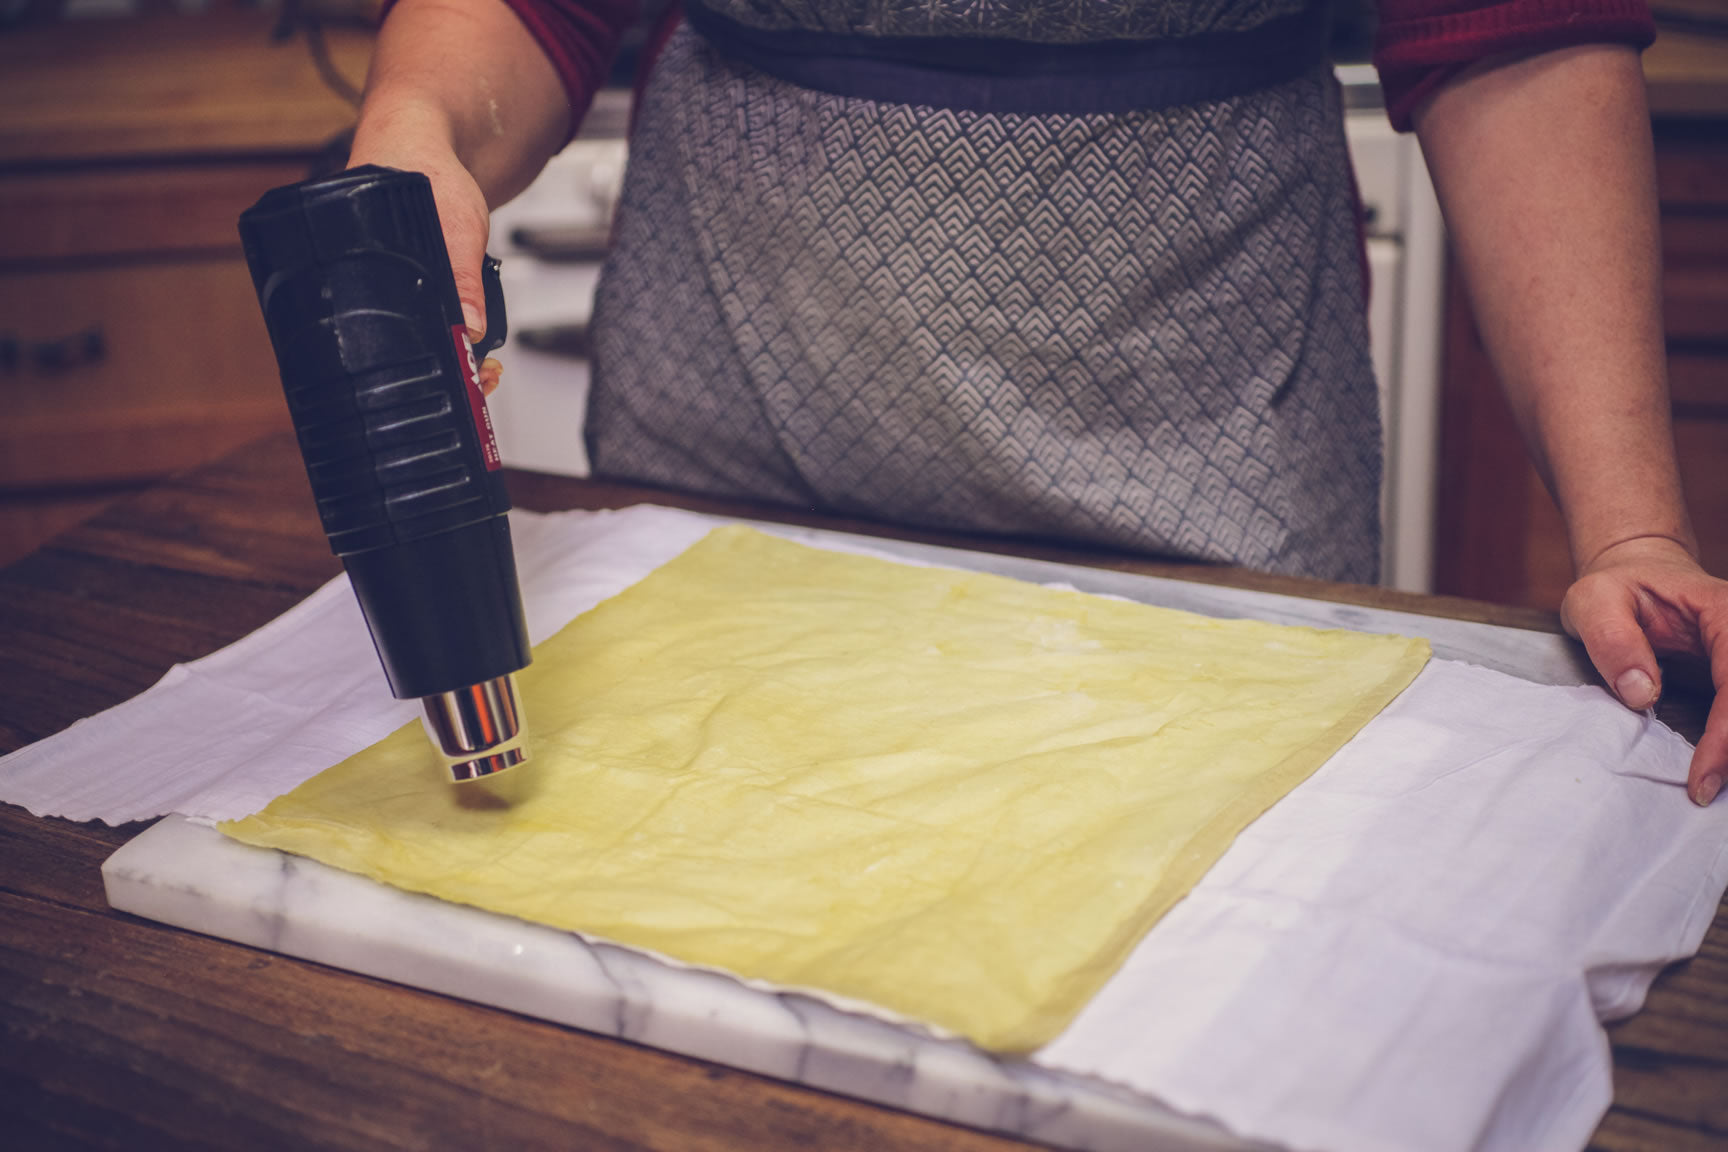
While the wraps are still warm, gently tug at the corners to pull them into shape, if necessary.
Once the wraps are cool, they will be quite stiff, but they soften with age and use. The warmth of your hands as you wrap them around a bowl or a sandwich helps soften and form them to the desired shape. To clean them, simply wipe them down with a damp cloth. If needed, wash by hand in cool water. (Hot water will melt the wax.)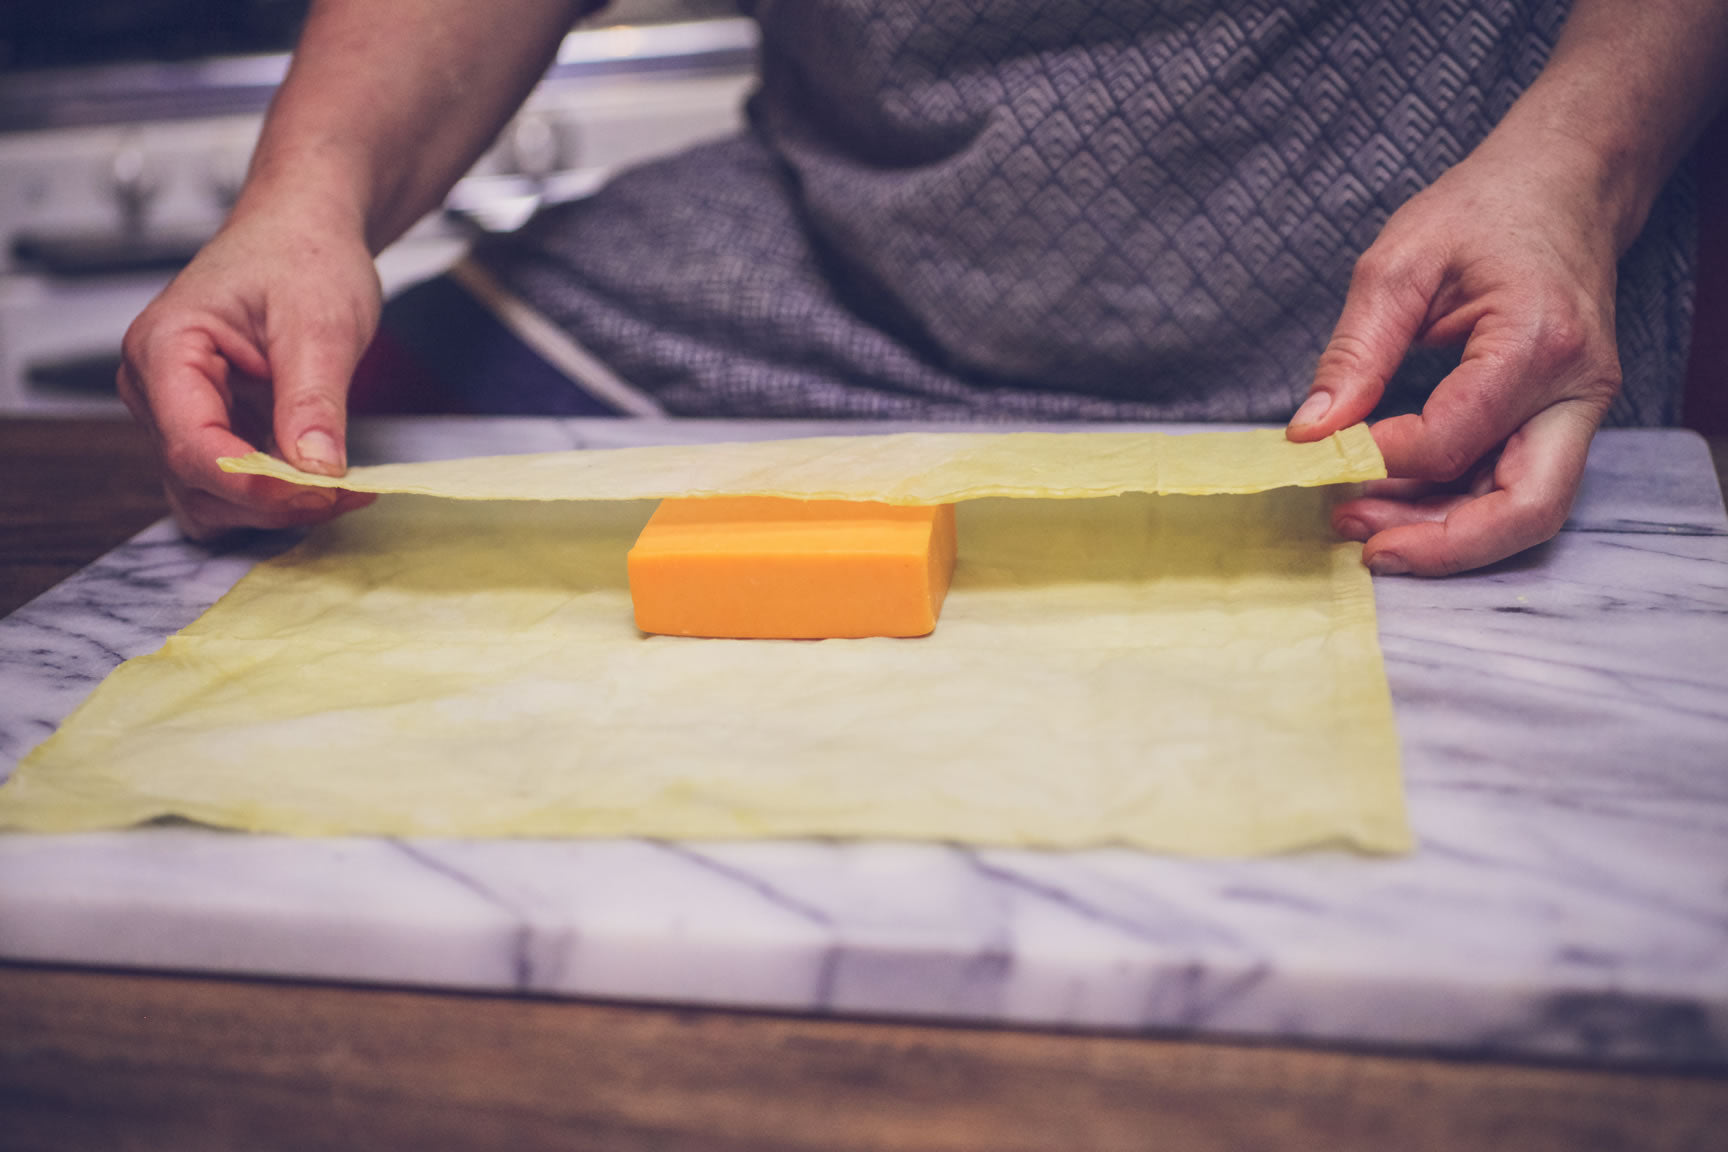
Use the wraps as suggested, to fill with snacks or leftovers or other treats.
 Over to You
 Over to You
It’s part of our mission here at Mountain Feed to help you make your own homemade, healthy home products more often. Stop by and say hello on Facebook, Twitter, Instagram or Pinterest. Or, as always, you can do it the old-fashioned way and come by the store to speak with one of our in-house experts.