- Continue Shopping
- Your Cart is Empty
Homemade San Francisco Sourdough Bread

What You'll Need
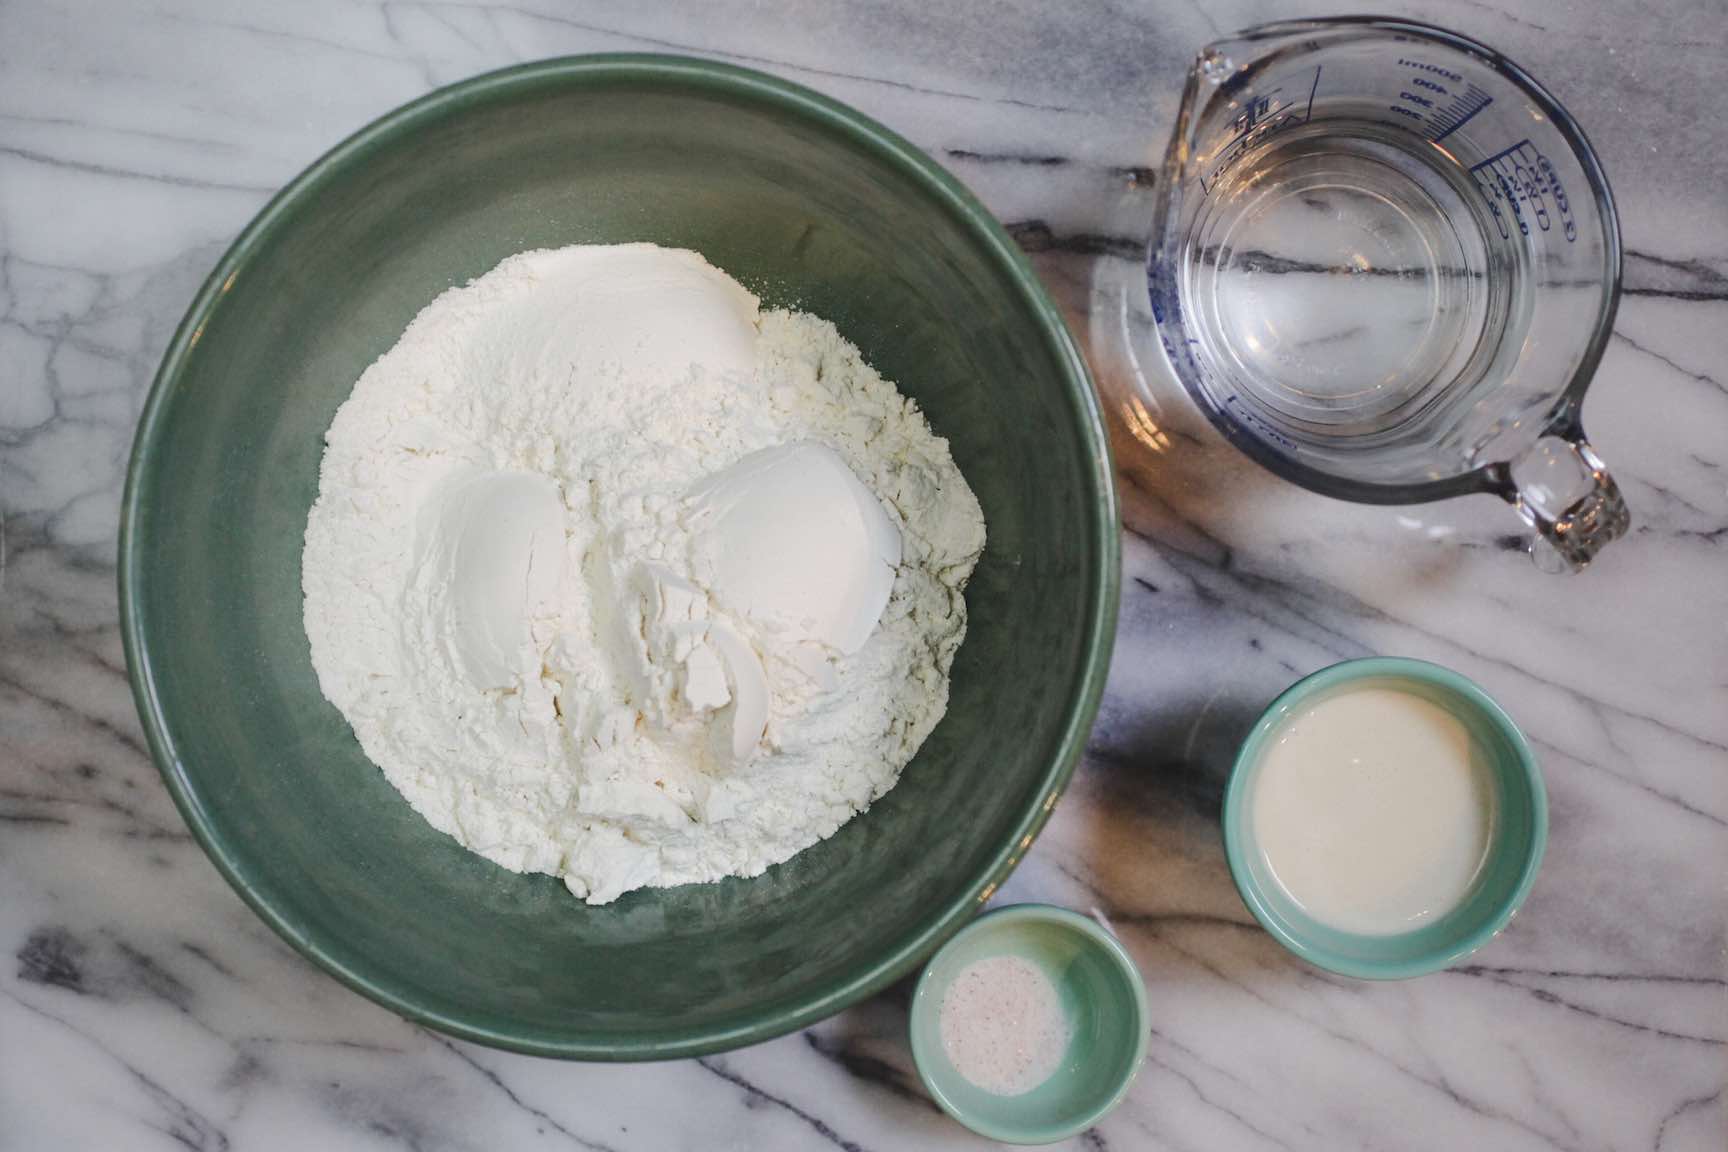
Ingredients
- 1/3 cup wheat sourdough starter
- 3 2/3 cups unbleached all-purpose flour, or bread flour
- 1 1/3 cups unchlorinated water
- 1 1/2 tsp salt
Equipment
- Large bowl
- Bees wrap or damp cloth
- Sharp knife
- If steaming: 1/4" baking sheet or lasagna pan
The sourdough starter lives on the counter, and it likes to be fed every day when it’s at room temperature. A scoop of flour, a splash of water, a peaceful place to rest and bubble; these are all that it requires. Alternatively, it can be kept in the fridge, and refreshed a few hours before baking.
Like a pet that asks little, but gives much, a well-tended sourdough starter will keep you in loaves for many years. As with a kombucha scoby, or a ginger bug, the action of invisible bacteria work to our benefit here. So many delicious ferments, from sauerkraut to yogurt and the aforementioned beverages, star our friends the Lactobacillus. The famed city of San Francisco is home, among other treasures, to it’s very own strain of bacteria: Lactobacillus sanfranciscensis, the taste of sourdough. We tip our hat to that beloved bacterial family, and cut another slice of toast.
The long, slow fermentation period in this recipe results in a dough that has been already partially broken down, or digested, by beneficial bacteria; this makes it easier to digest than bread made with commercial yeast, which rises much quicker due to warmer temperatures. Make your own starter from wild yeast, or check out our selection.
This slow rising, easy-going recipe matures over several days, to create a bread that is moist and chewy, sour and tangy, with a tender interior incased in a golden, carmelized crust. It’s adapted from the recipe found in Homemade Sourdough by Jane Mason; we added an optional steaming step that makes the crust extra glossy and soft.
Directions
Day 1
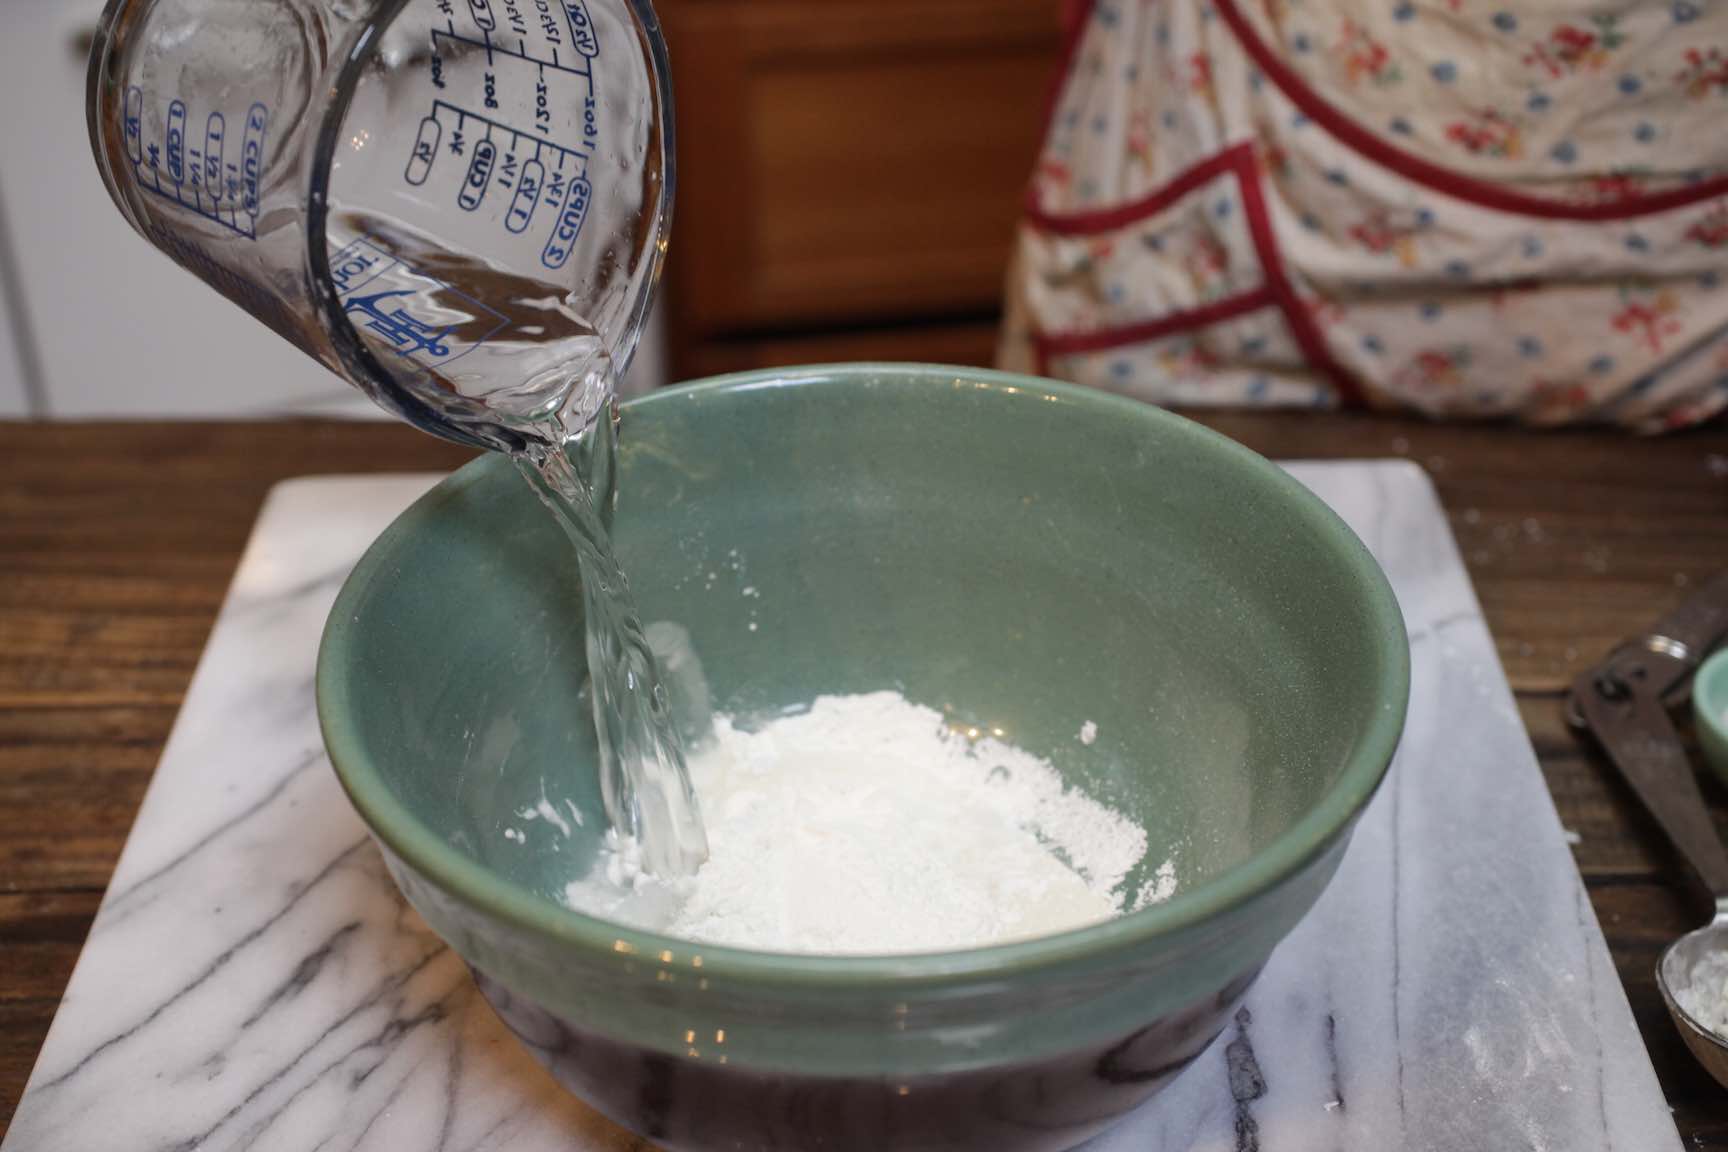

Measure the sourdough starter into a large bowl. Add 1/3 cup of flour, and 1/3 cup of water; mix well. Cover with a damp cloth, bees wrap, or plastic wrap to prevent drying. Leave on the counter for 8 hours, or overnight.
Day 2
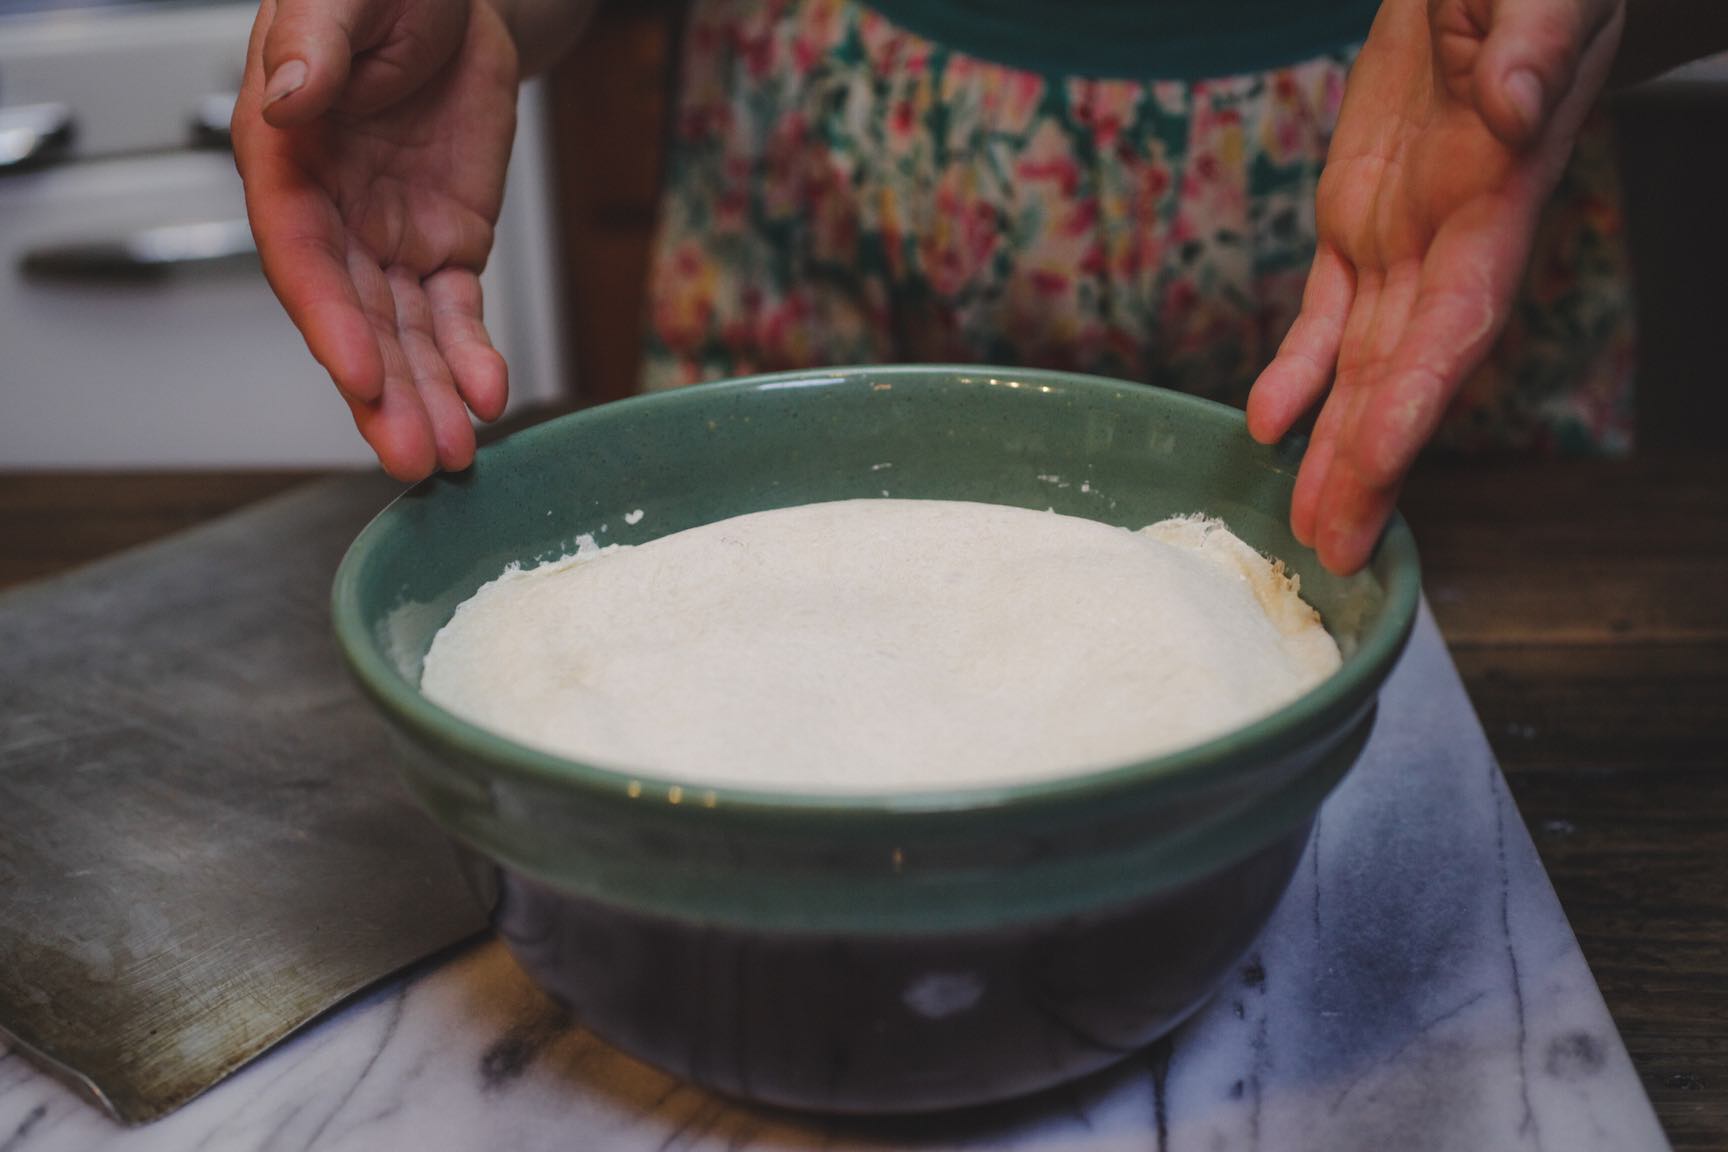
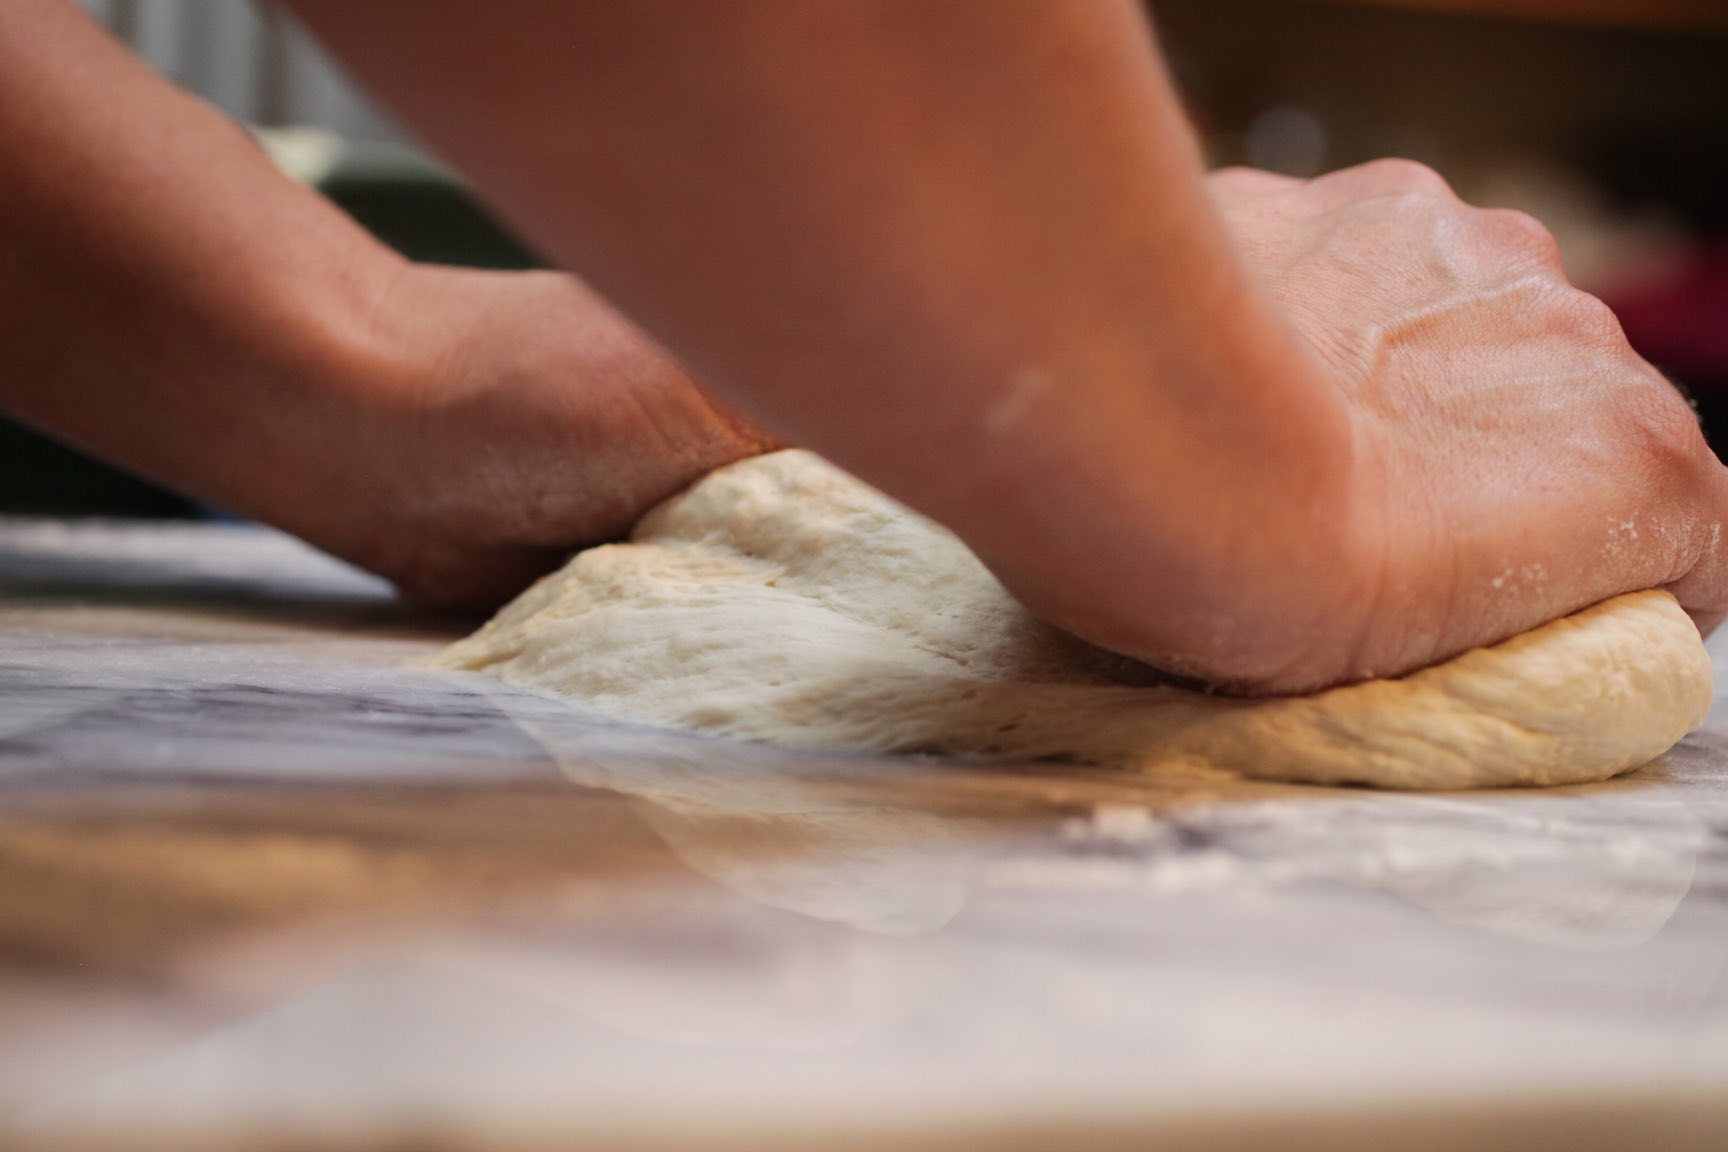
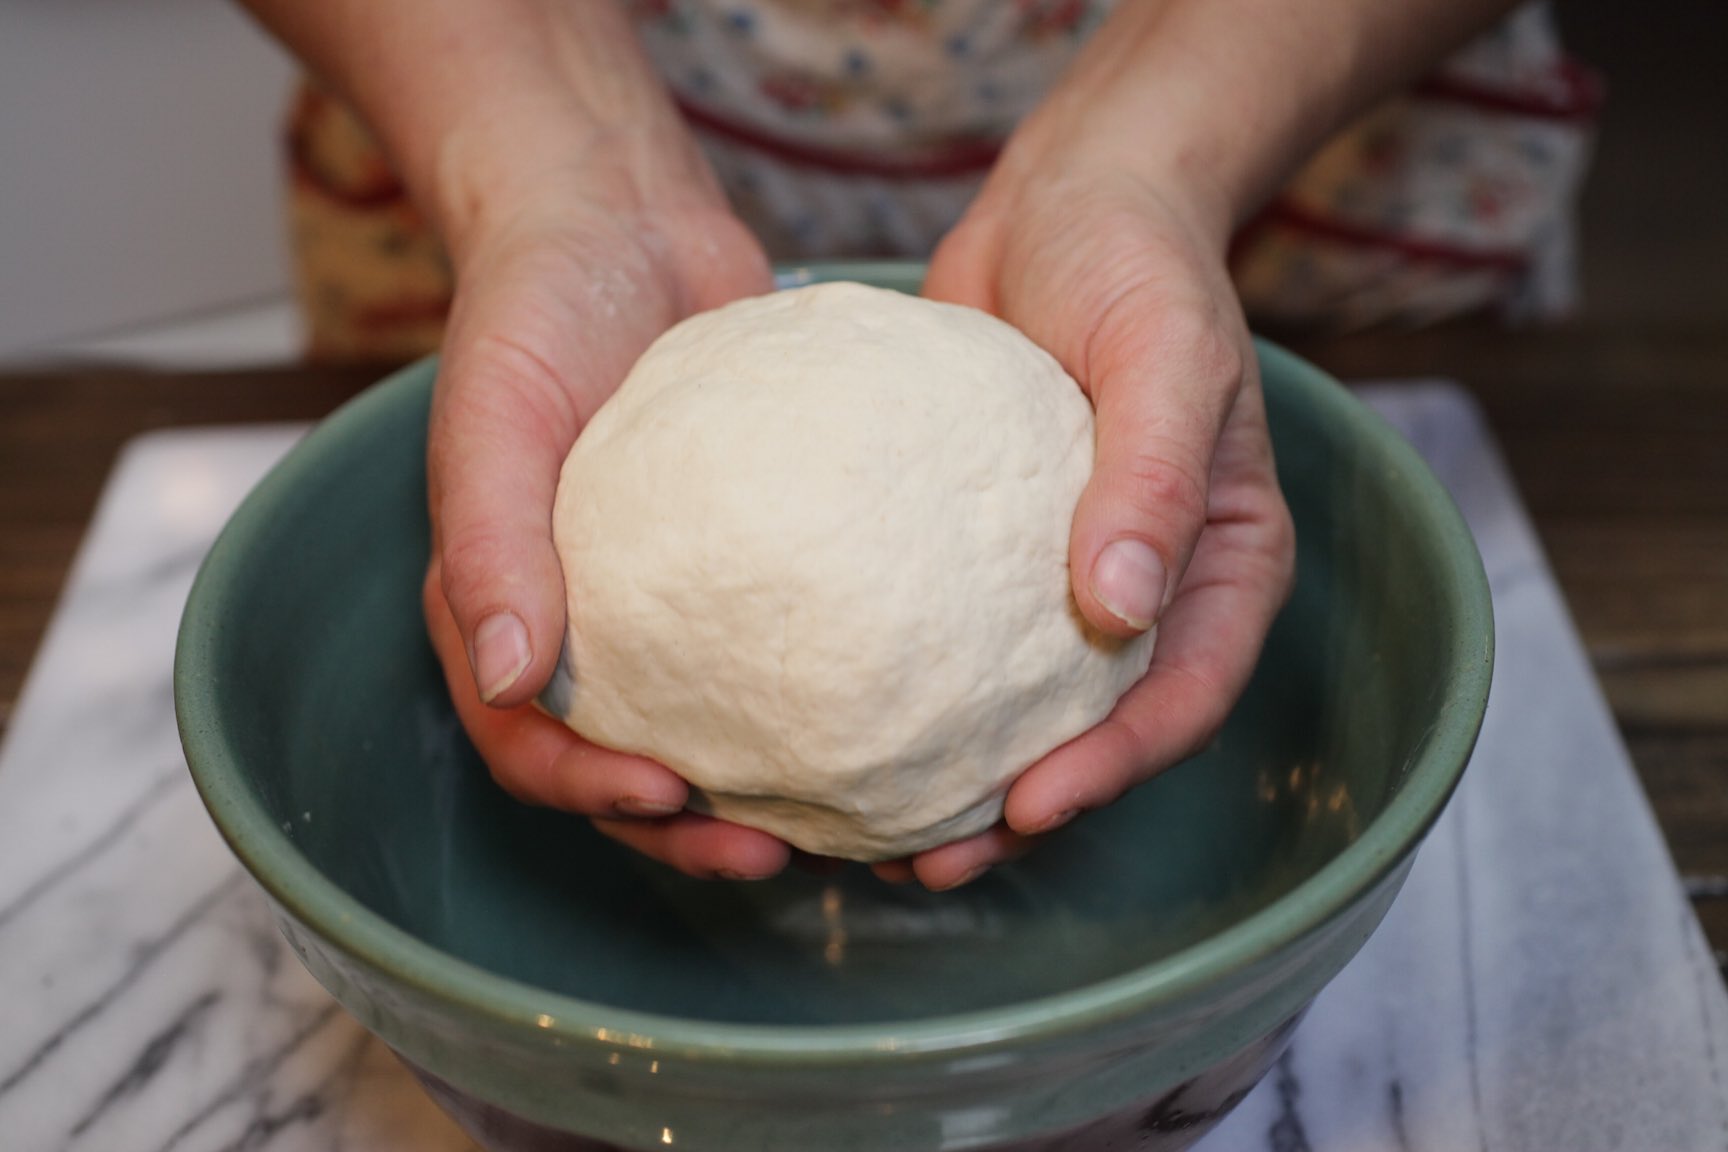
Add the remaining ingredients to the refreshed starter and mix well. Turn out onto a lightly floured surface and knead until smooth, about 10 minutes. The dough may be wetter and softer in this step than in breads made with commercial yeast. Cover as before and proof (allow to rise) at room temperature for 8-12 hours.
Day 3
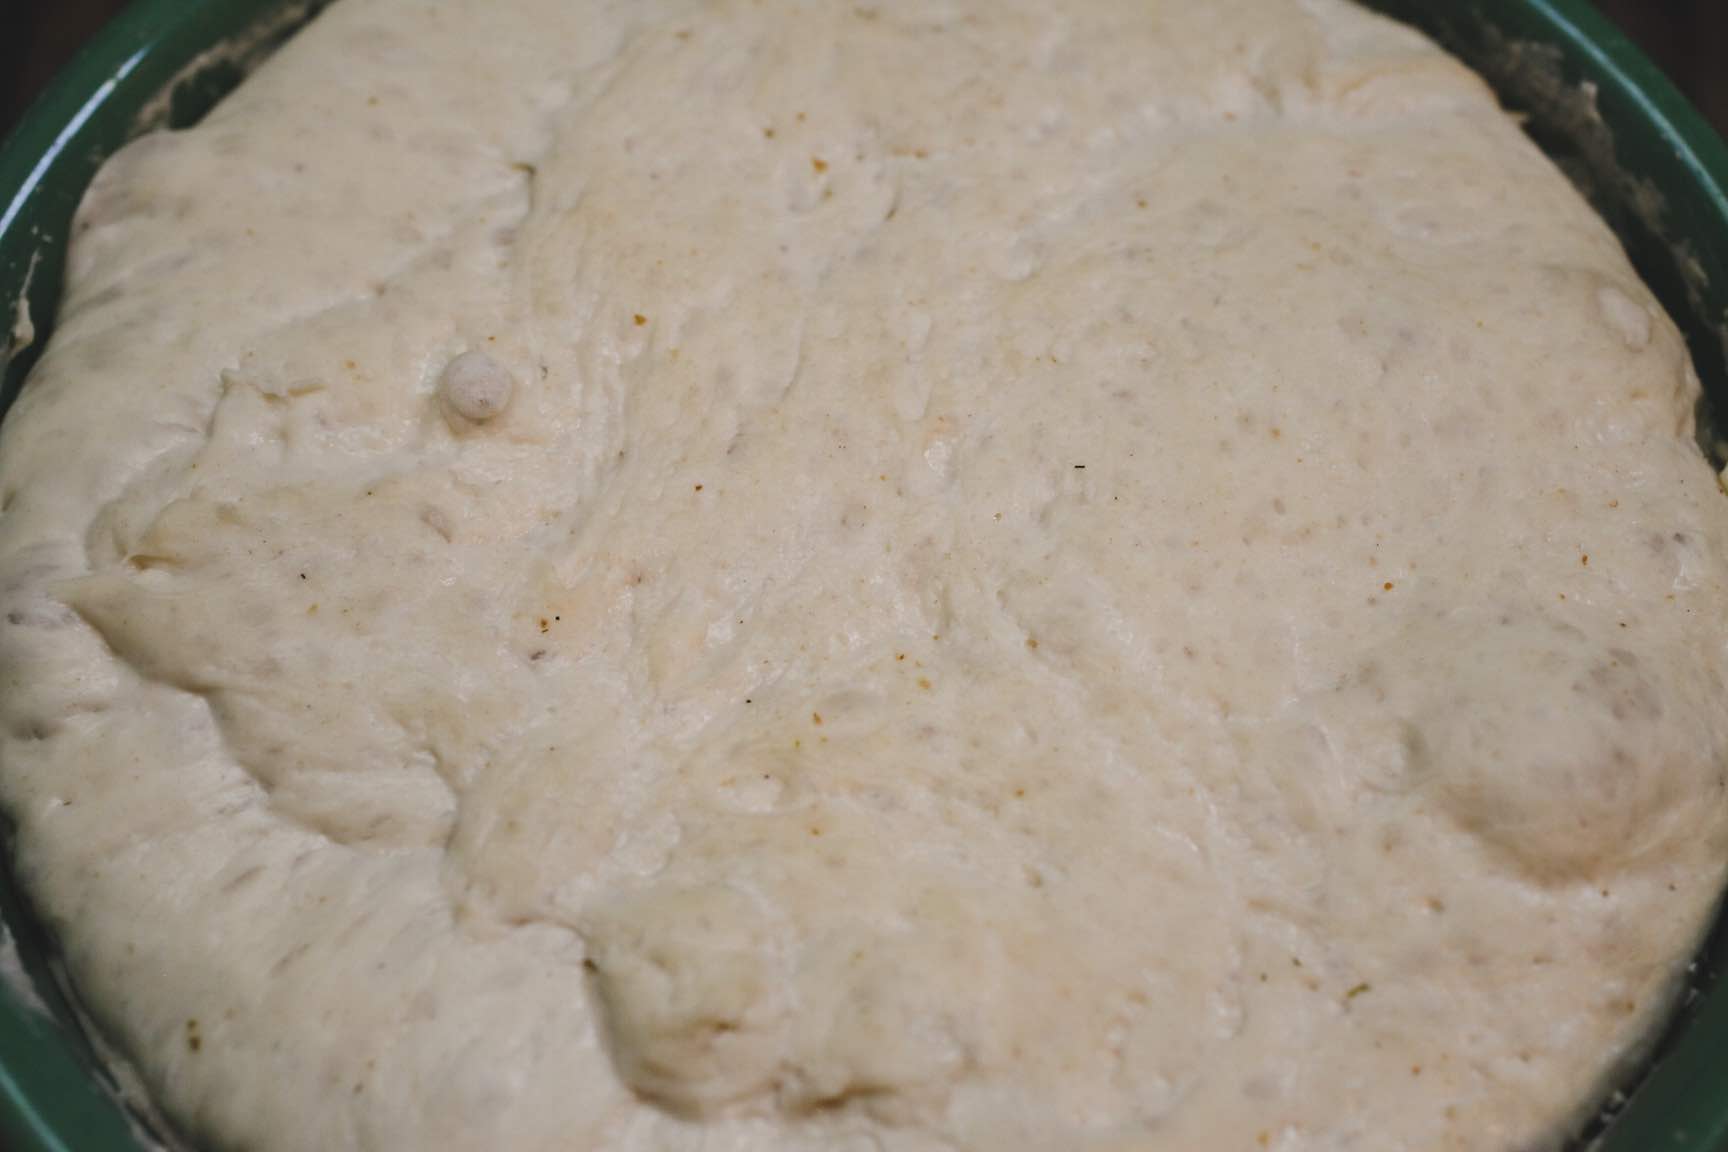
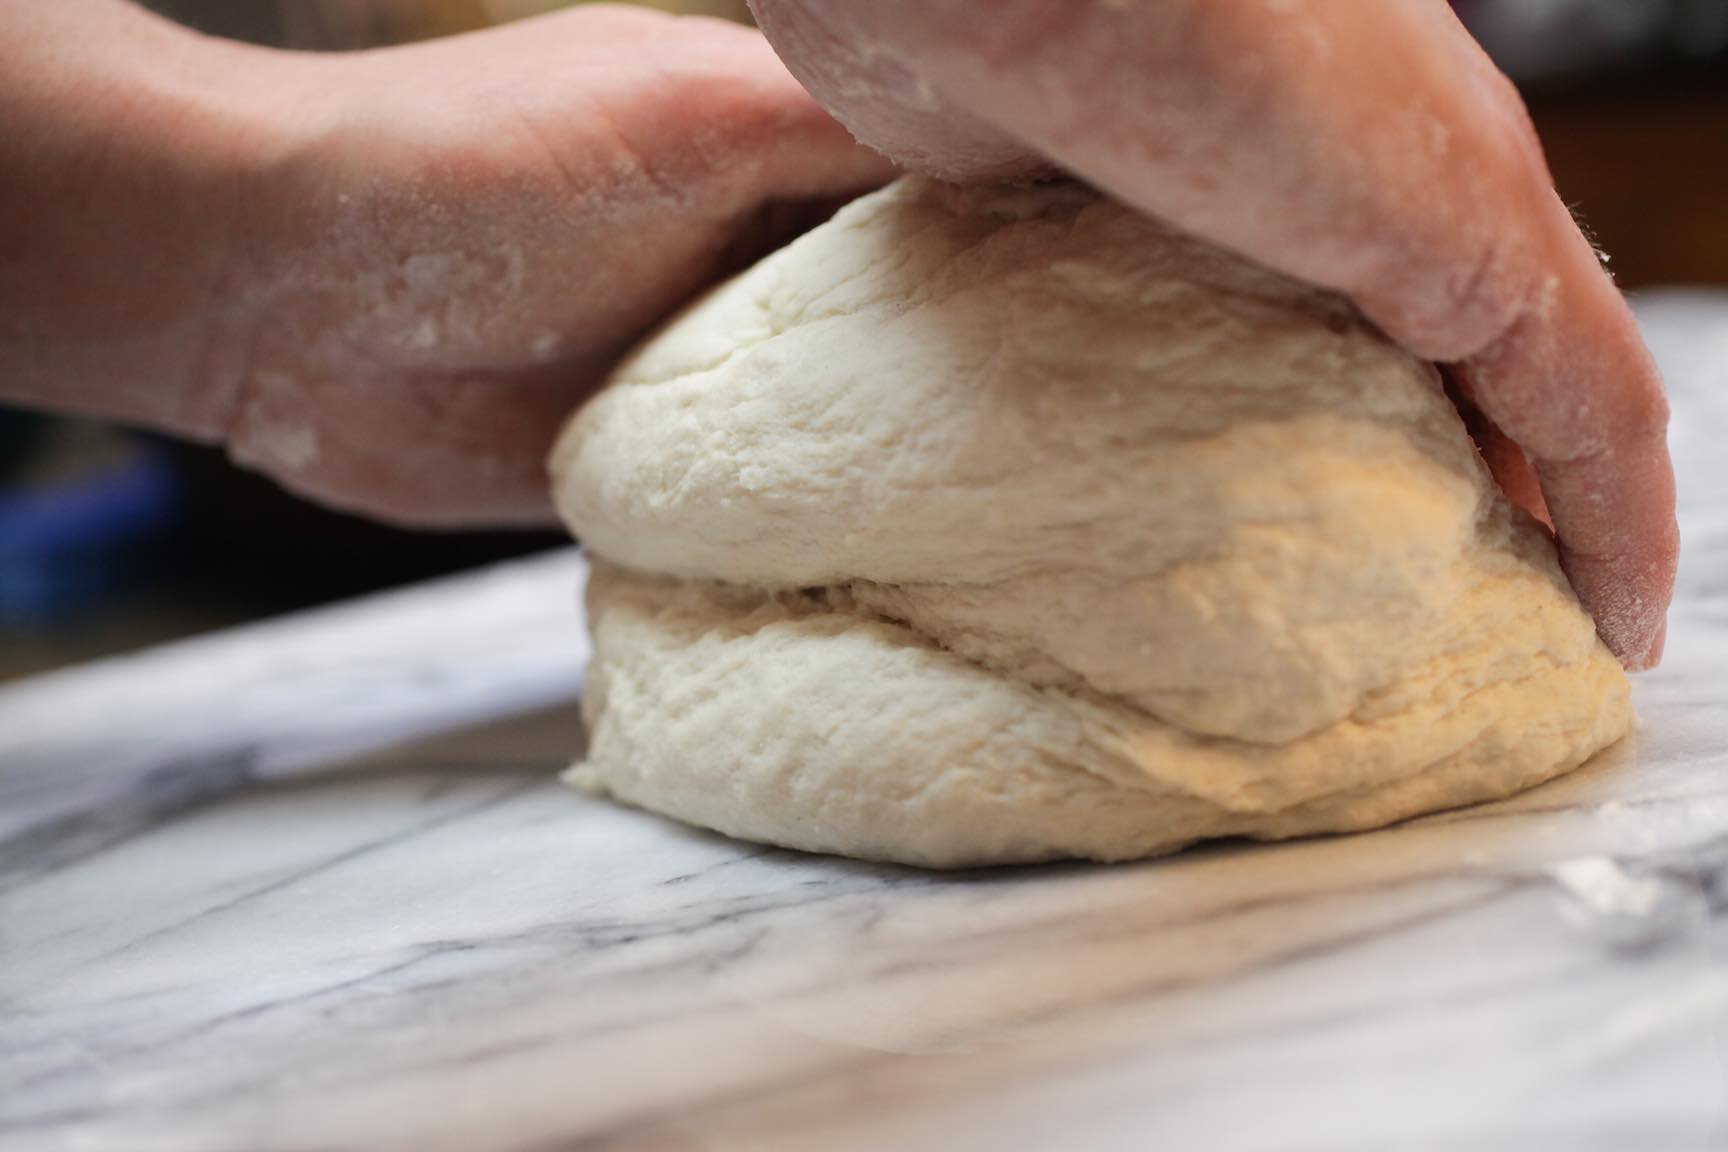
By this time, the dough will have nearly doubled in size. It will be gassy, full of air bubbles created by the fermentation that has been taking place. Turn it out of the bowl and onto a lightly floured surface.
Shape the Loaf
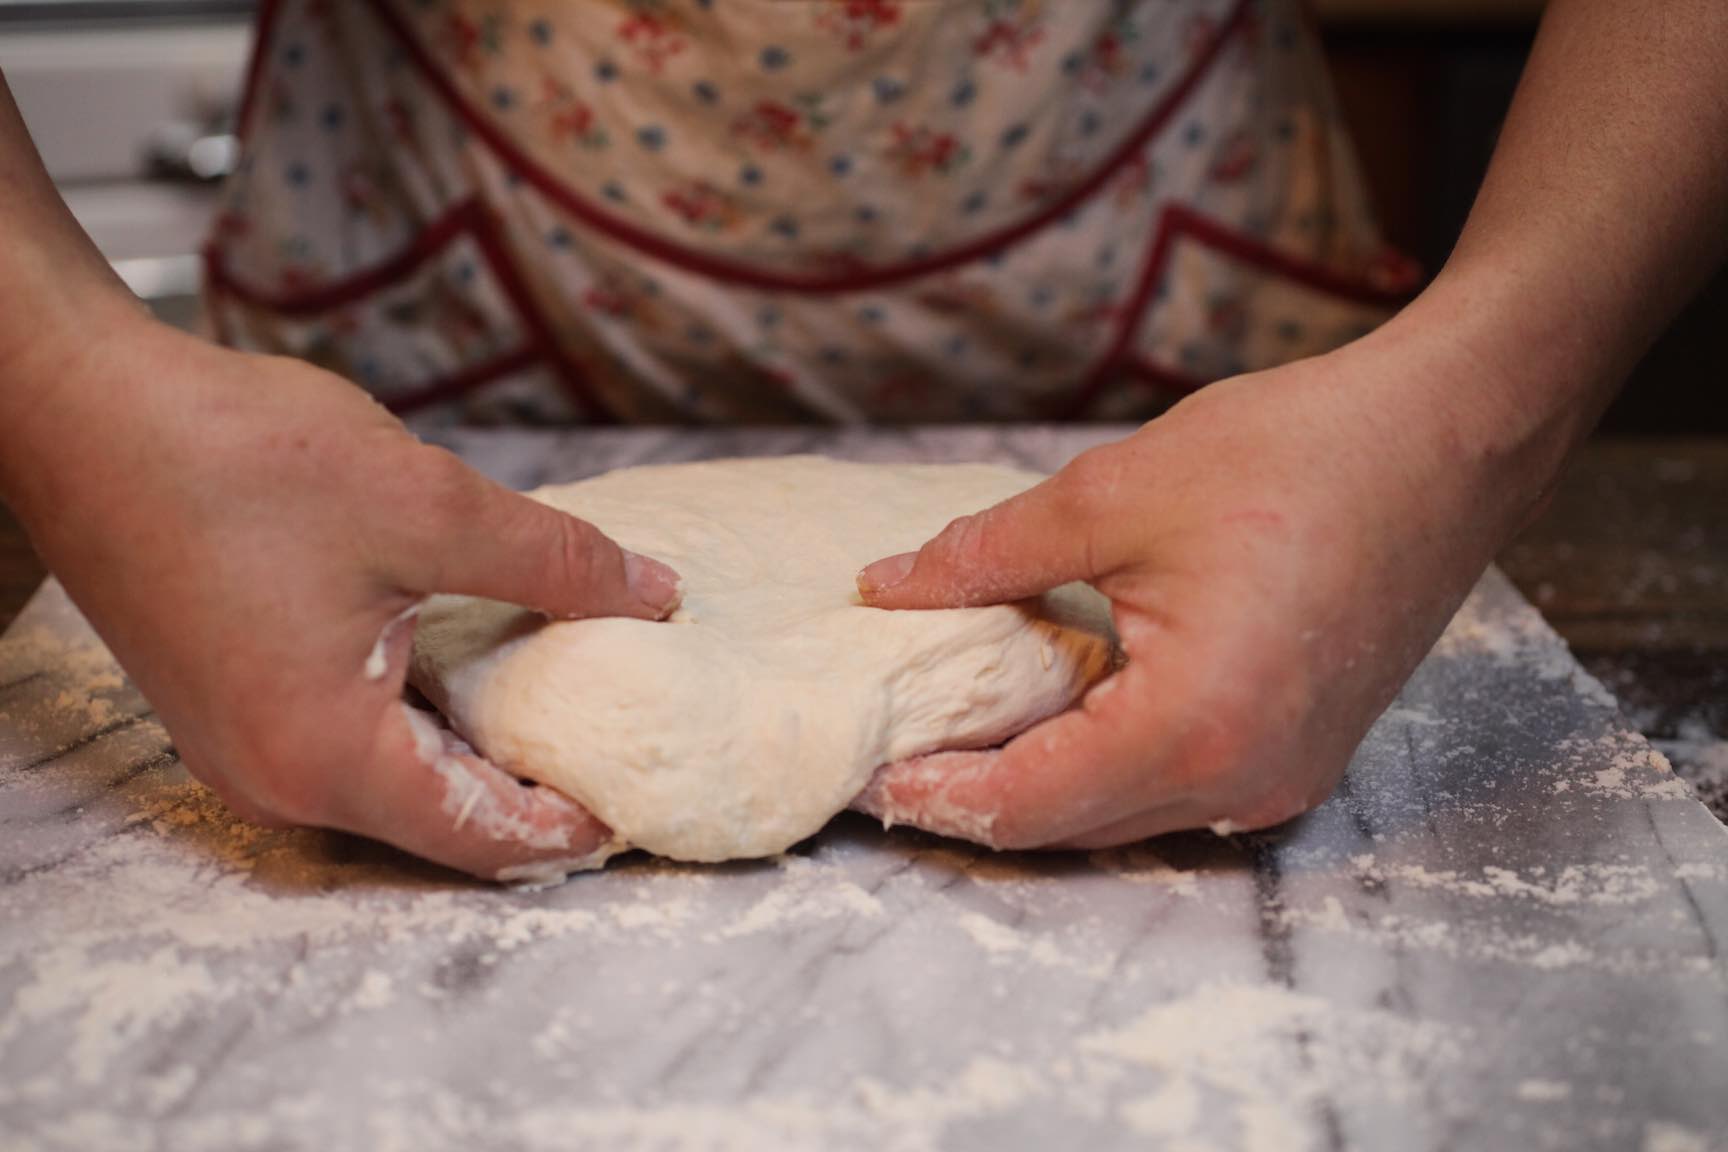
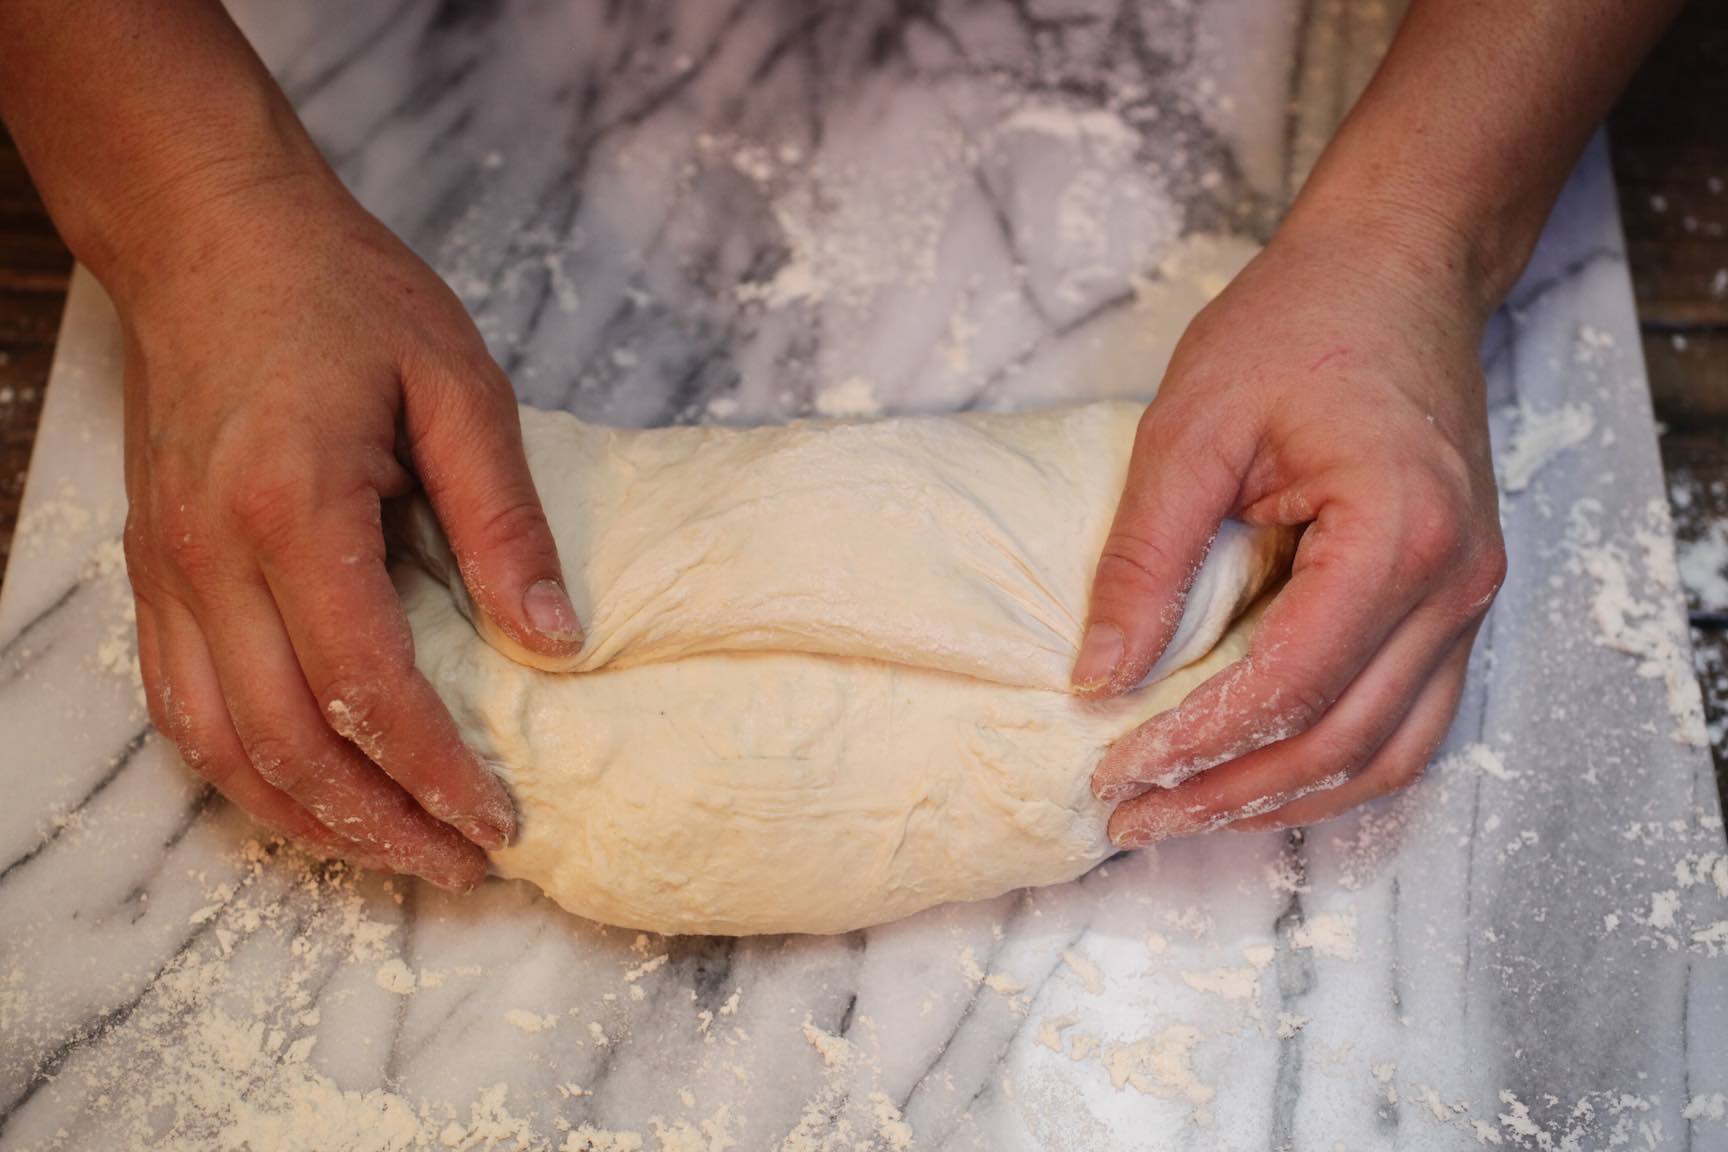
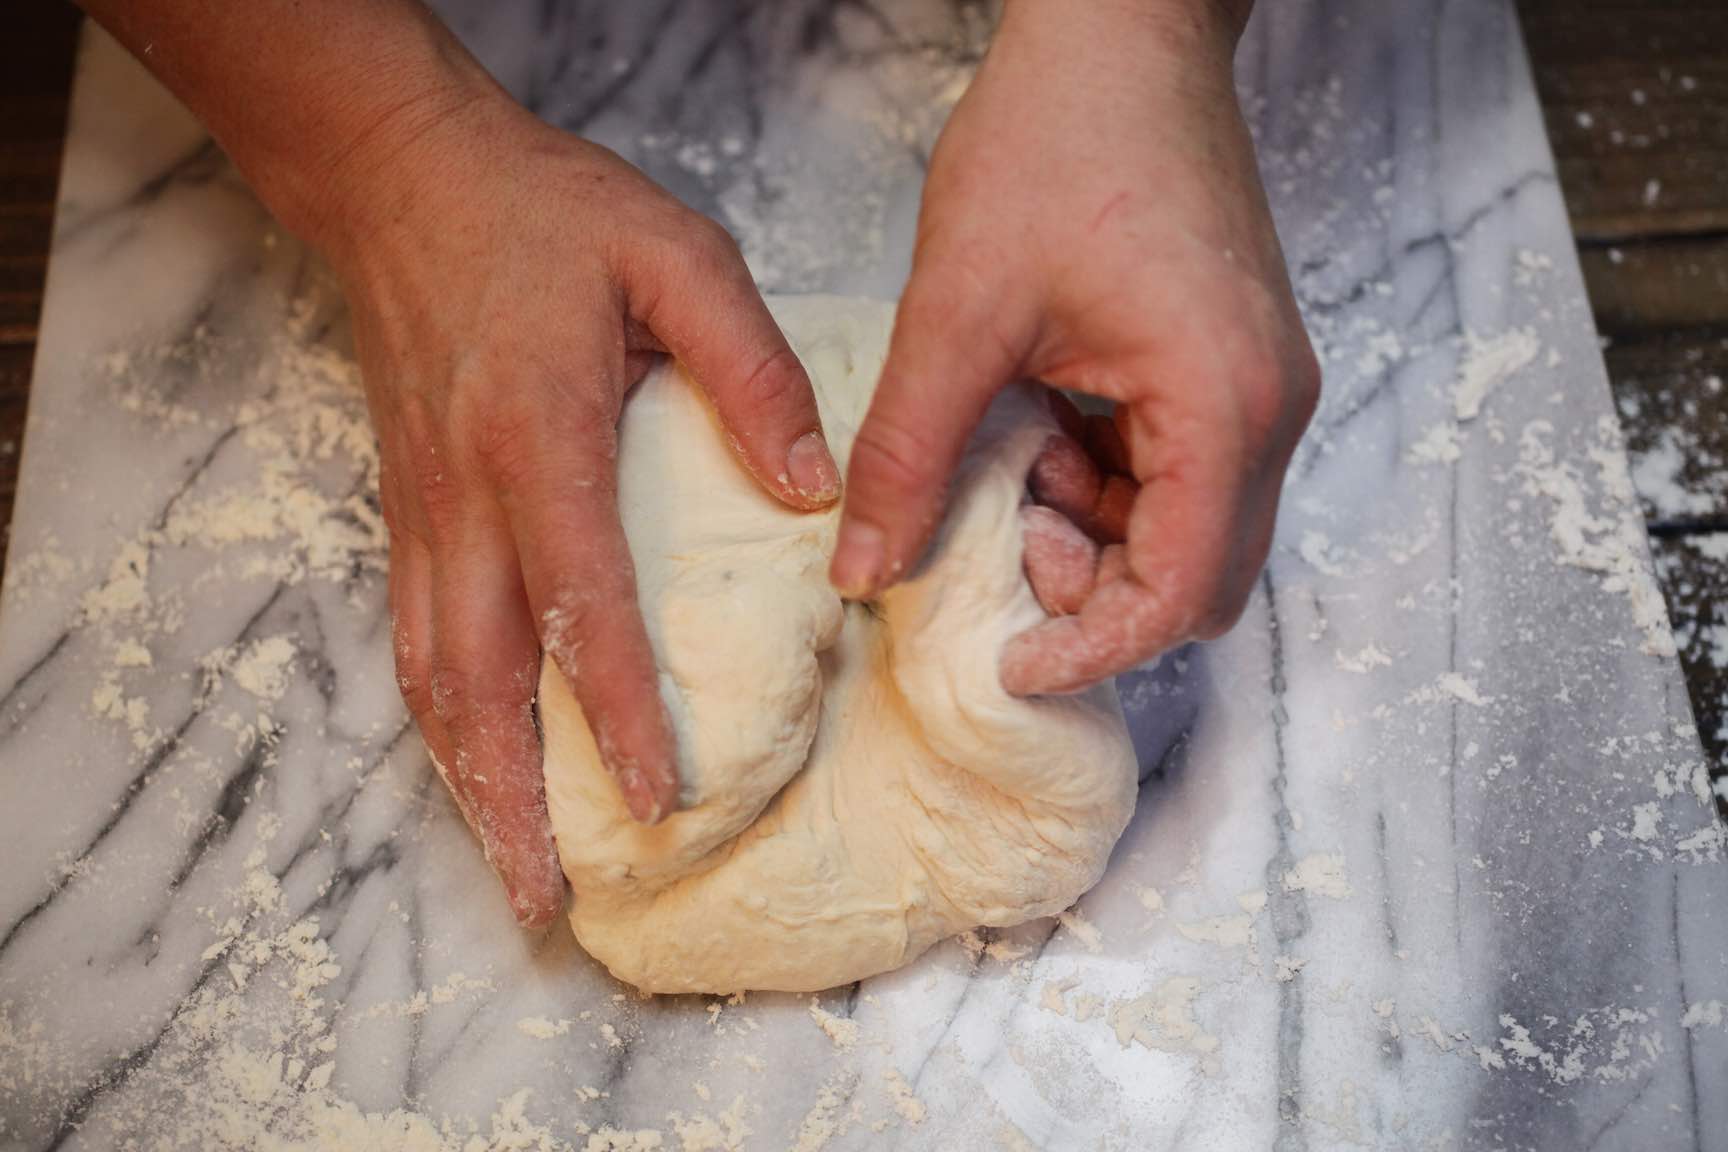
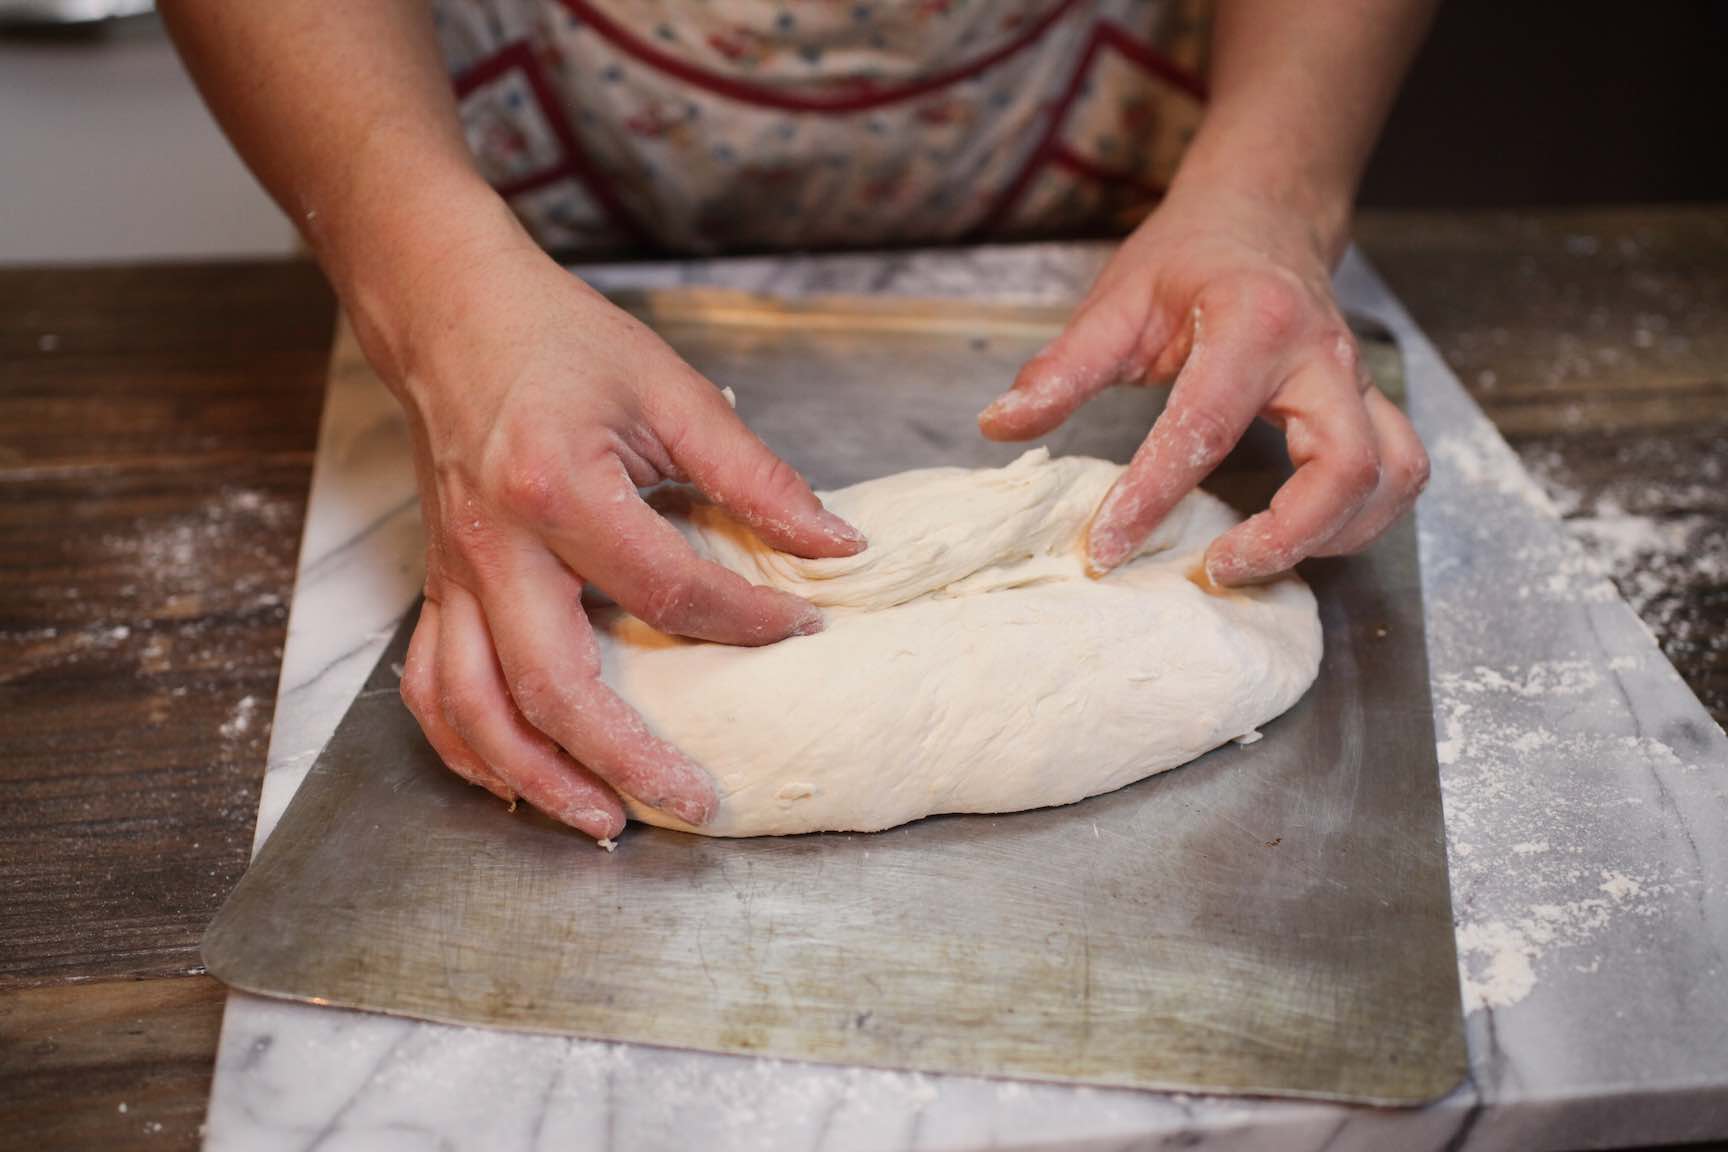
Shape the dough with tender hands. Pat the dough into a round, and flip it over. Imagine the dough divided into quarters; gently fold each edge of the dough into the center of the loaf. This will be the bottom, or ‘foot’ of your loaf. The dough will be soft and relaxed; don’t worry about making a perfect shape.
Proof the Dough
When the feet have all been tucked under, flip the loaf back over, and lay it on a greased baking sheet or stone. Cover and set it aside to proof for 2 1/2 - 4 1/2 hours. When you near the end of the rise, preheat the oven to 425°F.
For steaming instructions, see the bottom of the recipe.
Slash the Surface and Bake
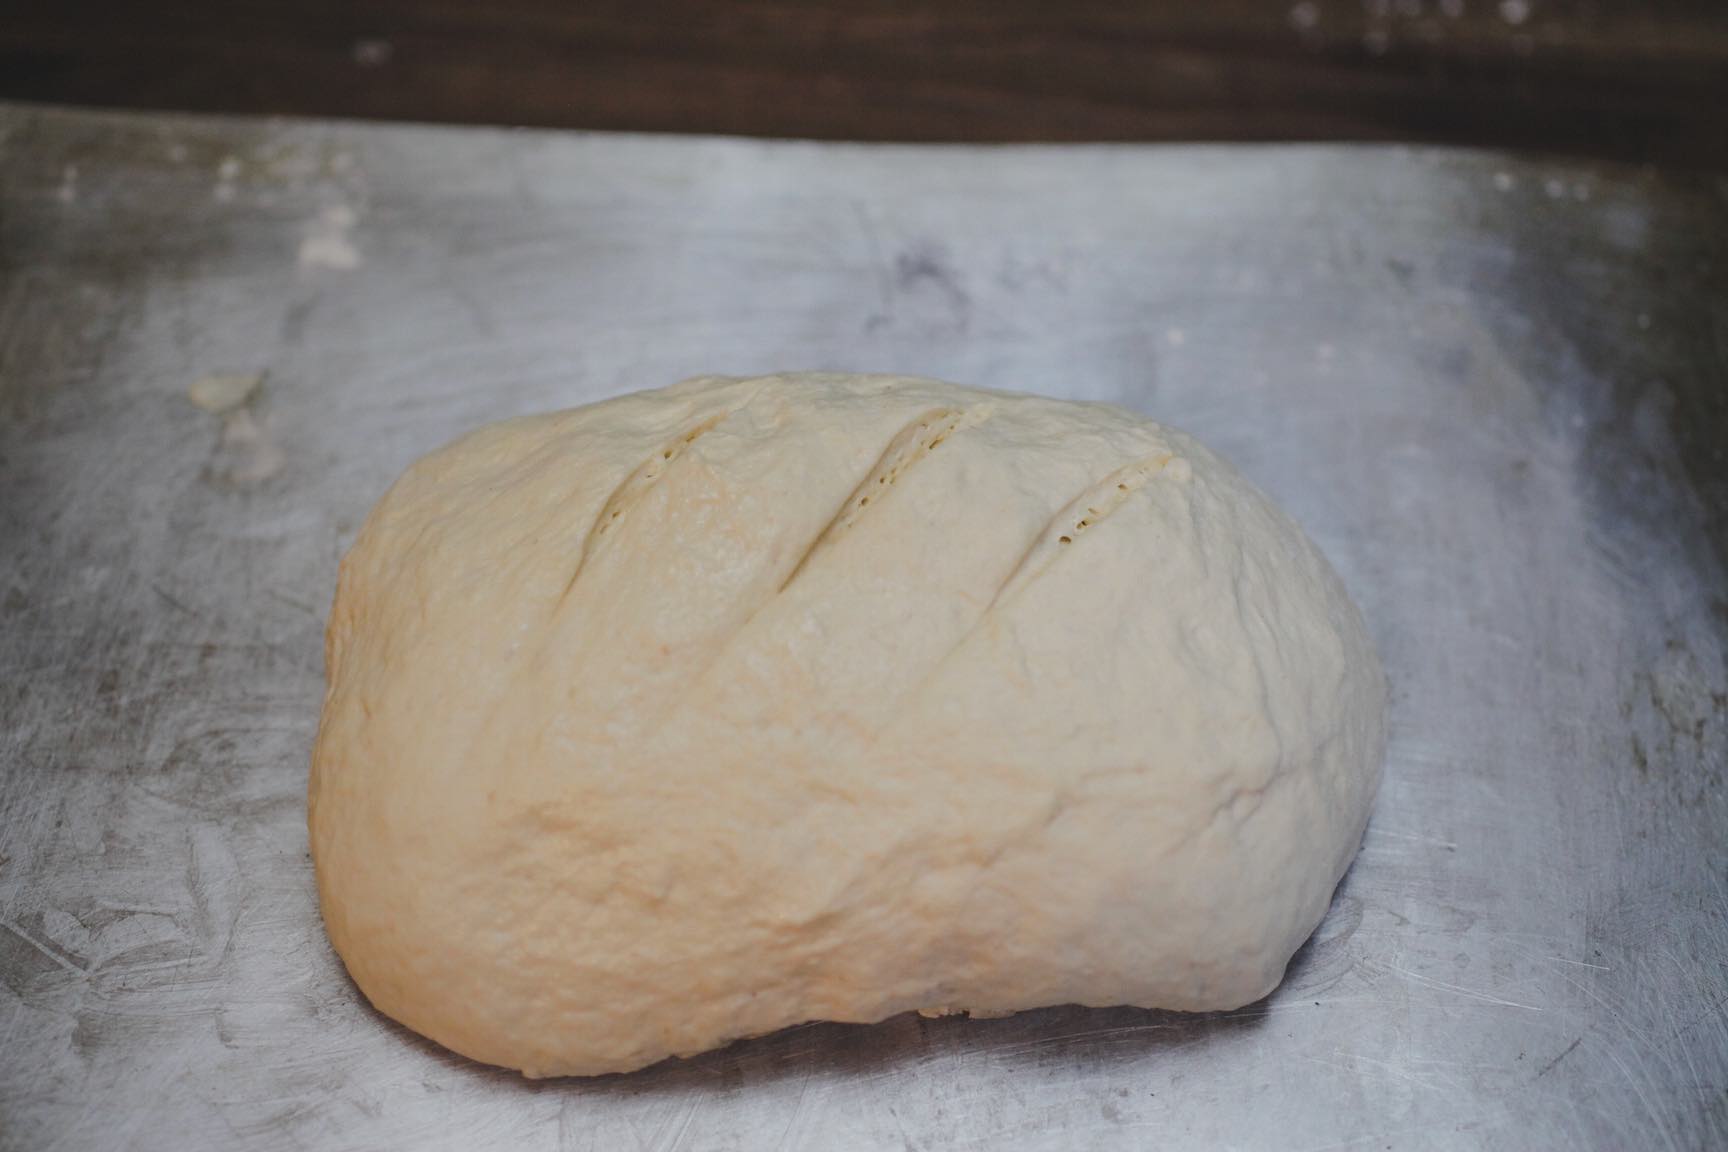
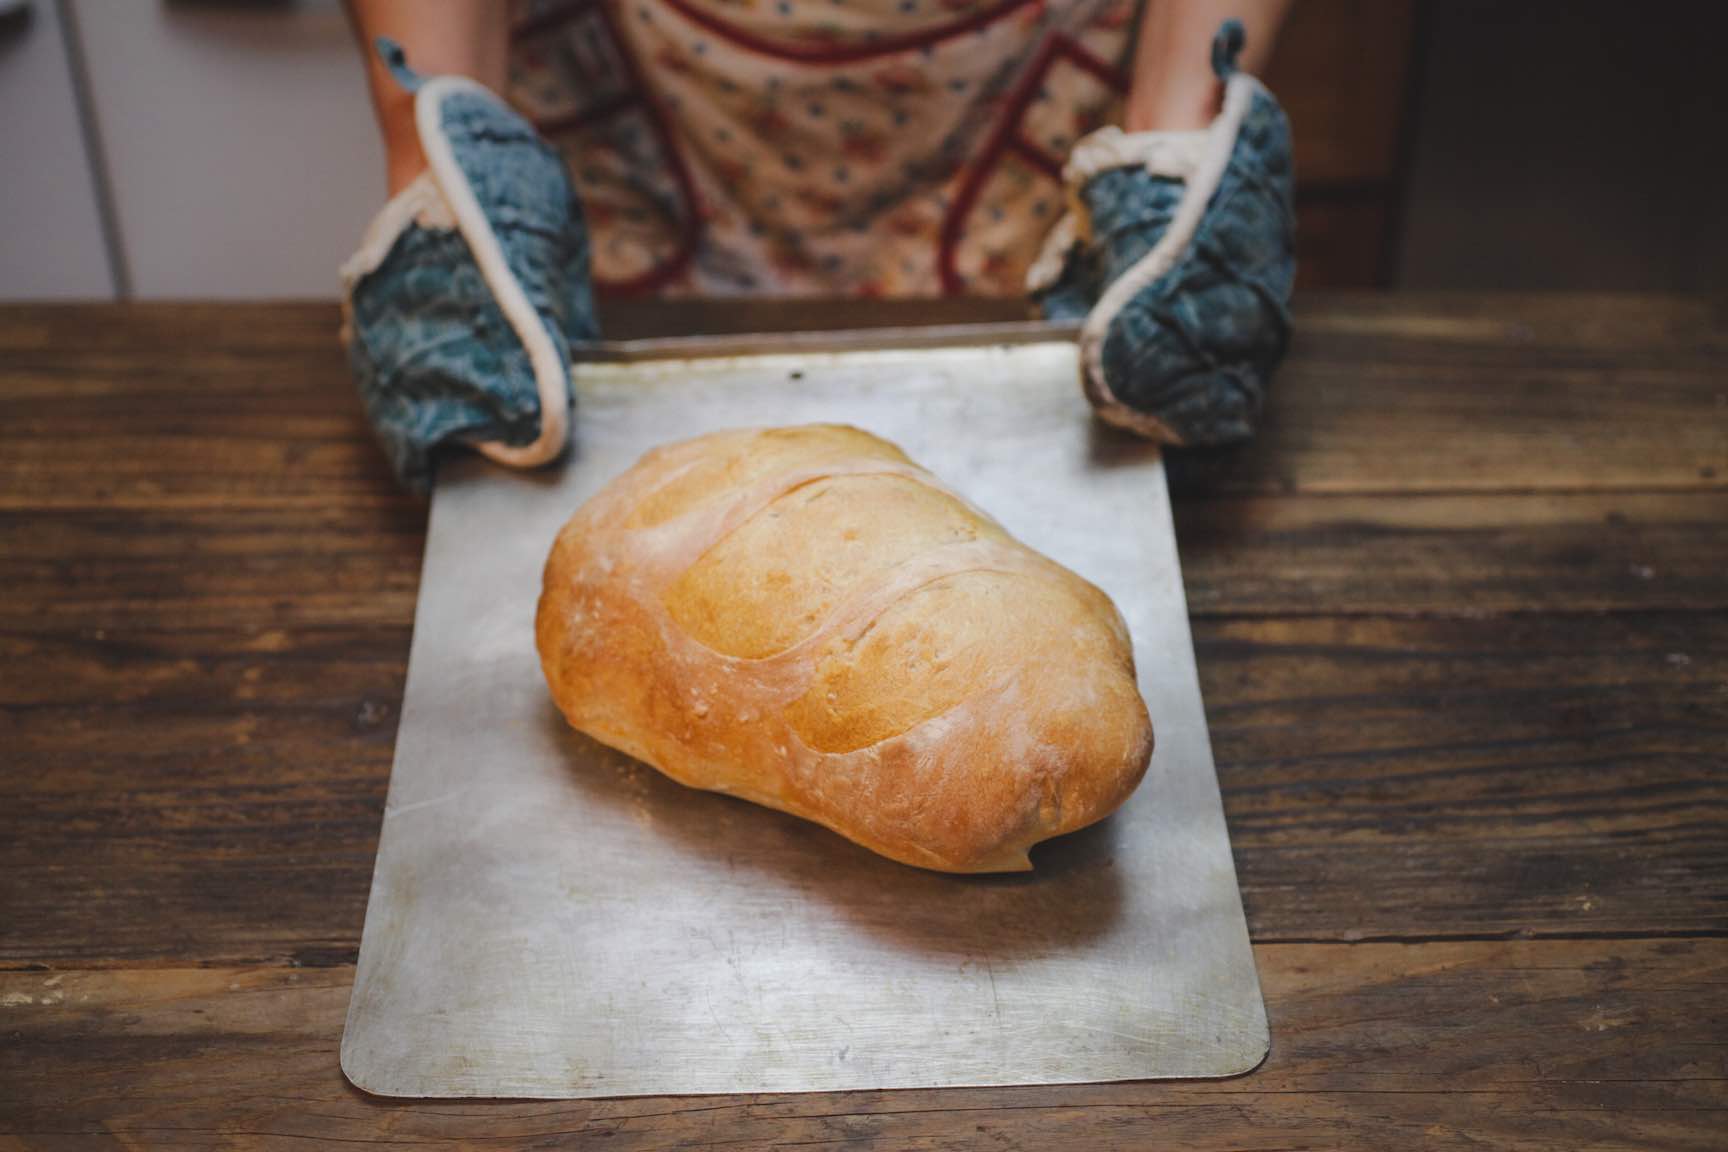
Slash the surface of the bread with a very sharp knife; this will aid in the rising process, giving the bread less resistance from the crust as it expands in the oven. Bake at 425°F for 10 minutes.
After 10 minutes, reduce the temperature to 400°F and bake for a further 30-40 minutes, until the loaf is golden brown, and makes a hollow sound when thumped on the bottom..
Remove the loaf from the oven and cool it on a wire rack.
Slice and Enjoy
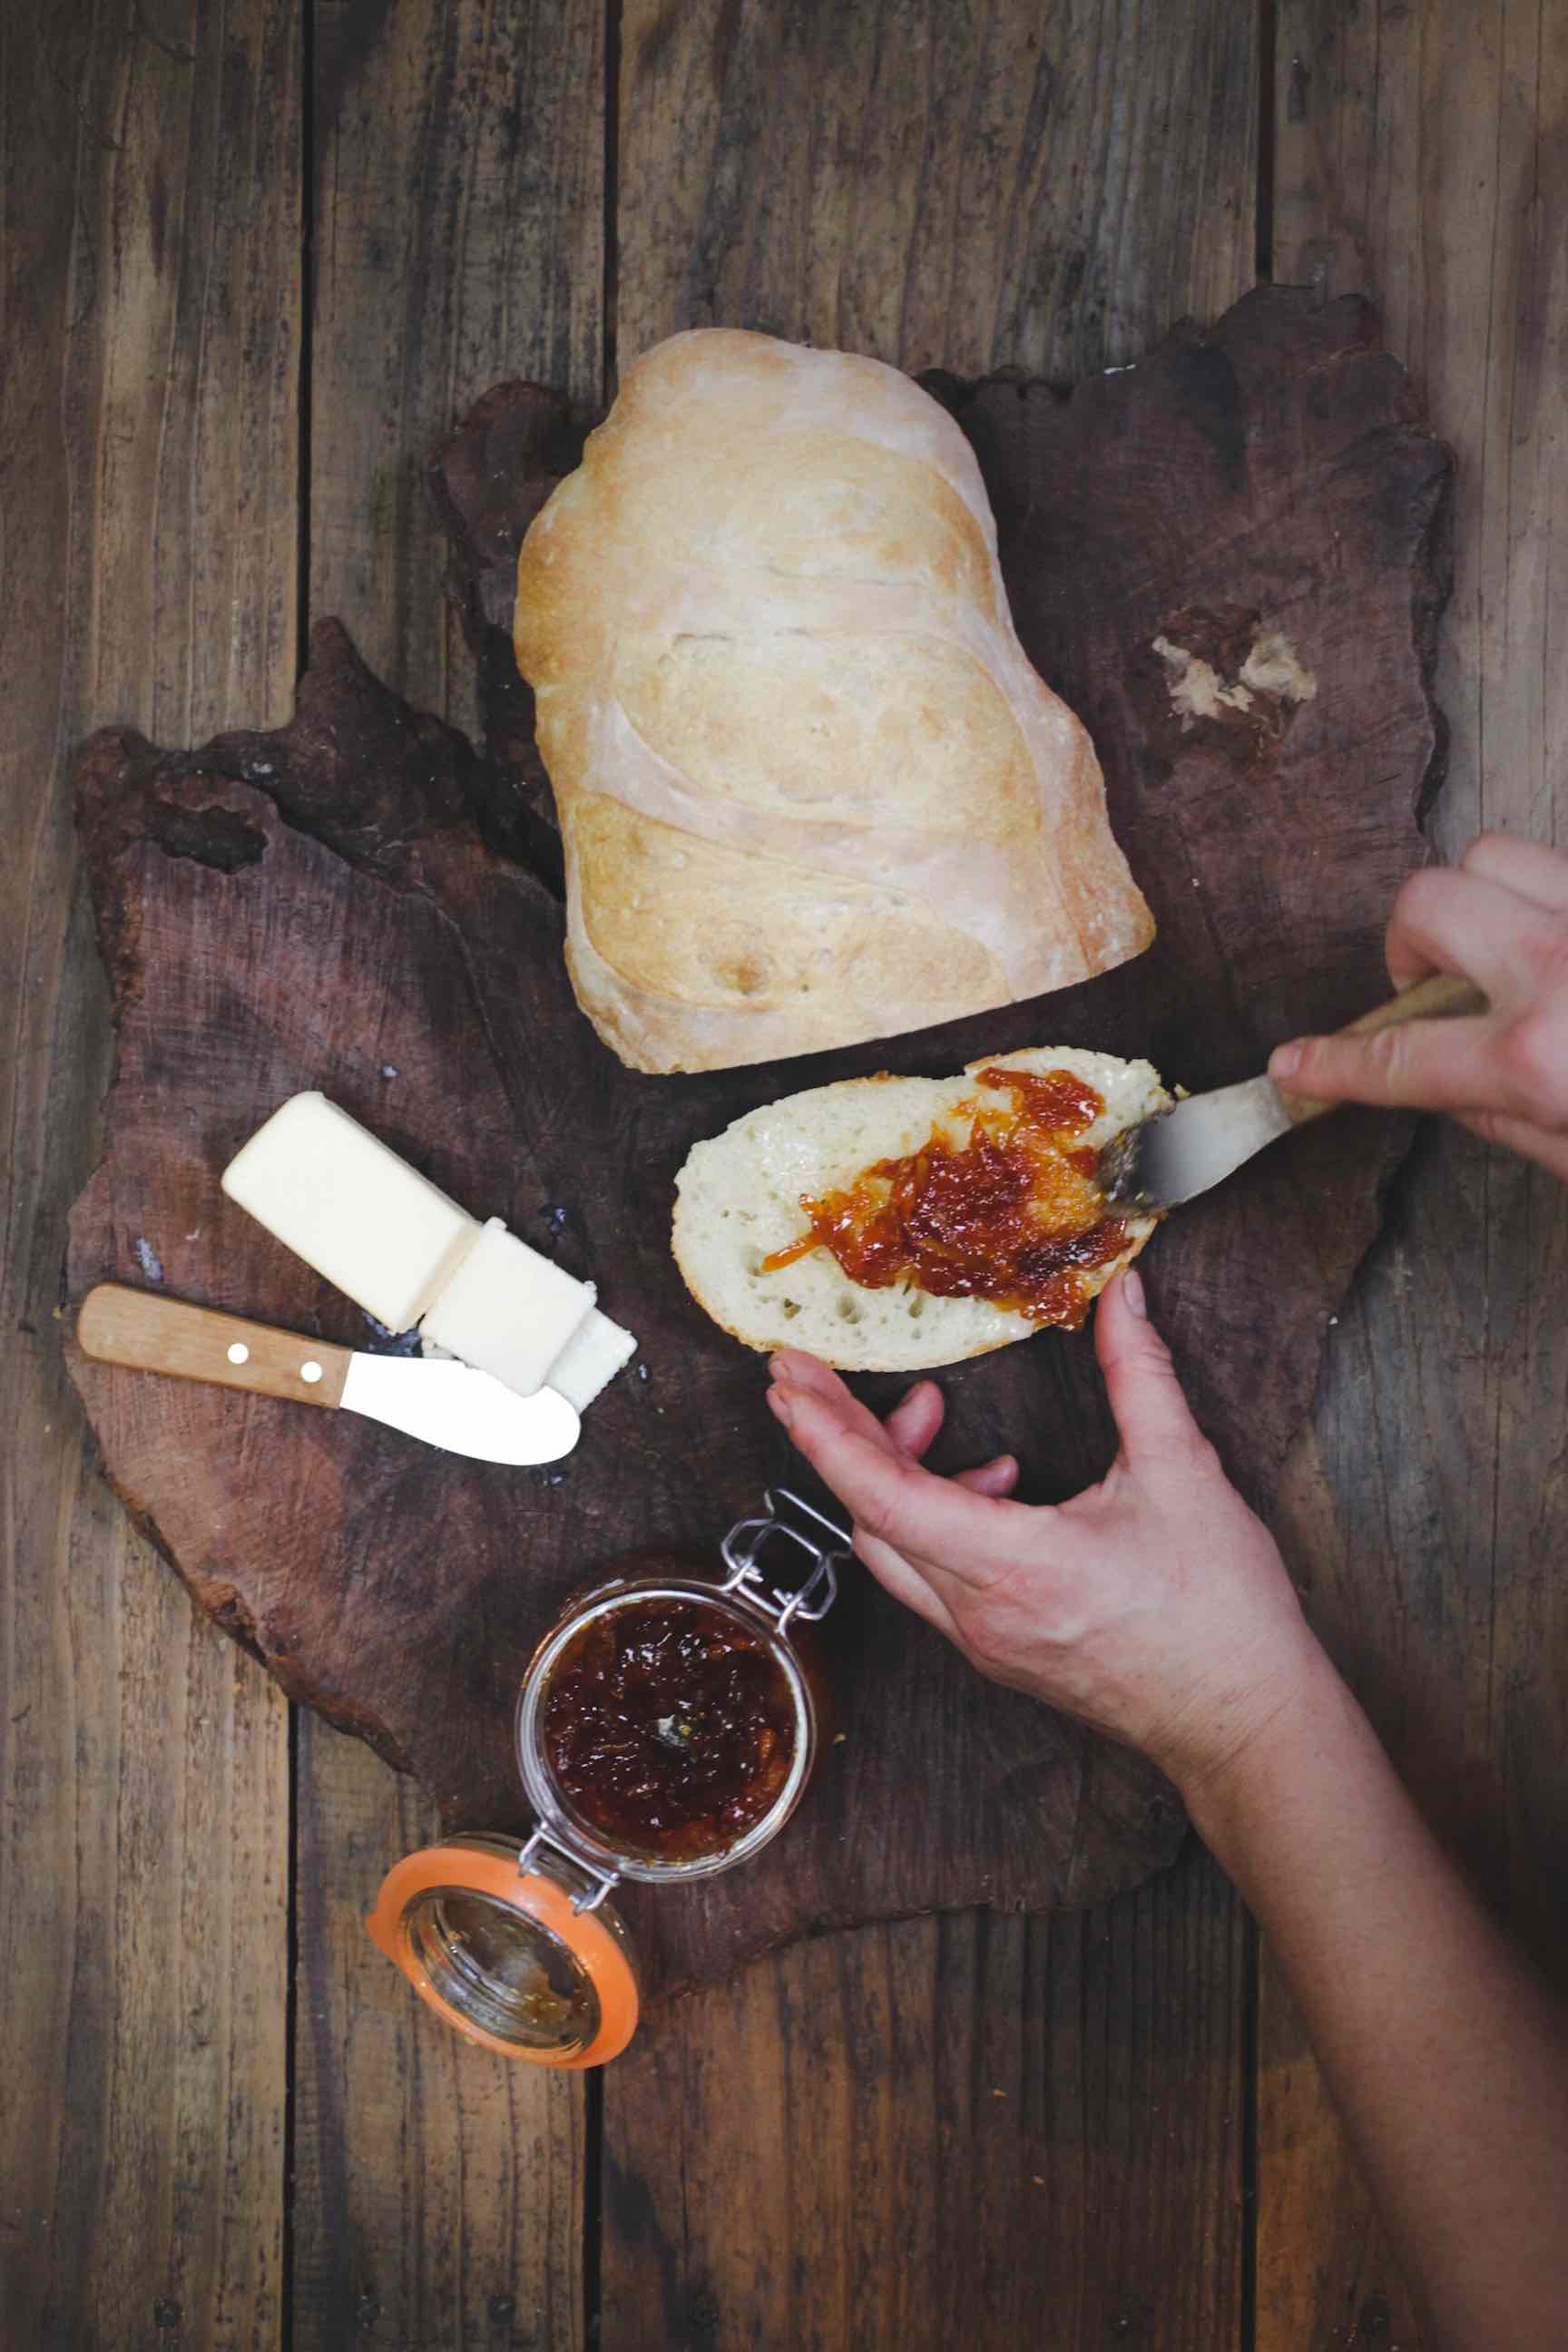
Waiting to slice the loaf for at least an hour after cooking results in a bread that will keep better and has the best texture. However, sometimes we just can’t wait! Especially with a delicious jar of marmalade nearby… We leave it to you to decide the wisest and most delicious course.
Steaming the Loaf: an optional Step for Added Spring and Softness
In the first few minutes of baking, the loaf is expanding rapidly as the yeast and bacteria, spurred by the rapidly rising temperatures, have one final burst of activity. Steaming at this stage will create a crust that is supple and expansive, and the rise, aka ‘ovenspring’ of the loaf will be all the greater. In addition, the steam draws sugars in the dough to the surface of the loaf. As the steam evaporates, the sugars are left behind to carmelize. This is only done in the first 10 minutes of baking; after this initial rise, the steam is no longer beneficial.
If you would like to steam the loaf (an optional step) place a lasagne pan or 1/4” deep baking sheet on the lower shelf of the oven to heat before the loaf is placed in the oven.
Once the loaf has been placed in the oven, and the temperature of the oven allowed to rise again, it is time to steam the loaf.
Working carefully and quickly, dash a 1/3 cup of water into the pan or cookie sheet, and quickly close the oven door. The water, as it hits the hot baking pan, will instantly create a cloud of steam. Wear long sleeves and use an oven mitt for this step.
Proceed as above for the rest of the recipe, reducing the heat after all the water has evaporated.
Over to You
It’s part of our mission here at Mountain Feed to help you make delicious, sustainable, homemade food more often. Stop by and say hello on Facebook, Twitter, Instagram or Pinterest. Or, as always, you can do it the old fashioned way and come by the store to speak with one of our in-house experts.