- Continue Shopping
- Your Cart is Empty
Jam Made with Frozen Berries

What You'll Need
Equipment:
- jam pan or heavy bottomed pot
- potato masher or large mixing spoon to mash berries
- 6 half pint jam jars
- 6 sets of lids and bands
- water bath canner with rack
- canning tools
- clean kitchen towels
4 cups frozen berries, any kind
4 cups sugar
2 tablespoons lemon juice
pinch of salt
The freezer is underrated as the most unfussy method of preservation. With this fabulous invention, we can make fresh berry jam long after the berries are gone from the farmers’ markets. In the heat of summer, it’s hard sometimes to want to stand at the stove and stir for so long, but in these colder times of the year, it’s downright luxurious to do so. Picked at the peak of ripeness and then frozen, these berries will be exponentially better than a pale, washed-out berry from faraway climes at this time of year. Get them into the jam pot before they thaw; the faster they defrost, the less juice escapes the fruits. This makes a thicker, tastier jam.
If you are not familiar with the water bath canning method watch our water bath canning video workshop. Always make sure you are following all safety guidelines outlined by the USDA when canning anything.
makes 6 half-pint jars
Directions
Prepare a water bath canner and sterilize 6 half-pint jars.Remove the berries from the freezer.
Place the frozen berries in a jam pan or other flaring, heavy-bottomed pot and set it over low heat.
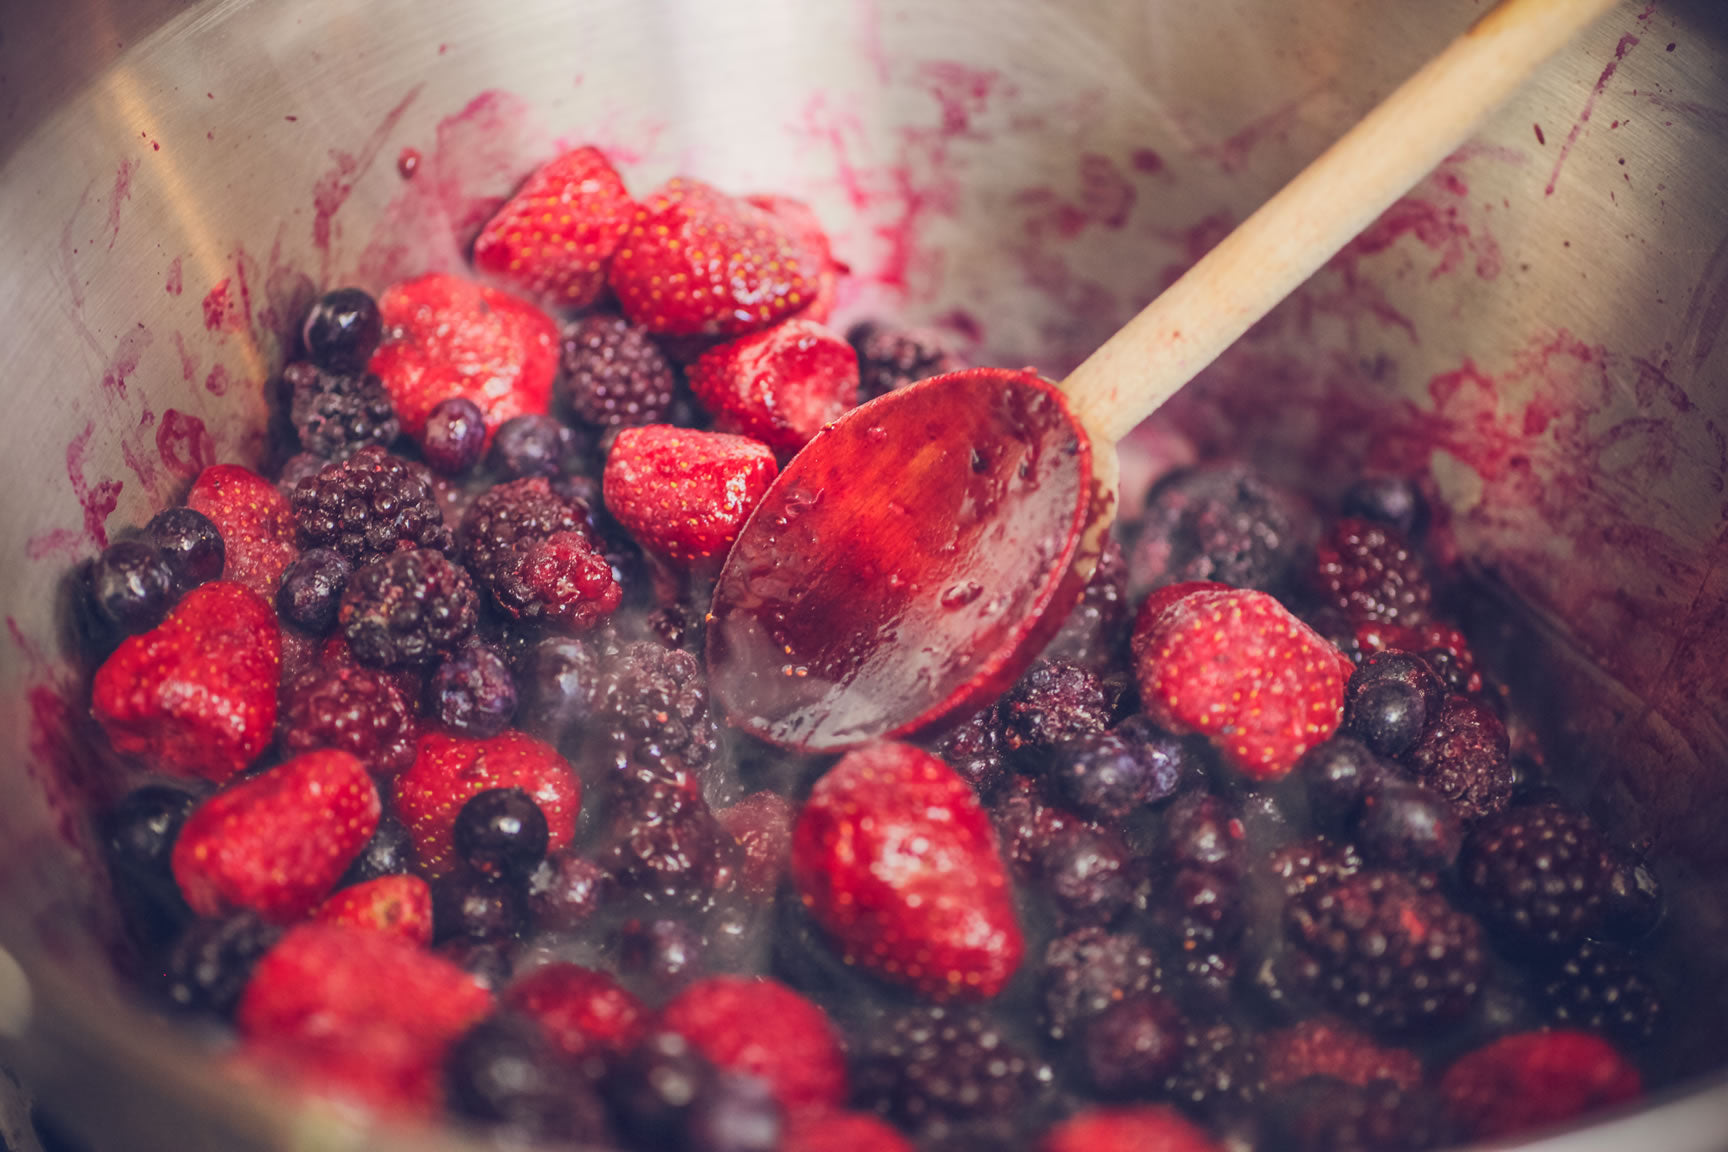 As the berries defrost, they will begin to weep, creating liquid in the bottom of the pan. Stir continuously until the juices are released from the berries.The heat can be increased as the juices pool in the pan.
Bring the berries to a boil over high heat.
 Add the sugar, and stir to combine.
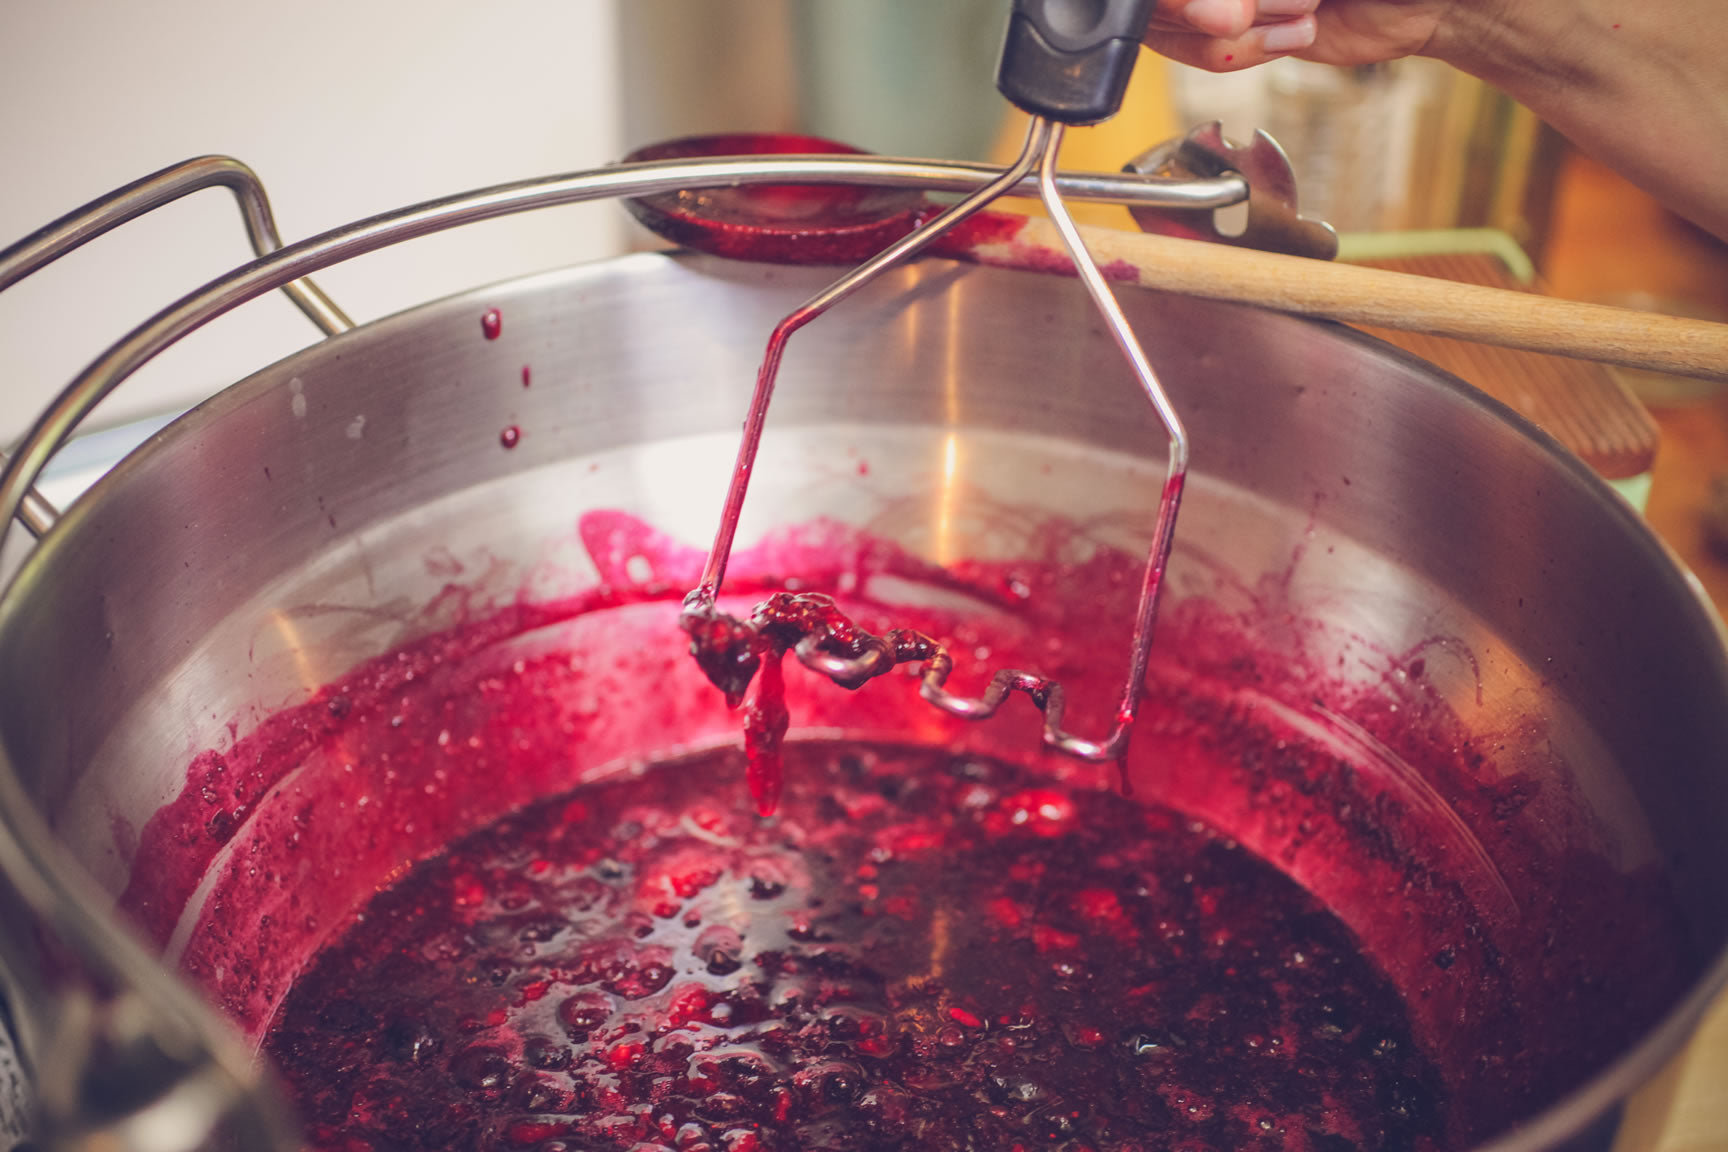
Using a potato masher, crush and mash the berries, if desired, for a smoother, more uniform texture. This may not be as necessary if using all soft fruits like raspberries, but if whole strawberries are used, it makes for a better, more spreadable texture.
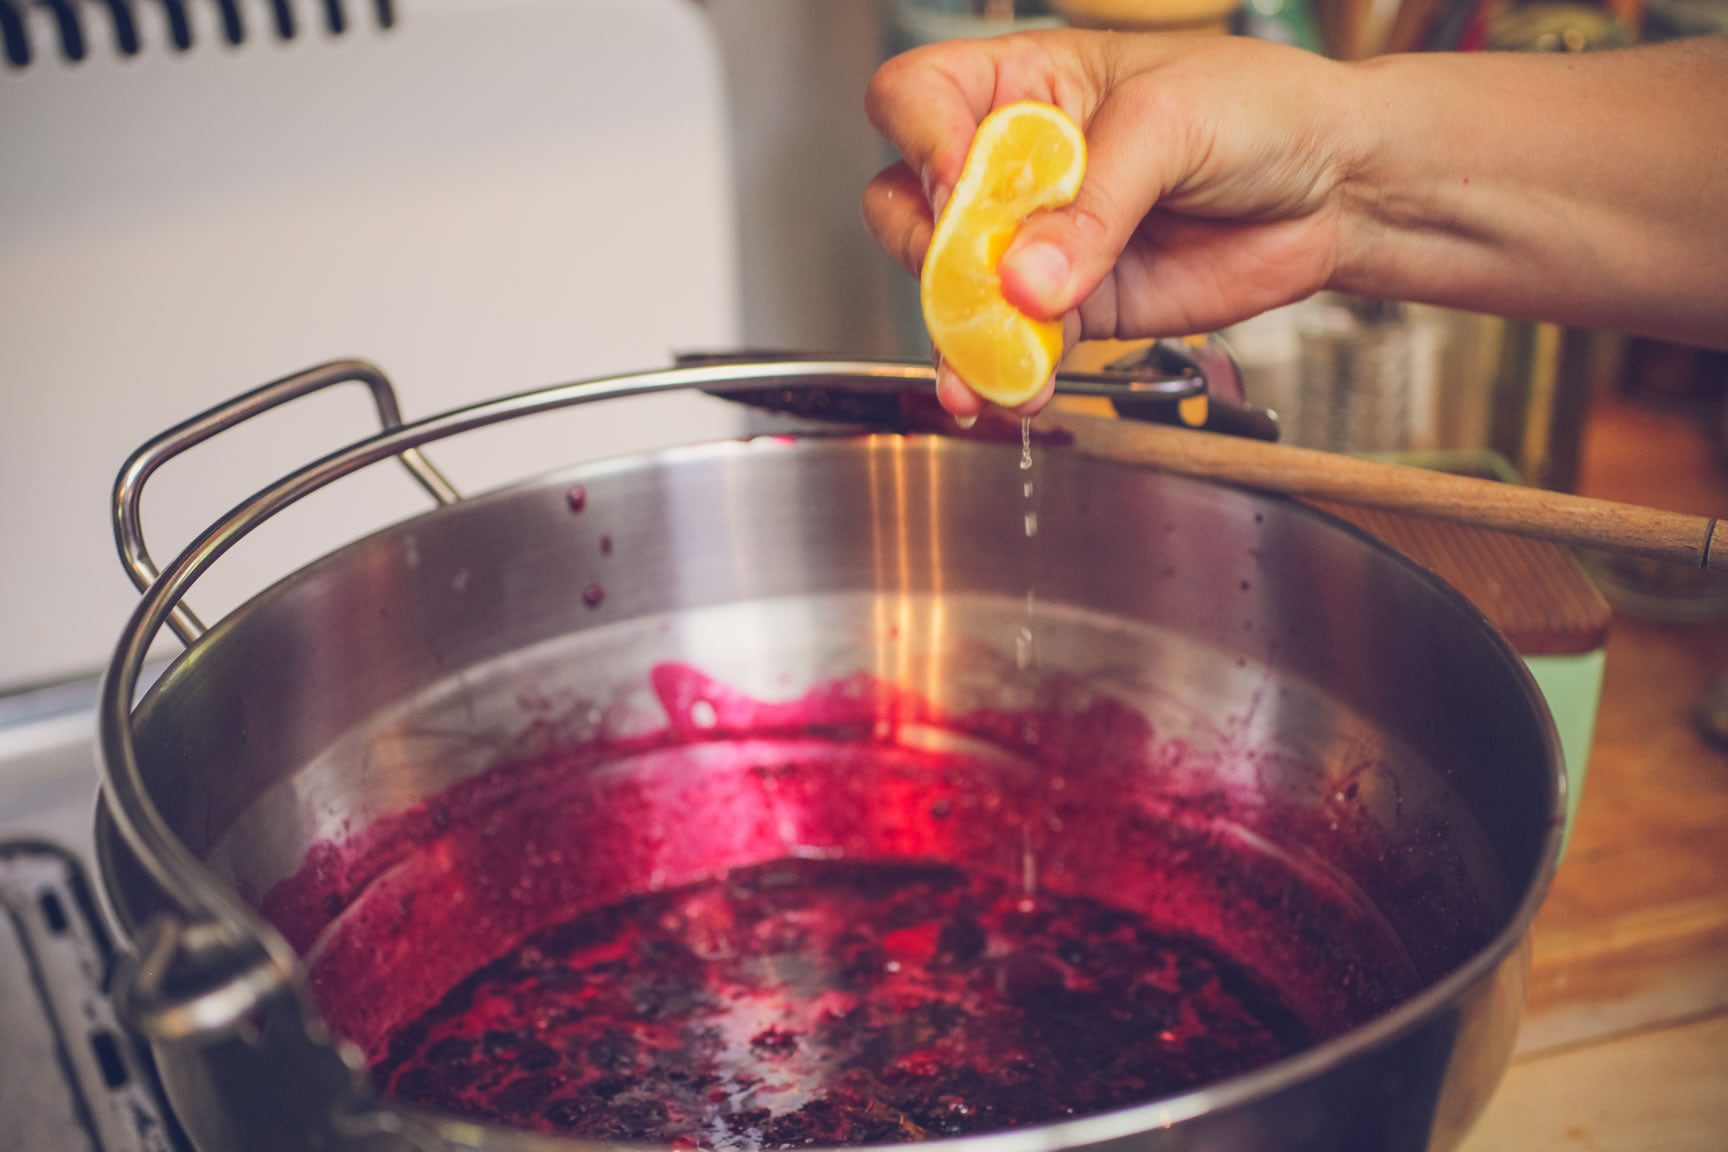
Add the lemon juice and stir to combine.
 Continue to cook until the mixture thickens and the bubbles in the pan erupt slowly, like lava rather than boiling berry tea.
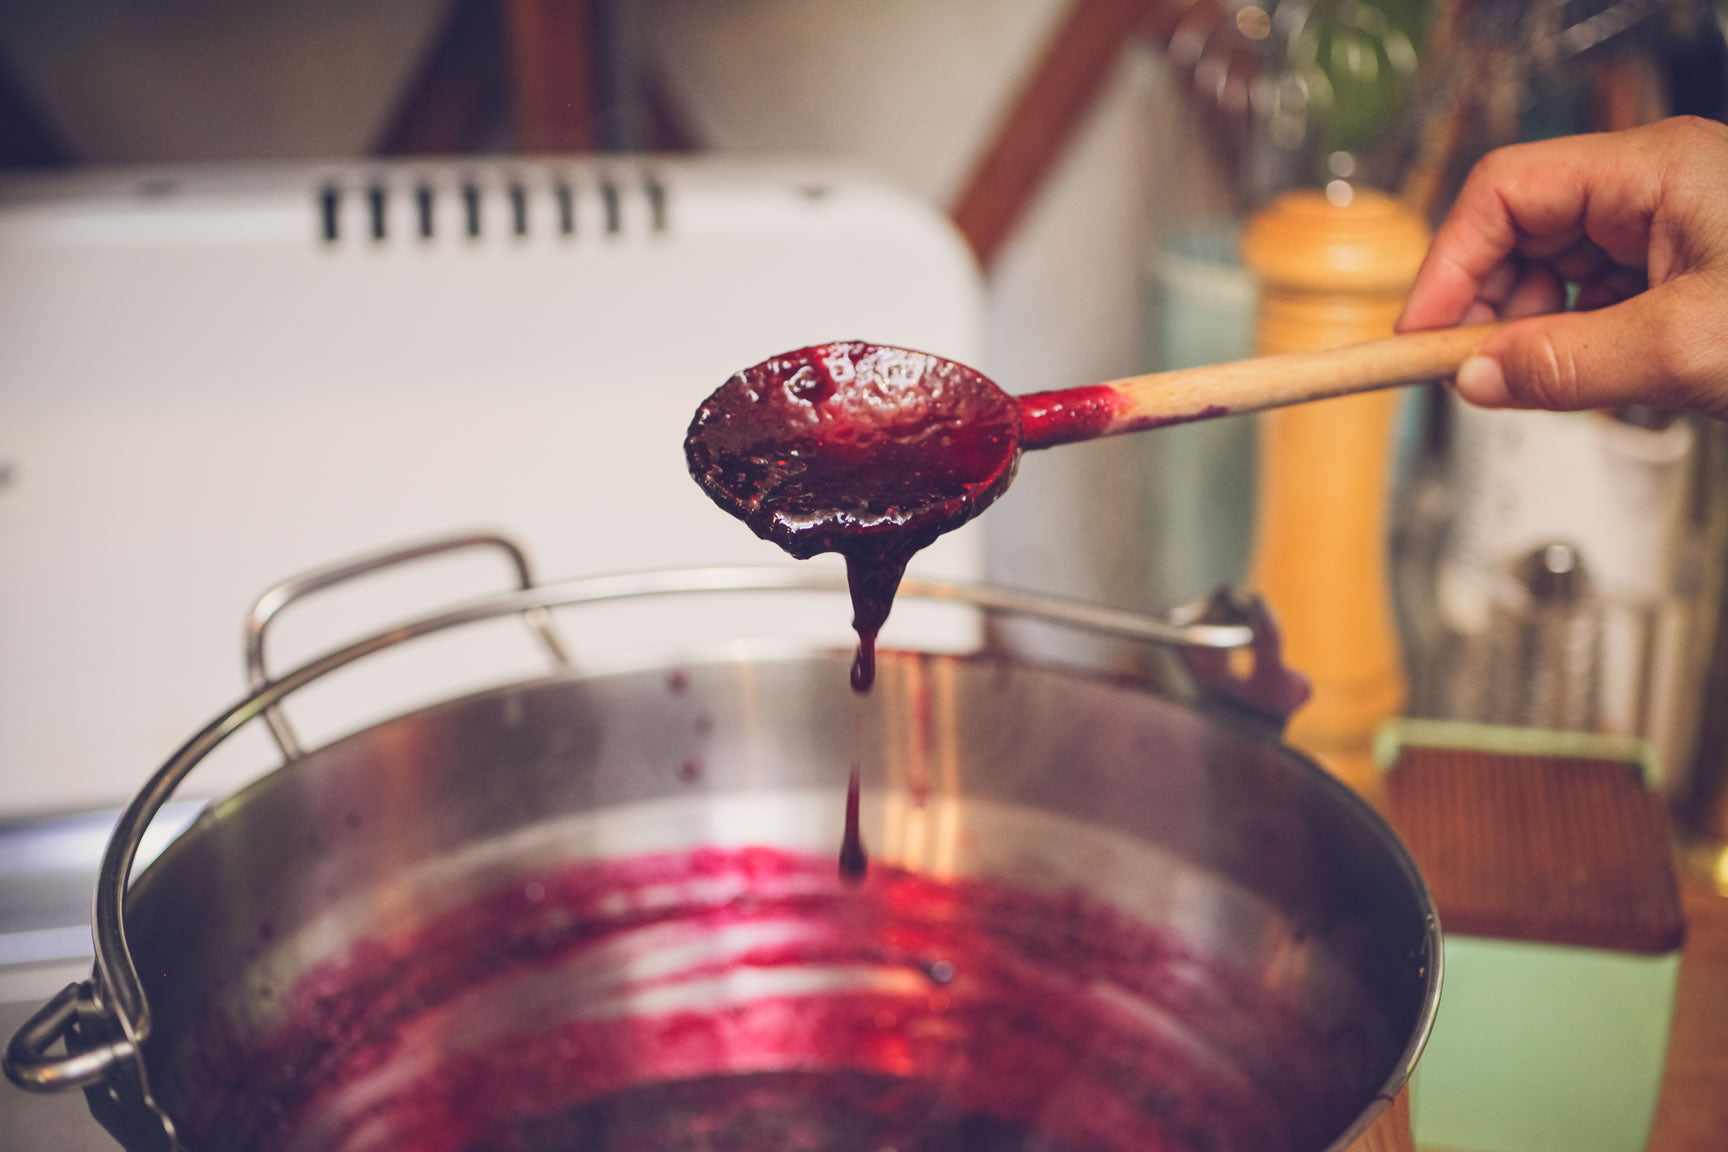
At this stage, the jam should pass the gel test. See how it slides off the spoon in a sheet, rather than individual droplets? That’s a perfect indicator of a jam that has gelled properly.
Ladle the jam into warm, clean jars, leaving 1/4” headspace.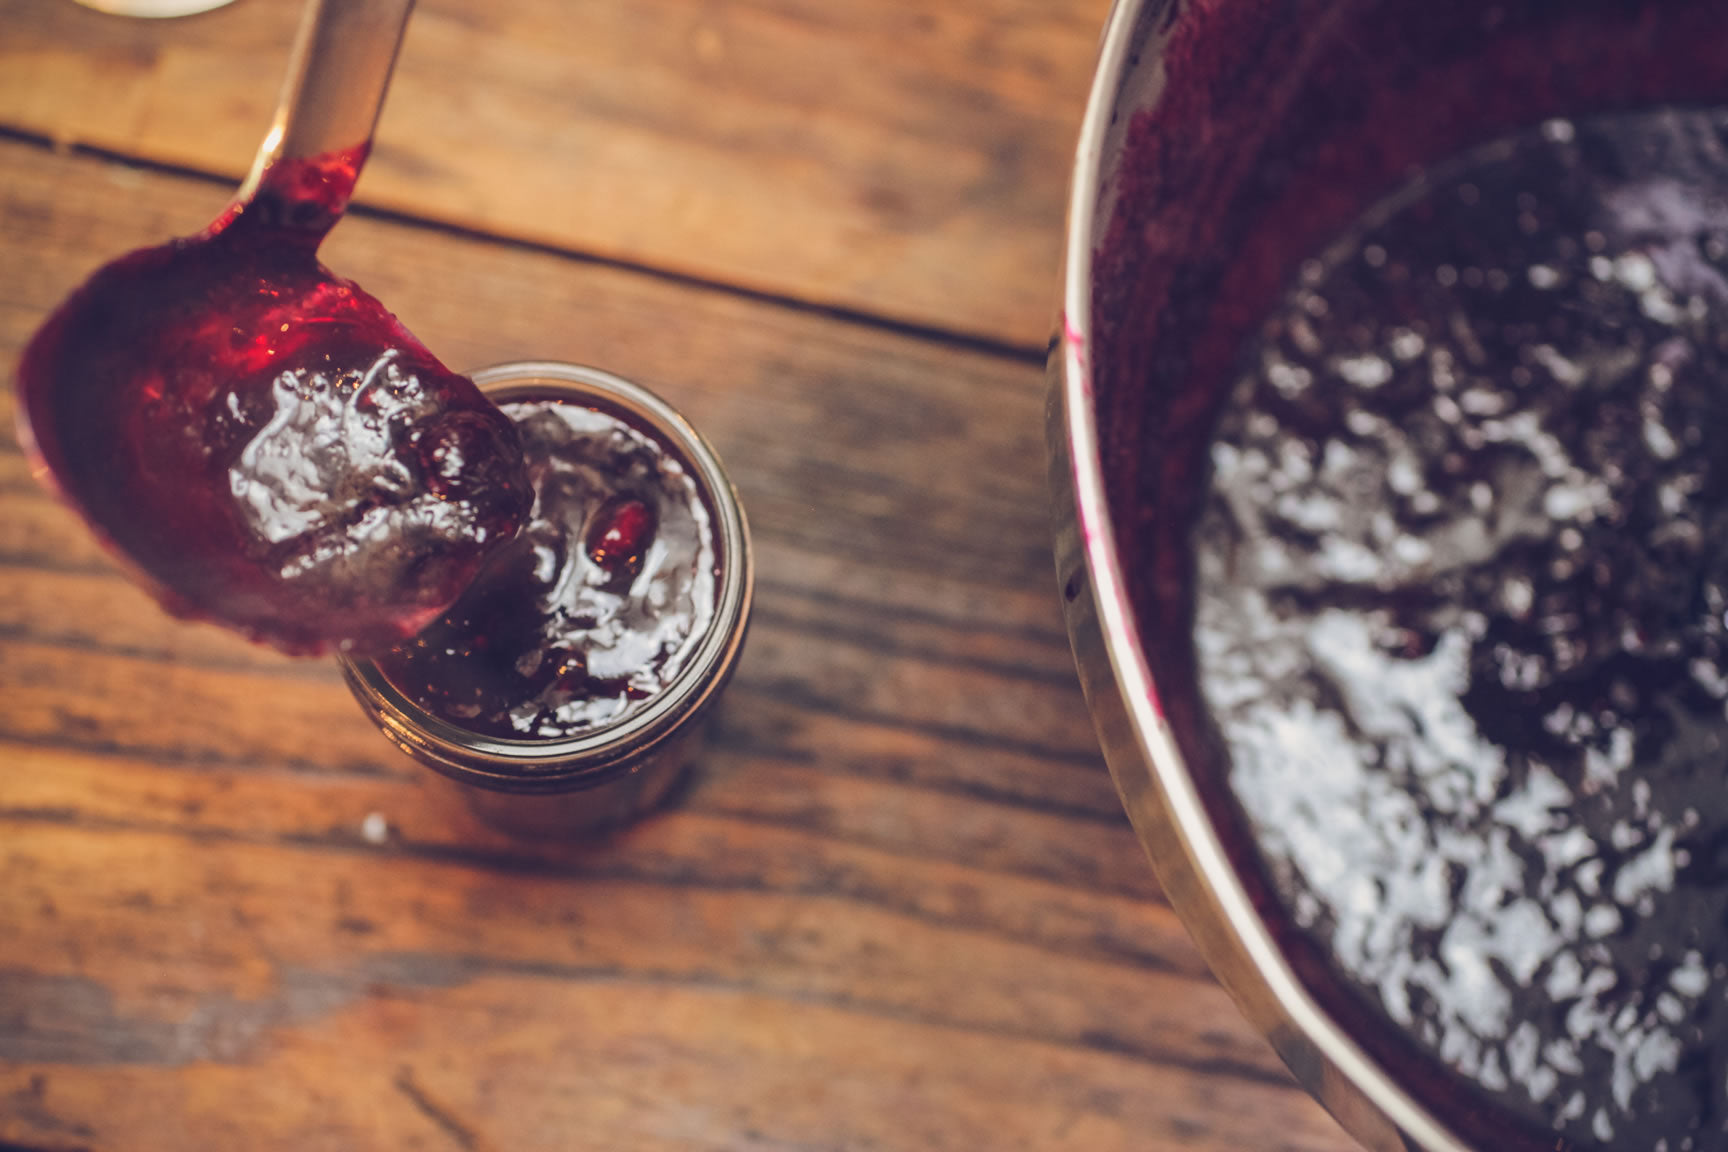
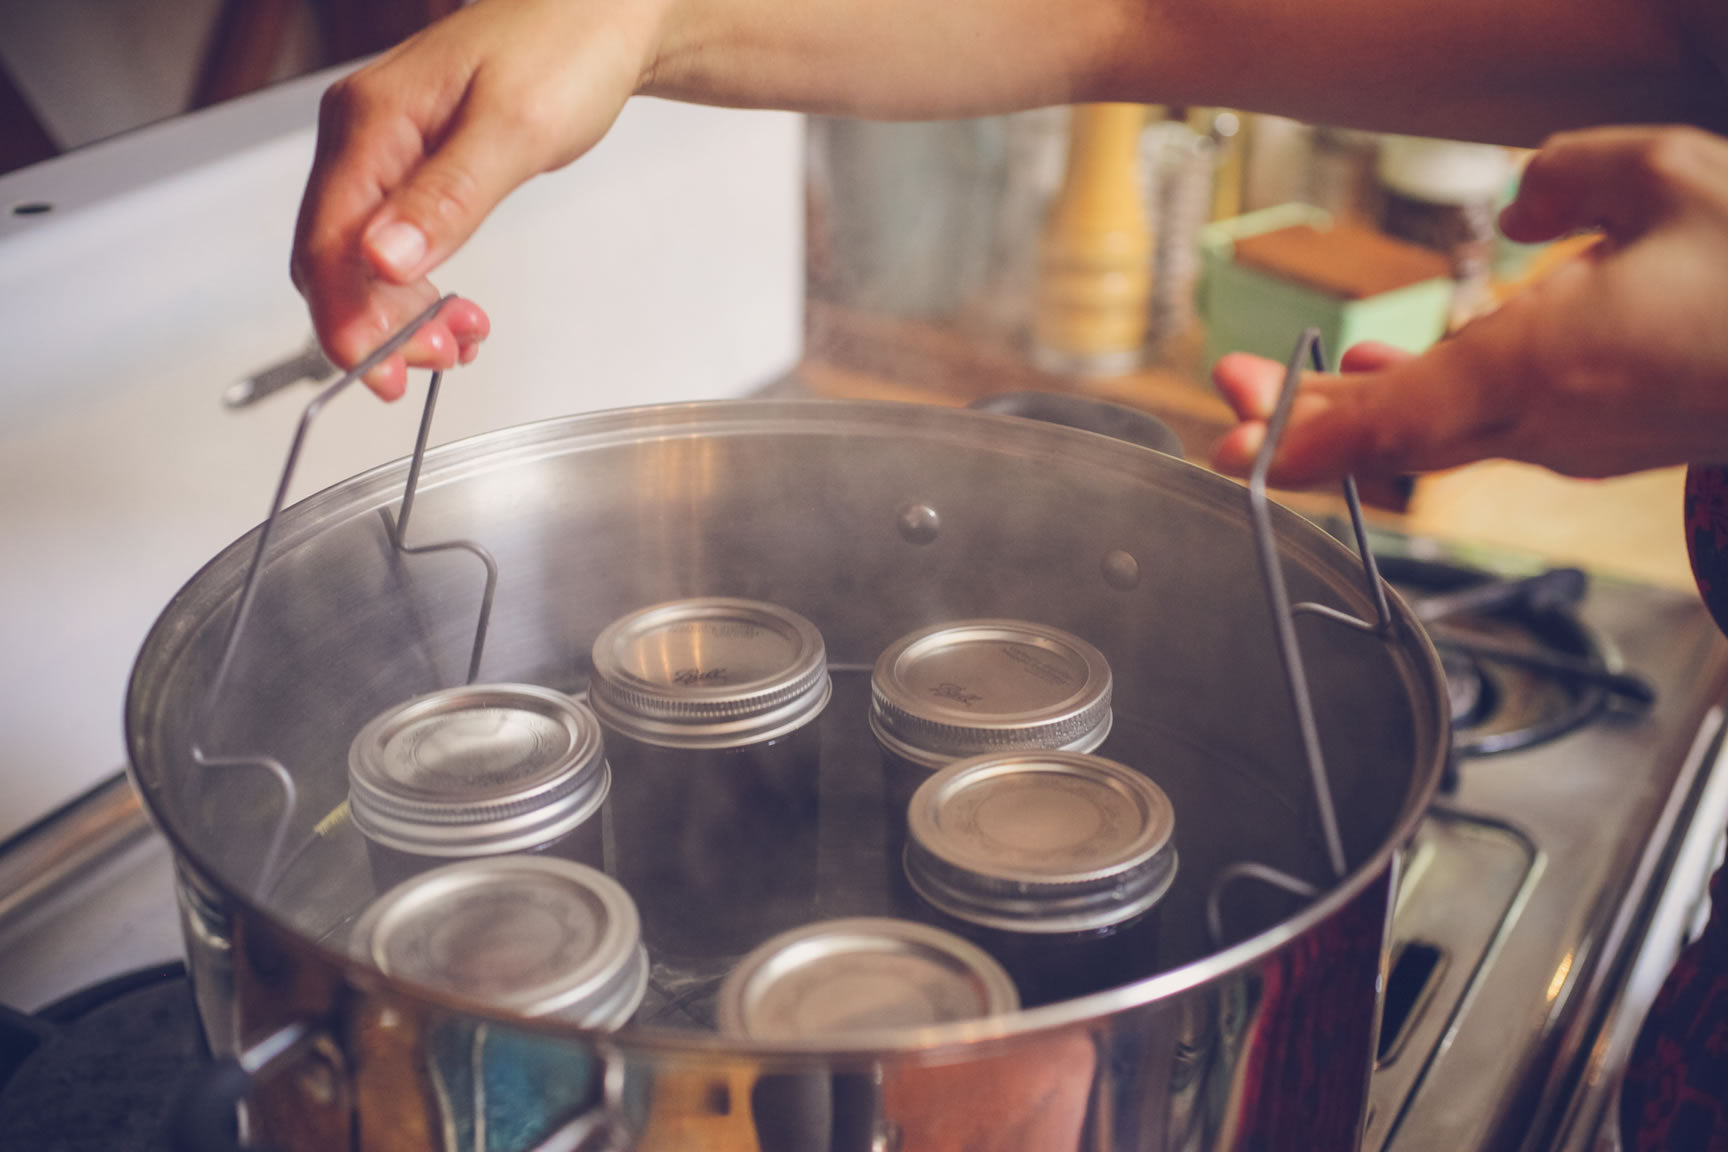
Wipe the rims, secure the lids, and process in a boiling water bath canner for 15 minutes.
 Place the processed jars on a kitchen towel and let cool. If all of your jars have sealed they can be stored in a cool, dark place for up to one year.
 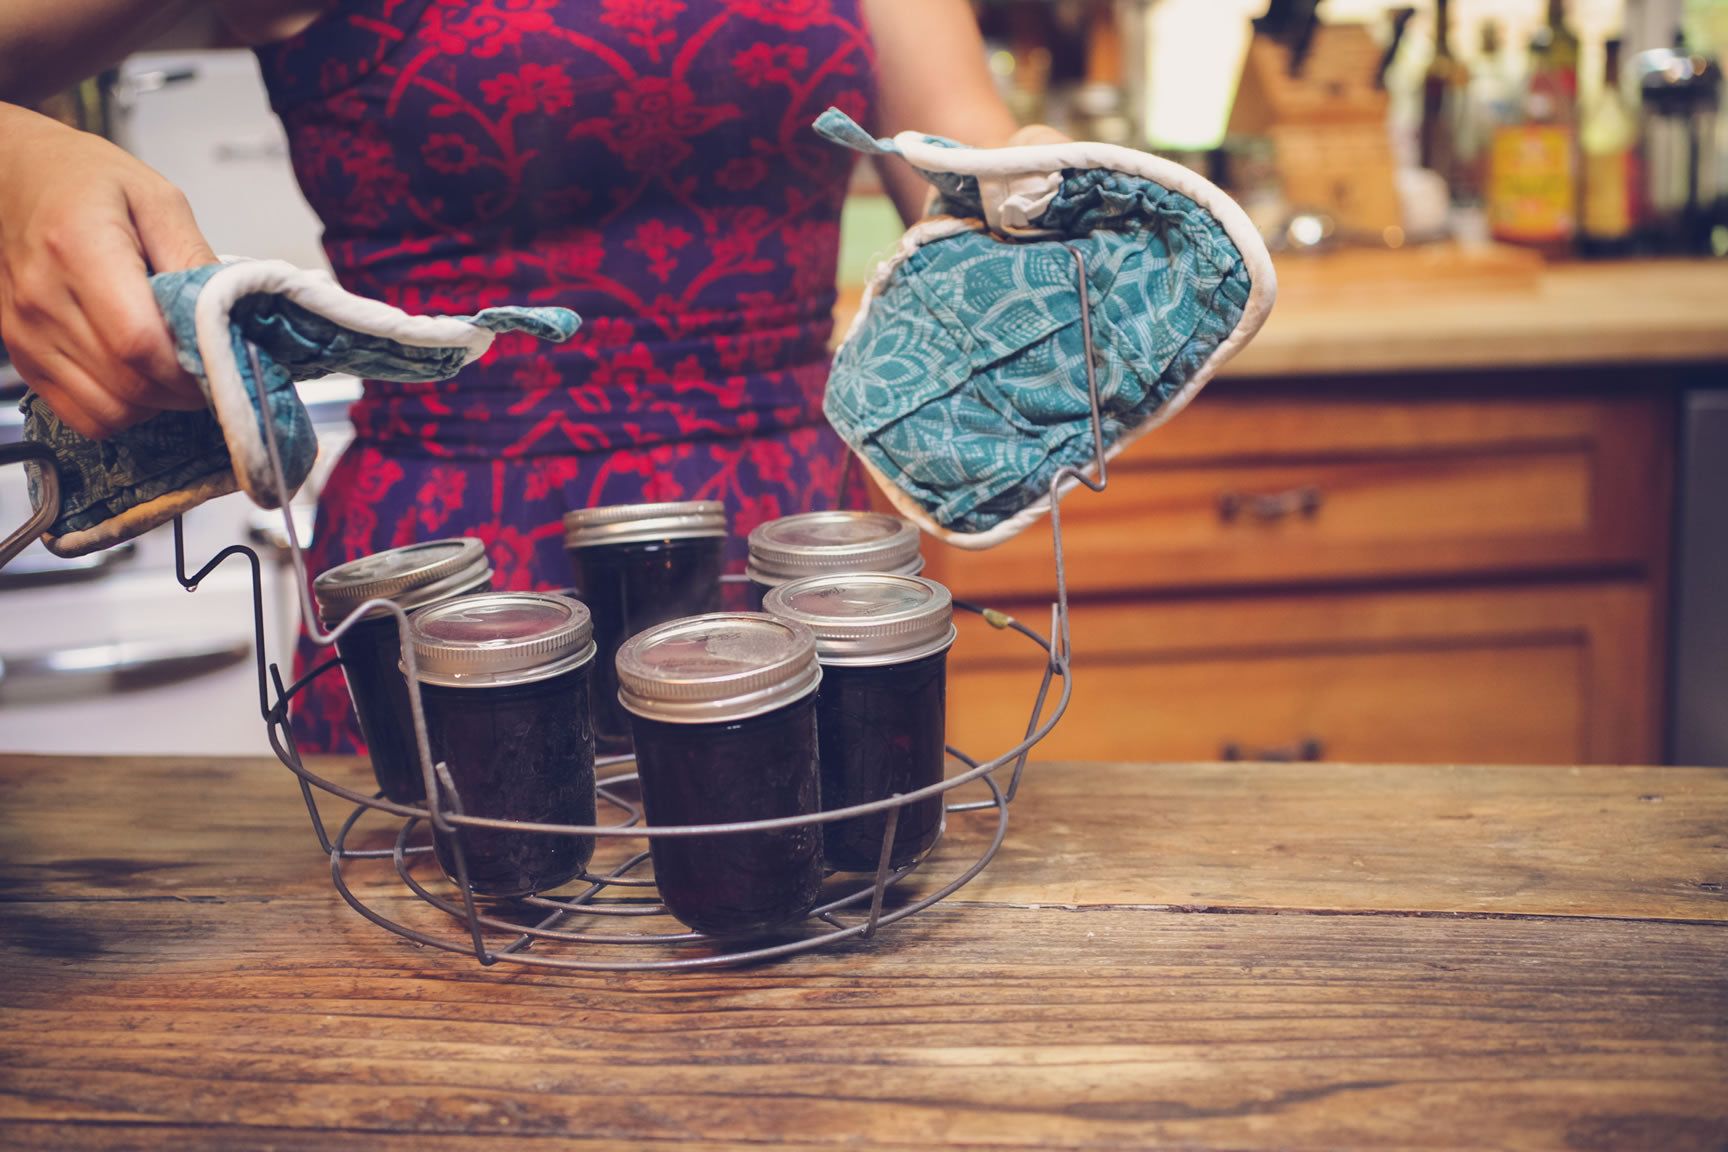 Jars that have not sealed should go into the refrigerator or be enjoyed immediately.
Ready for the Next Step?
Check out our Video Workshop: Learn all About Water Bath Canning and our article Finding your Perfect Jam Setting Time.
Over to You
It’s part of our mission here at Mountain Feed to help you make delicious, sustainable, homemade food more often. Stop by and say hello on Facebook, Twitter, Instagram or Pinterest. Or, as always, you can do it the old fashioned way and come by the store to speak with one of our in-house experts.
If you are not familiar with the water bath canning method watch our water bath canning video workshop. Always make sure you are following all safety guidelines outlined by the USDA when canning anything. Keeping a great journal leads to delicious results! Get inspired by new recipes, expert articles and homemade food adventures in our Monthly Journal.