- Continue Shopping
- Your Cart is Empty
Canning Homemade Grape Juice
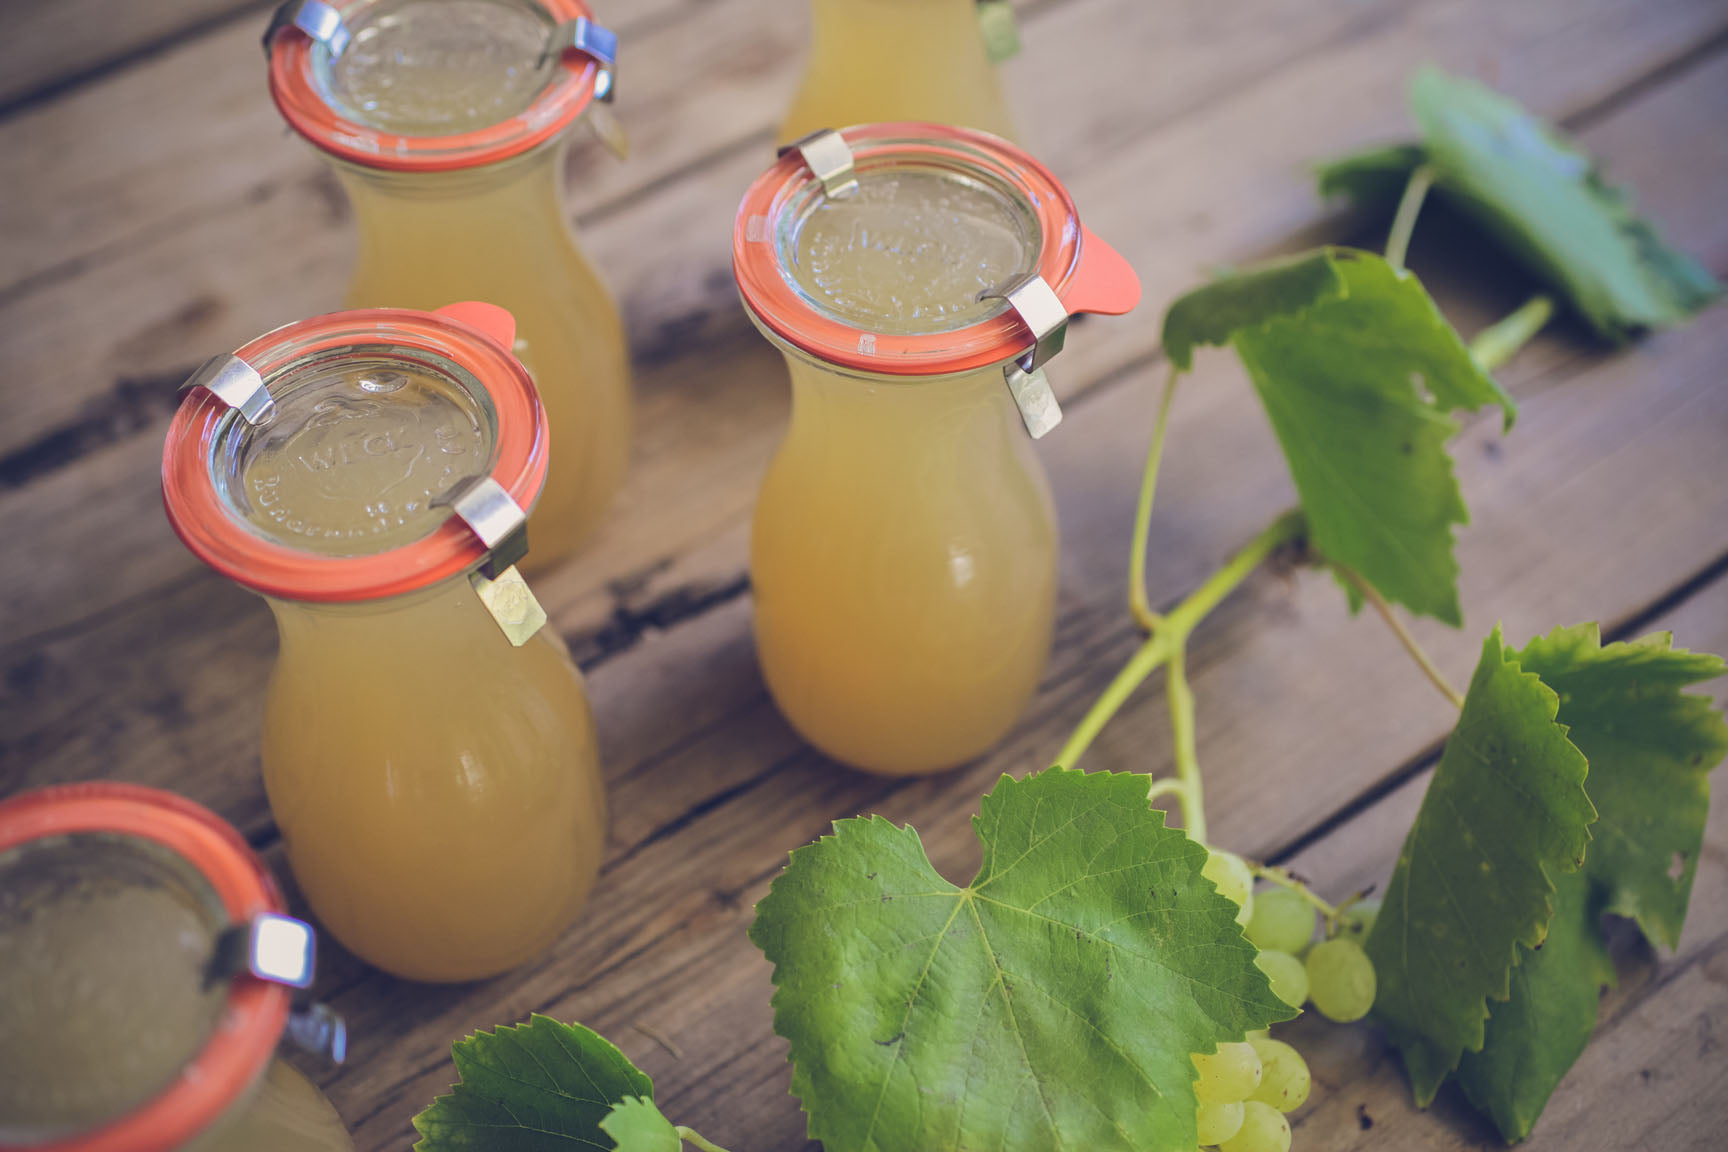 After extensive testing, we have discovered that it is possible to eat too many fresh grapes. But something must be done with all those lovely bunches of fruit. Grape jam or jelly is always an option, but making them into juice is a (potentially) sugar-free way to preserve them. We found ours so sweet that they did not need any added sugar! Follow these directions for making pure grape juice, and preserve it using the water-bath canning method. The recipe is based on the Ball Complete Book of Home Preserving.
Ingredients:
Stemmed grapes (about 4-5 pounds of grapes per quart of juice desired)
Boiling water
Granulated Sugar (optional)
If you are not familiar with the water bath canning method watch our water bath canning video workshop. Always make sure you are following all safety guidelines outlined by the USDA when canning anything.
Pick yourself some grapes. Sweet, firm, well-colored grapes. Delicious grapes. Grapes you want to eat. Rinse them well, and lay them on a rickety old wooden table to photograph them.
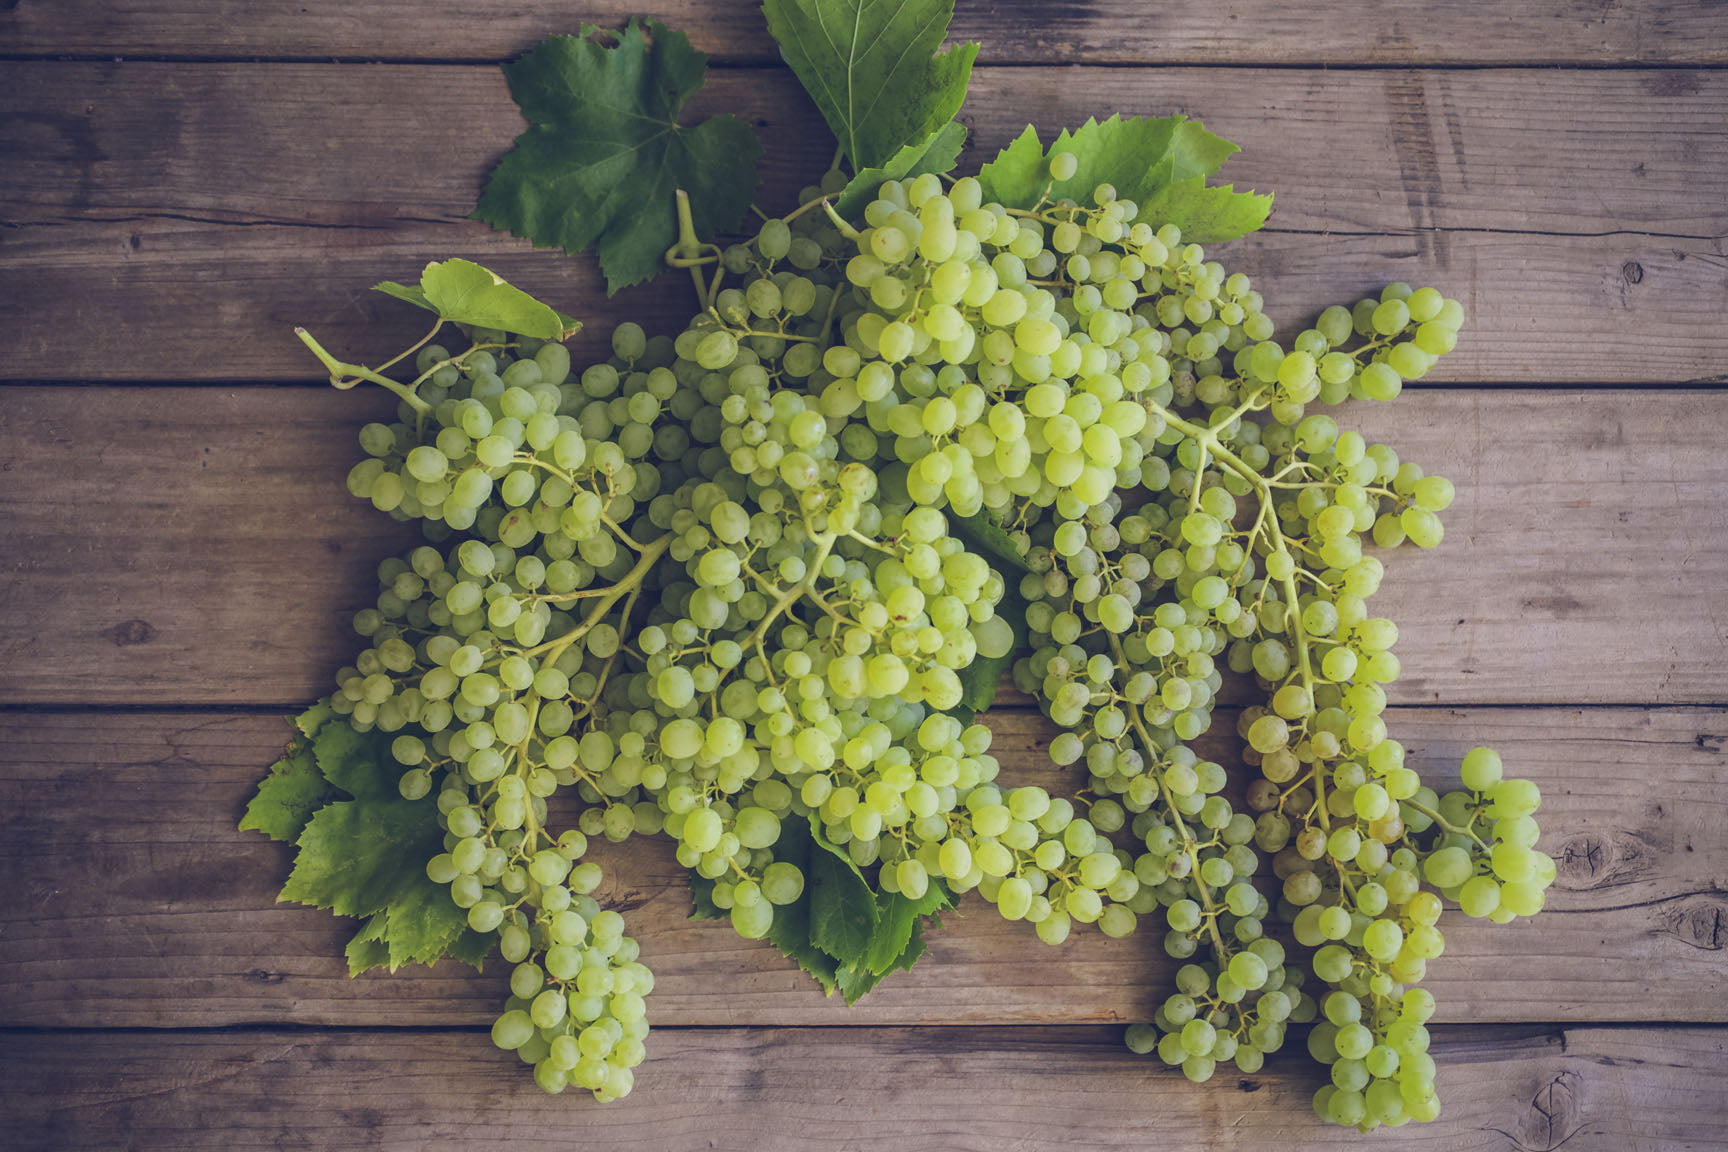 Aren’t they lovely? We grew these ourselves, from bare-root about 5 years ago. Did we mention that yet? Fine grapes, indeed.
 Stem the grapes. Pluck the grapes, one by one, plunk by plunk, into a jam pan or other large heavy-bottomed saucepan.
  Crush them using your hands, a heavy spoon, or a potato masher.
Pour just enough boiling water over the surface to cover the grapes.
Bring to a boil over medium-high heat, stirring occasionally. Reduce heat and boil them gently, stirring occasionally, until the skins are soft about 30 minutes. Transfer the grapes to a dampened jelly bag, or a strainer lined with several layers of dampened cheesecloth.
  Let the juice drip, undisturbed, for at least 2 hours. Resist the urge to squeeze the jelly bag to speed up the process; this will make the finished juice cloudy.
Cover the juice and refrigerate it for 24-48 hours, to allow sediment to settle.
Prepare a water bath canner, jars, and lids. Let the jars rest in the canner as you bring the kettle to a boil.
Decant the juice carefully. Ladle or pour it slowly into a clean container, being careful not to disturb the sediment at the bottom.
Strain the juice again, through a dampened cheesecloth or jelly bag, into a deep receptacle.

Pour the strained juice into a large saucepan. Taste, and add sugar to taste, if desired.
When the water in the canning kettle has come to a boil, begin to heat the grape juice, but do not bring it to a boil. Hold the temperature at 190° F for 5 minutes.
Remove the hot canning jars from the waiting kettle. Fill the canning jars with hot juice, leaving 1/4” headspace. Wipe the rim, center the lid on jar, and place the jar(s) in the water bath, ensuring that the top of the jars are covered by at least 1” of water.
Allow the water to return to a boil, and begin timing. Process both pint or quart jars in the boiling water bath for 15 minutes.
After processing, turn off the heat, but let the jars rest in the canner for 5 minutes.
Using a jar-lifter, remove the jars from the canner and set them to cool.  Check the seals and store the sealed jars of juice in the pantry for up to 18 months.
Over to You
It’s part of our mission here at Mountain Feed to help you make delicious, sustainable, homemade food more often. Stop by and say hello on Facebook, Twitter, Instagram or Pinterest. Or, as always, you can do it the old fashioned way and come by the store to speak with one of our in-house experts.
If you are not familiar with the water bath canning method watch our water bath canning video workshop. Always make sure you are following all safety guidelines outlined by the USDA when canning anything. Keeping a great journal leads to delicious results! Get inspired by new recipes, expert articles and homemade food adventures in our Monthly Journal.