- Continue Shopping
- Your Cart is Empty
Fermented Jalapeno Peppers - The Most Delicious Pickled Peppers
What You'll Need
Equipment
- Kraut Source Fermenter or other fermentation vessel.
Ingredients
- Enough jalapeno peppers to fill a 1-quart sized mason jar
- 3 TBS unrefined salt (we like Celtic Sea Salt or Ball Pickling Salt)
- 1 quart of fresh, unchlorinated water
- 1/2 of an onion
- 3-4 medium sized cloves of garlic
Wow! Zang! Kappow! Zing!
These fermented jalapeno peppers pack a punch of pepper power. While many pickled pepper recipes rely on the addition of vinegar in a water-bath canner, and others are sometimes processed in the extreme heat of a pressure canner, both of these methods produce a pepper that has had much of the heat, flavor and nutritional value cooked out of it. This is acceptable if you want a mild spark of heat to add to your breakfast eggs, or some such thing. Fermented jalapeños, on the other hand, are truly a value-added food.
Flavor Runs Deep in these Fermented Peppers

The process of fermentation intensifies and concentrates the heat and spicy flavor of the raw jalapeño, making it sizzle and leap onto the palate. In addition, the rich beneficial bacteria preserve the food while enlivening your own microbiome. It's a win-win! But do note, you may want to have an iced shrub handy to guzzle if the heat gets out of hand. Dairy products such as milk kefir and yogurt also neutralize run-away heat well.
Directions
If you are incredibly brave, you can of course use habanero peppers in place of jalapeños in this recipe. This recipe makes 1-quart of fermented jalapeno peppers...
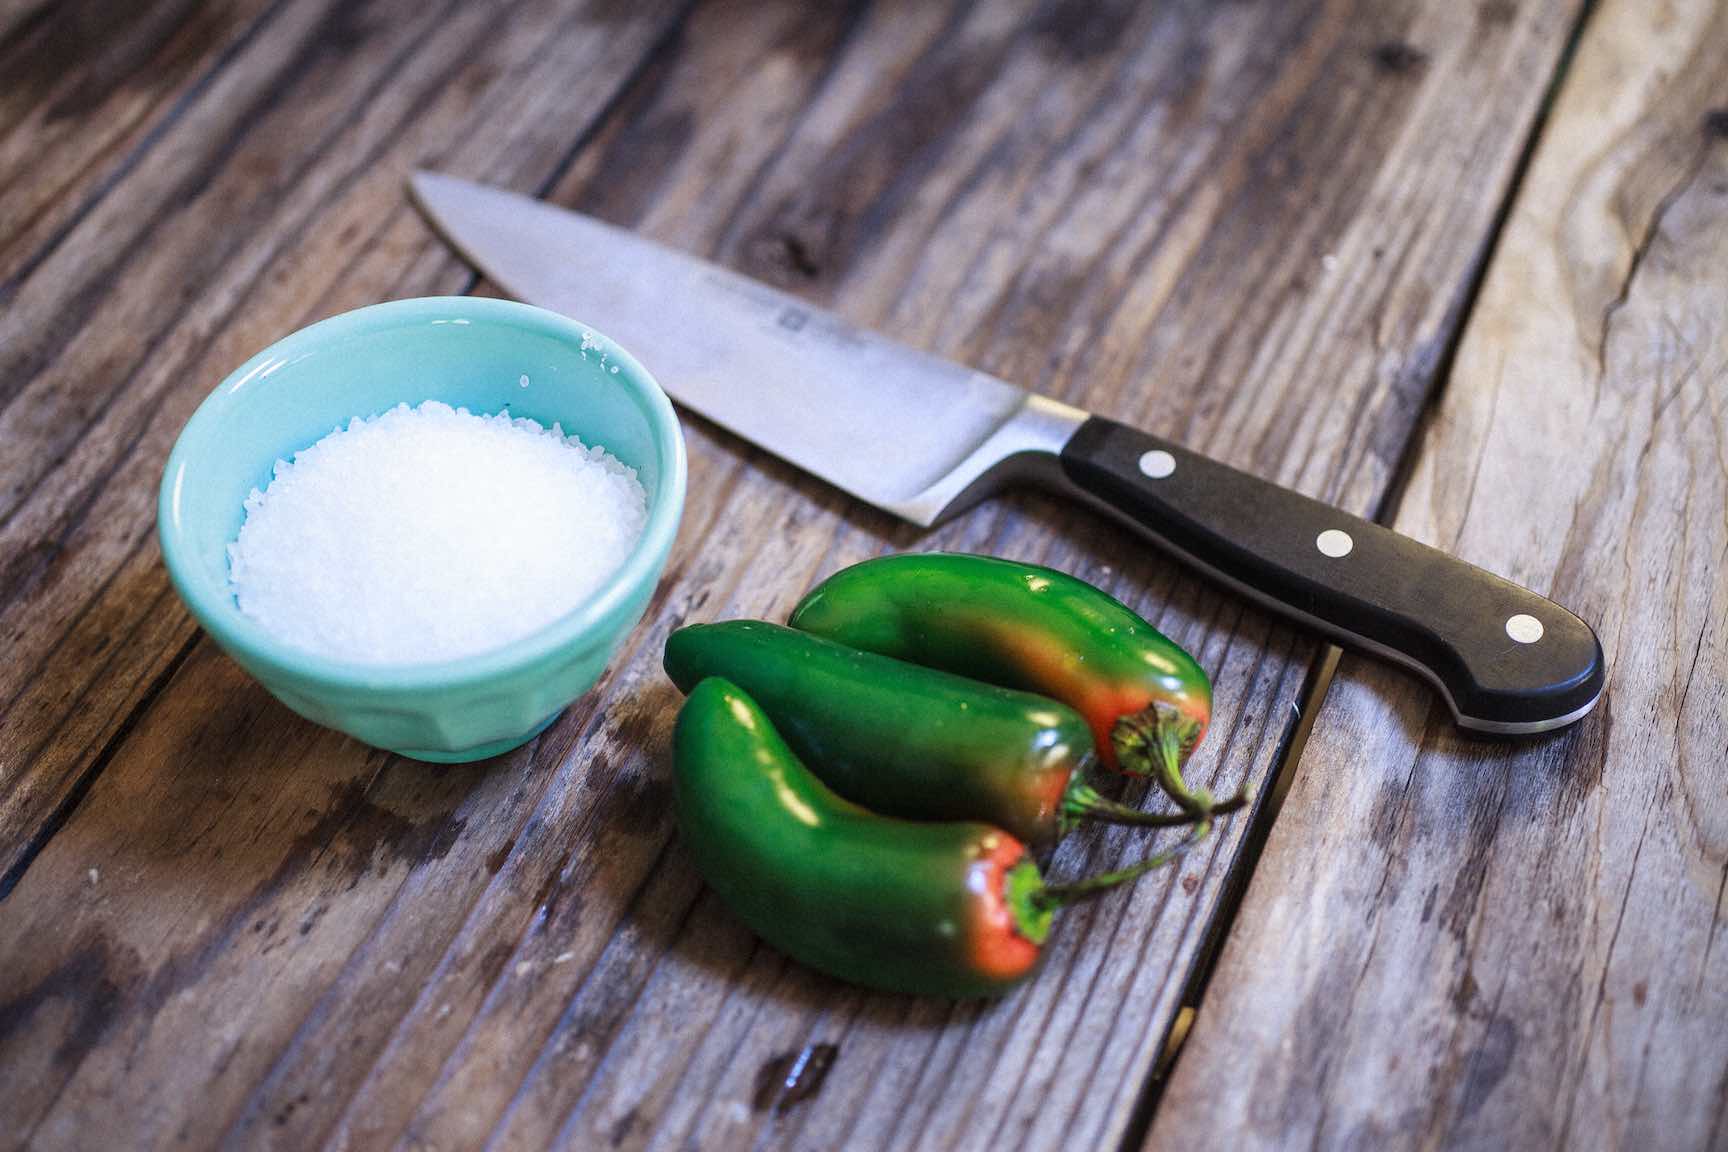
1. Pick Your Peppers

Gently clean and wash the peppers, discarding any soft or bruised fruits.
2. Add Some Depth to the Flavor

Slice half an onion, and peel 3 or 4 medium sized garlic cloves. While optional, these ingredients accent the peppers nicely, rounding out the flavor and picking up some of the pepper's heat in the process.
3. Pack Your Fermentation Vessel

Pack the ingredients into your vegetable fermenter. In these photos, we used the Kraut Source, atop a wide-mouth quart jar. You can use any fermentation vessel really, here's a list of our favorite fermenters and supplies for making perfect pickles.
4. Make Your Brine
Make a brine consisting of 3 TBS unrefined sea salt (we like Celtic Sea Salt) and 1 quart of fresh, un-chlorinated water.
5. Pour the Brine and Leave some Headspace

Pour the brine over the pepper mixture, leaving room at the top of the jar for the water that will be drawn out of the peppers by the salt. Ensure that the peppers are kept beneath the brine, either with the built-in press on the Kraut Source, or a ceramic, stainless steel, or glass weight, if using other pickling devices.
6. Secure the Lid and Ferment for 5-7 Days

Secure the lid on your fermentation device to create an airless chamber where lactic acid bacteria can do their work. Culture at room temperature until the color of the peppers changes, from bright green to olive color, usually 5-7 days.
7. Store and Enjoy!
 Store these peppy pickled peppers in the fridge for long-term storage when fermentation is complete.
Fermenting peppers will sometimes create a white bloom on the surface of the brine. This is Kham yeast, harmless in such a short-term ferment as this. If you intend to ferment these peppers for a longer length of time, you may wish to skim off the bloom periodically to prevent softness or off-flavors in the peppers.
What Fermentation Vessel is Best?
The fermentation system we are using in these pictures is the Kraut-Source. It's a new product that we're all stoked to finally get fermenting in. You can feel the quality of this object when you hold it in your hands, the solid gauge of the metal and the elegant simplicity of the design.
We love to ferment in mason jars, and there are so many ways to do that, from the old standby airlock tops to these newest inventions. They all serve a purpose, and have their perks, to be sure. The Kraut Source wins hands down on aesthetics, and we love the innovative press that keeps fermenting vegetables firmly beneath the brine.
We've used it here on a quart jar, although any wide-mouth mason jar will do. A water moat around the rim of the lid acts as an airlock, allowing the gasses generated by fermentation to escape, while preventing any air or wild yeast or dust to get into the ferment. This moat is similar to the old-style water locks on ceramic fermentation crocks, but combined with the press and the fact that it all fits neatly on a mason jar, pleases us to no end.
Over to You...
It’s part of our mission here at Mountain Feed to help you make delicious, sustainable, homemade food more often. Stop by and say hello on Facebook, Twitter, Instagram or Pinterest. Or, as always, you can do it the old fashioned way and come by the store to speak with one of our in-house experts.
Keeping a great journal leads to delicious results! Get inspired by new recipes, expert articles and homemade food adventures in our Monthly Journal.
This article is part of the August 2015 Issue of our Monthly Journal. Sign up for the Journal to be the first to receive all our new recipes and content each month.