- Continue Shopping
- Your Cart is Empty
Wreath Making from Found Materials

What You'll Need
Equipment
- Pruners, or sturdy scissors, for gathering and trimming branches
- A roll of thin, sturdy, flexible wire
Supplies
- Some sturdy plant matter (scotch broom, salvia stems, vines or many other options could work) for building the base.
- Anything beautiful that catches your eyes when you go scavenging the yard. Try to pick materials that are sturdy and will last.
Walk out into the drizzly day, basket and pruners in hand. Gather and snip, whatever catches your eye. Conifers hold their green well; bay leaves will mellow to gold and then to tan or brown. Maple and madrone, so brilliantly red and yellow now, lose their color fast; best admire them on the branches. Toyon berries plucked from the bush keep their color better than madrone; pyracantha berries fade fast and drop everywhere. Be sure to leave plenty for the birds!
Feathers, lichen, snippets of herbs from the garden, pine or fir or redwood cones--be creative! Try to think about how the materials behave in nature, or in bouquets; do they hold shape and color a long time, or fade fast? Choose accordingly. It won't take very long to gather a few armloads of greenery.
The base, which is made separately and first, is another matter. Being hidden, do not bother with color or form. For the base, flexibility and strength is the key. I like to use the non-native, invasive Scotch Broom for a base; it works fantastically well, and gives me an excuse to go broom-pulling! But many other materials will work, too.
Long woody salvia stems, or lavender or rosemary trimmings work well, and give a delicious, hidden smell to the wreath. Grape or wisteria vines are easy to wrap when fresh. Even sturdy hay like alfalfa can work. The trick is in how it is wrapped with wire to reinforce the shape; details follow.
Making the Base
Yeah, ok, maybe you have an old metal wreath base floating around. Use that, if you've got it! But if you want to ride that DIY train for all it's worth, make the base of sturdy, flexible woody stems.
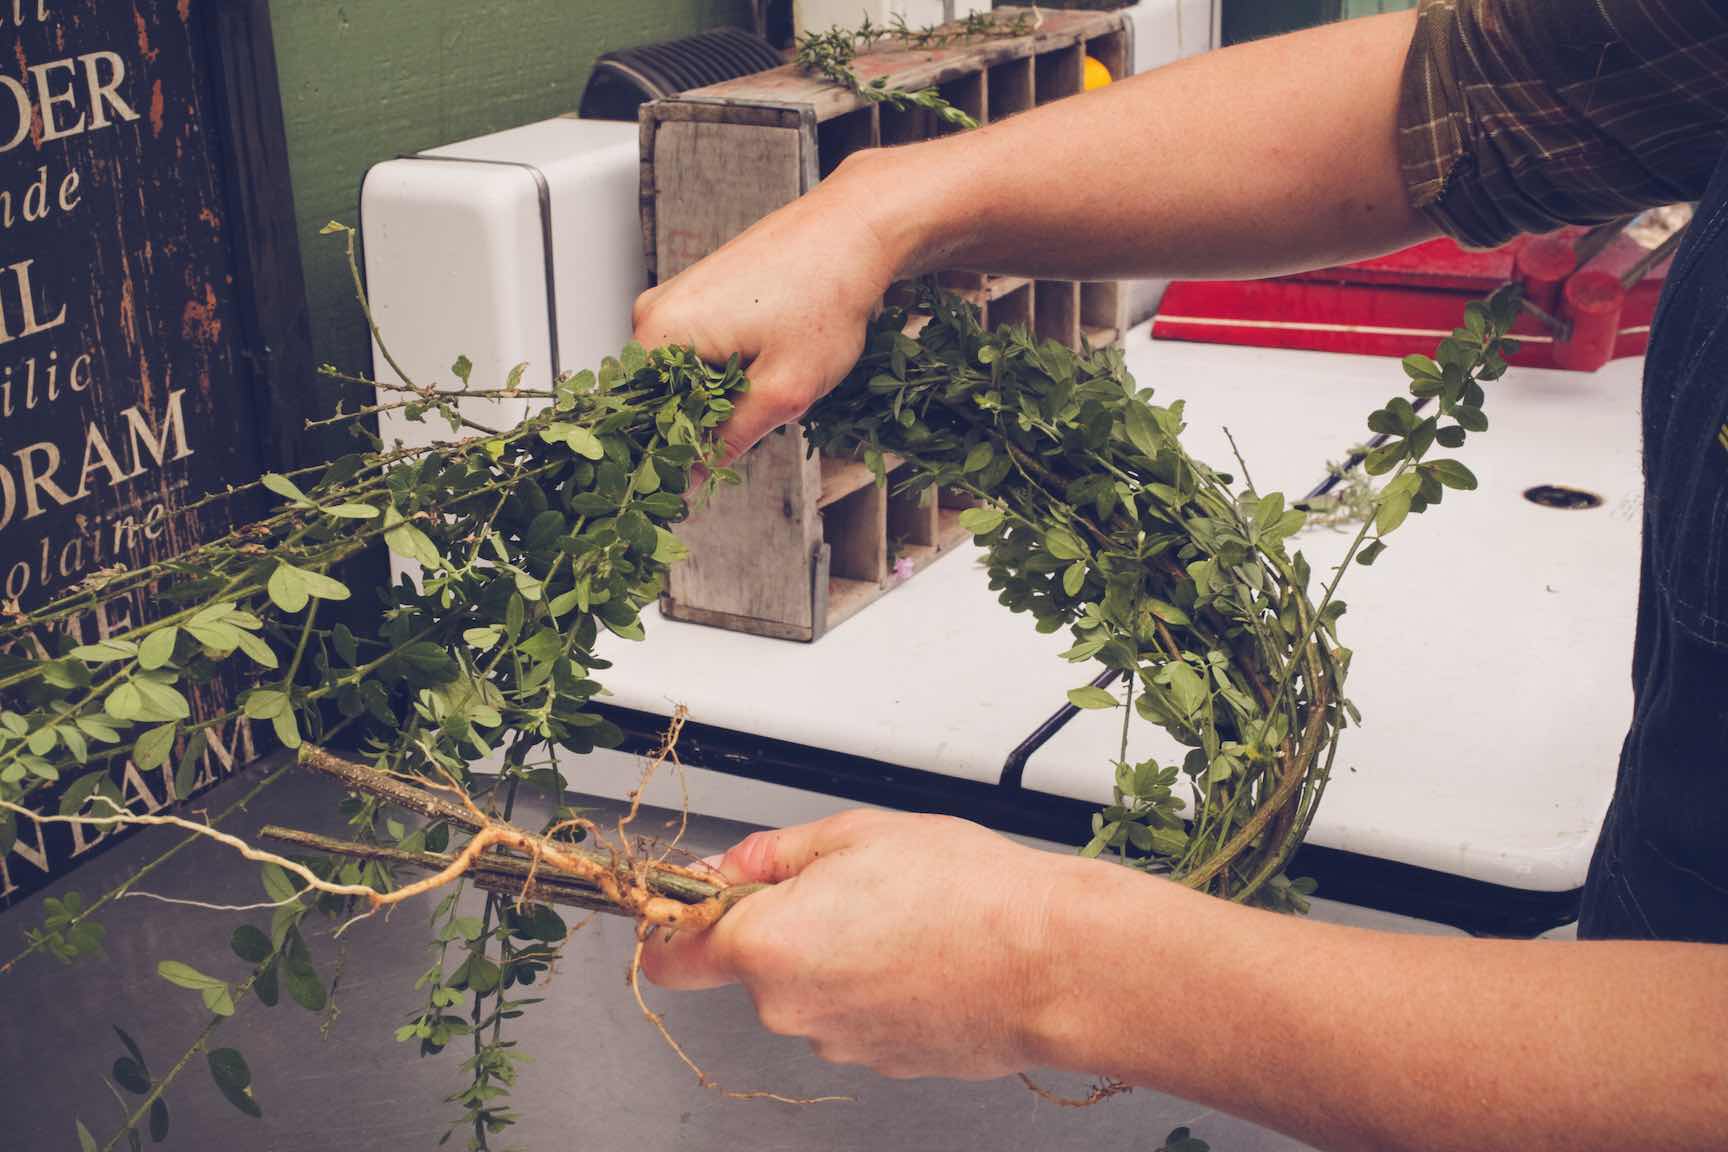
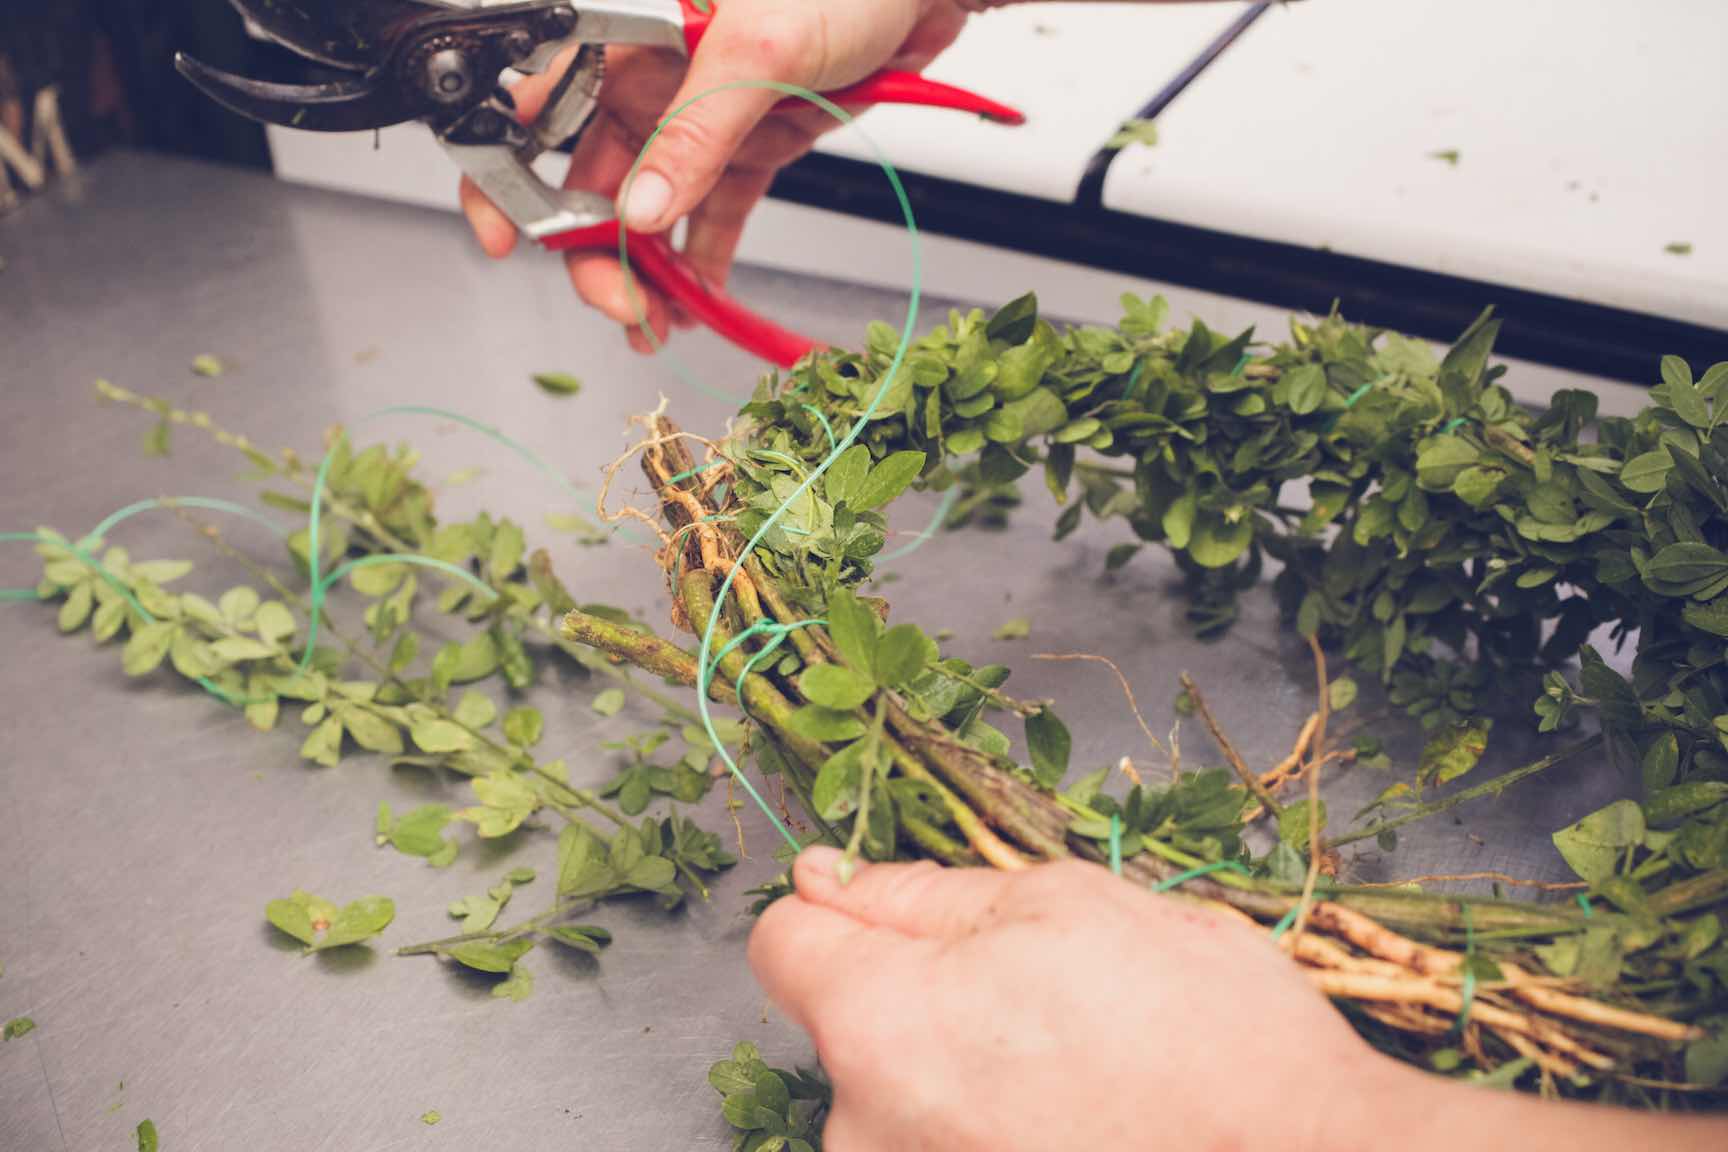
Gather as many stems as your hand comfortably holds, and grasp them firmly together.
Fasten one end of a length of wire around the bottom third of the bunch.
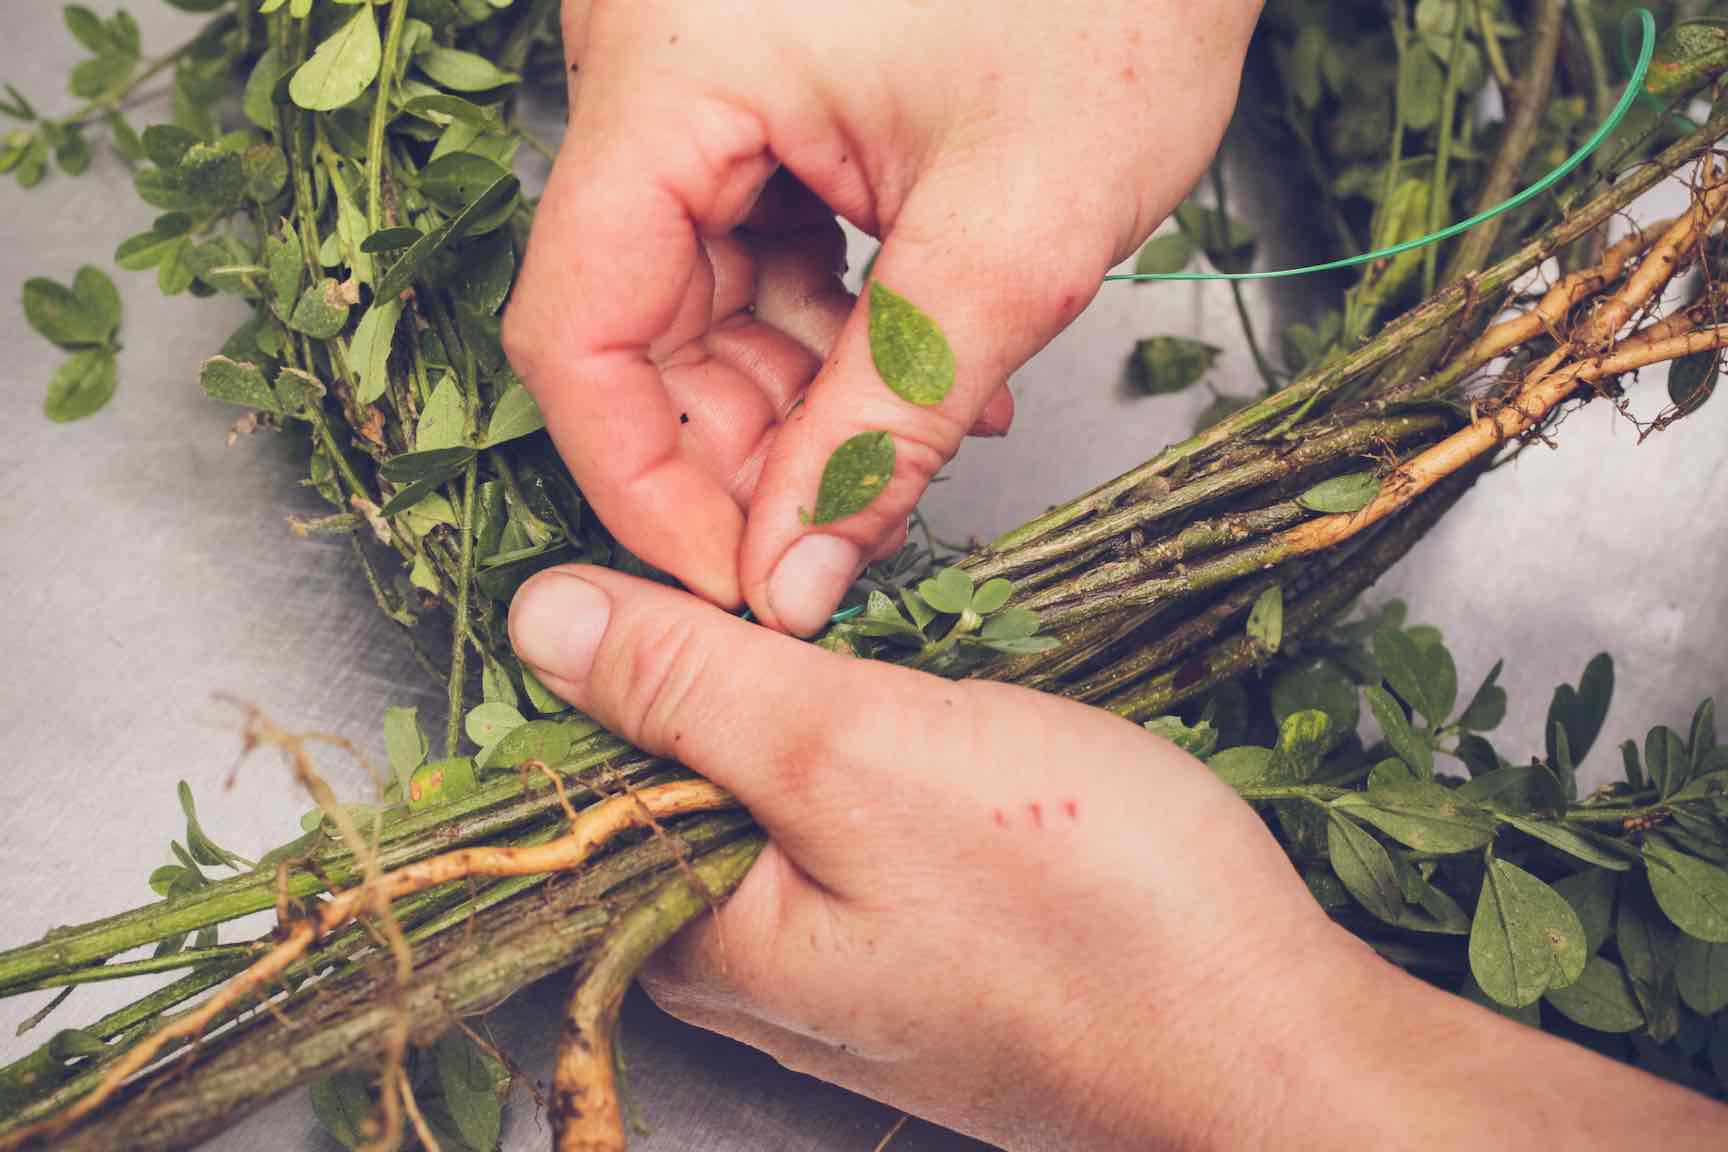
Wind the wire firmly up and around the bunch, bending the stems into a circular form as you go. Don't worry if it's not perfectly round, we'll get there.
Space the wraps of wire as evenly as possible, aproximately 1" apart as you wind your way up the bundled stems.
Getting the Thickness Right
If the thickness of the bunch begins to change and get too thin, add more stems midway through. Having several "starting points" of bunches of stems helps it not to warp.
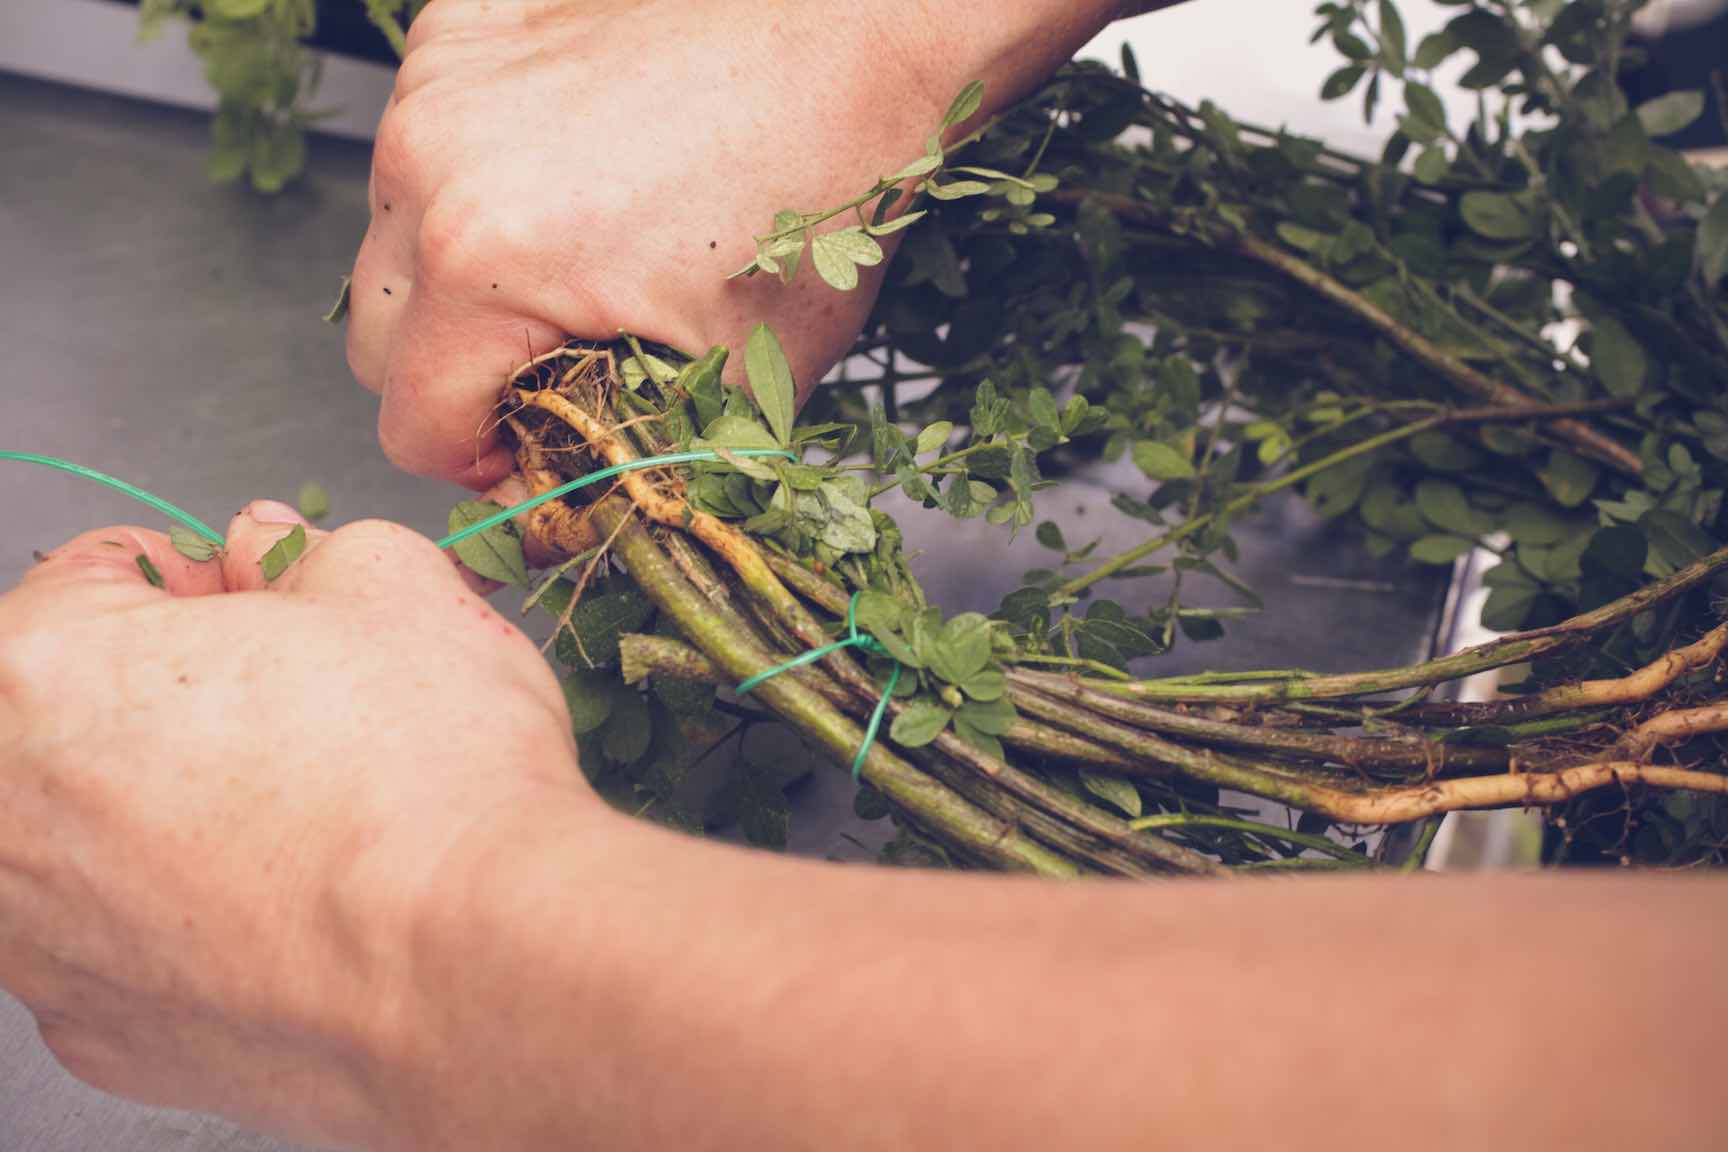
Reinforcing
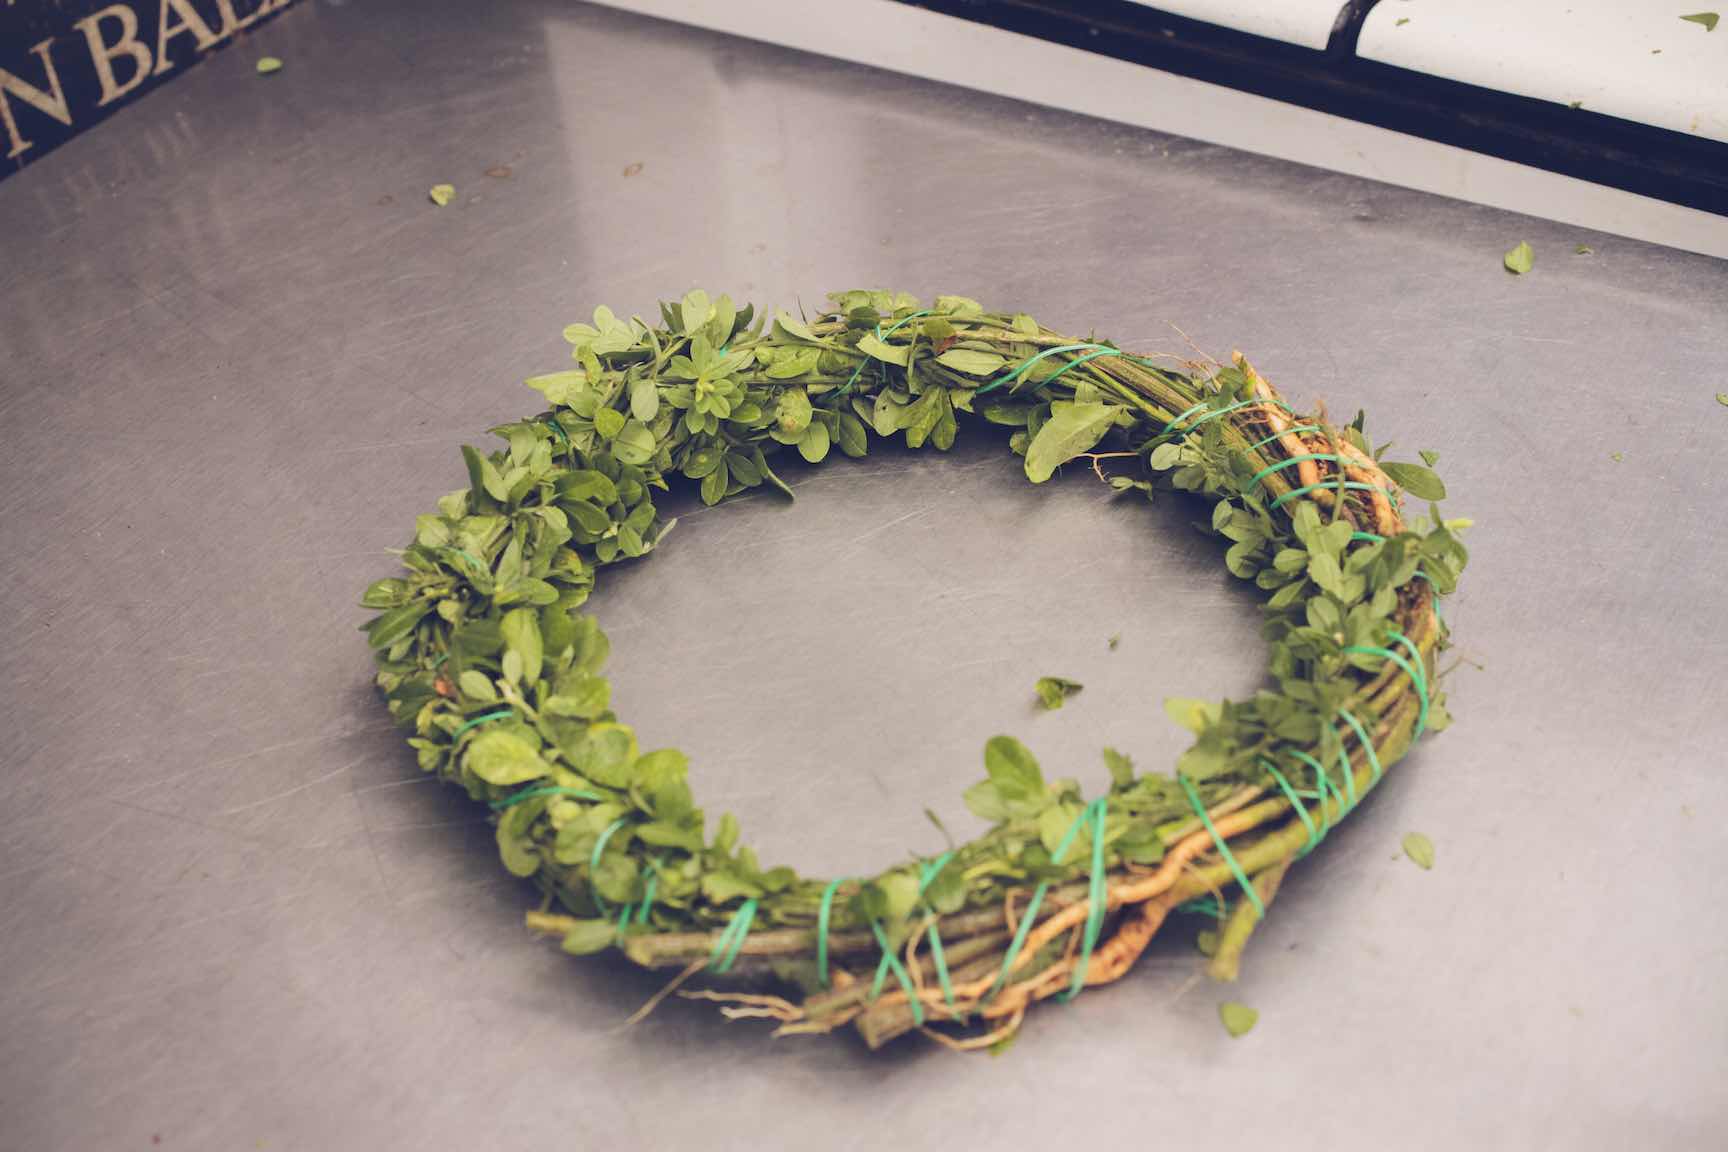
Make sure to reinforce the place where the 2 ends of the wreath base meet. Place another handful of pliant stems at the joint, half on each side of the seam, and wrap the whole base in wire again. This time, bend and flex the base into the most perfect circle shape you can manage. Make sure it is flat and not warped.
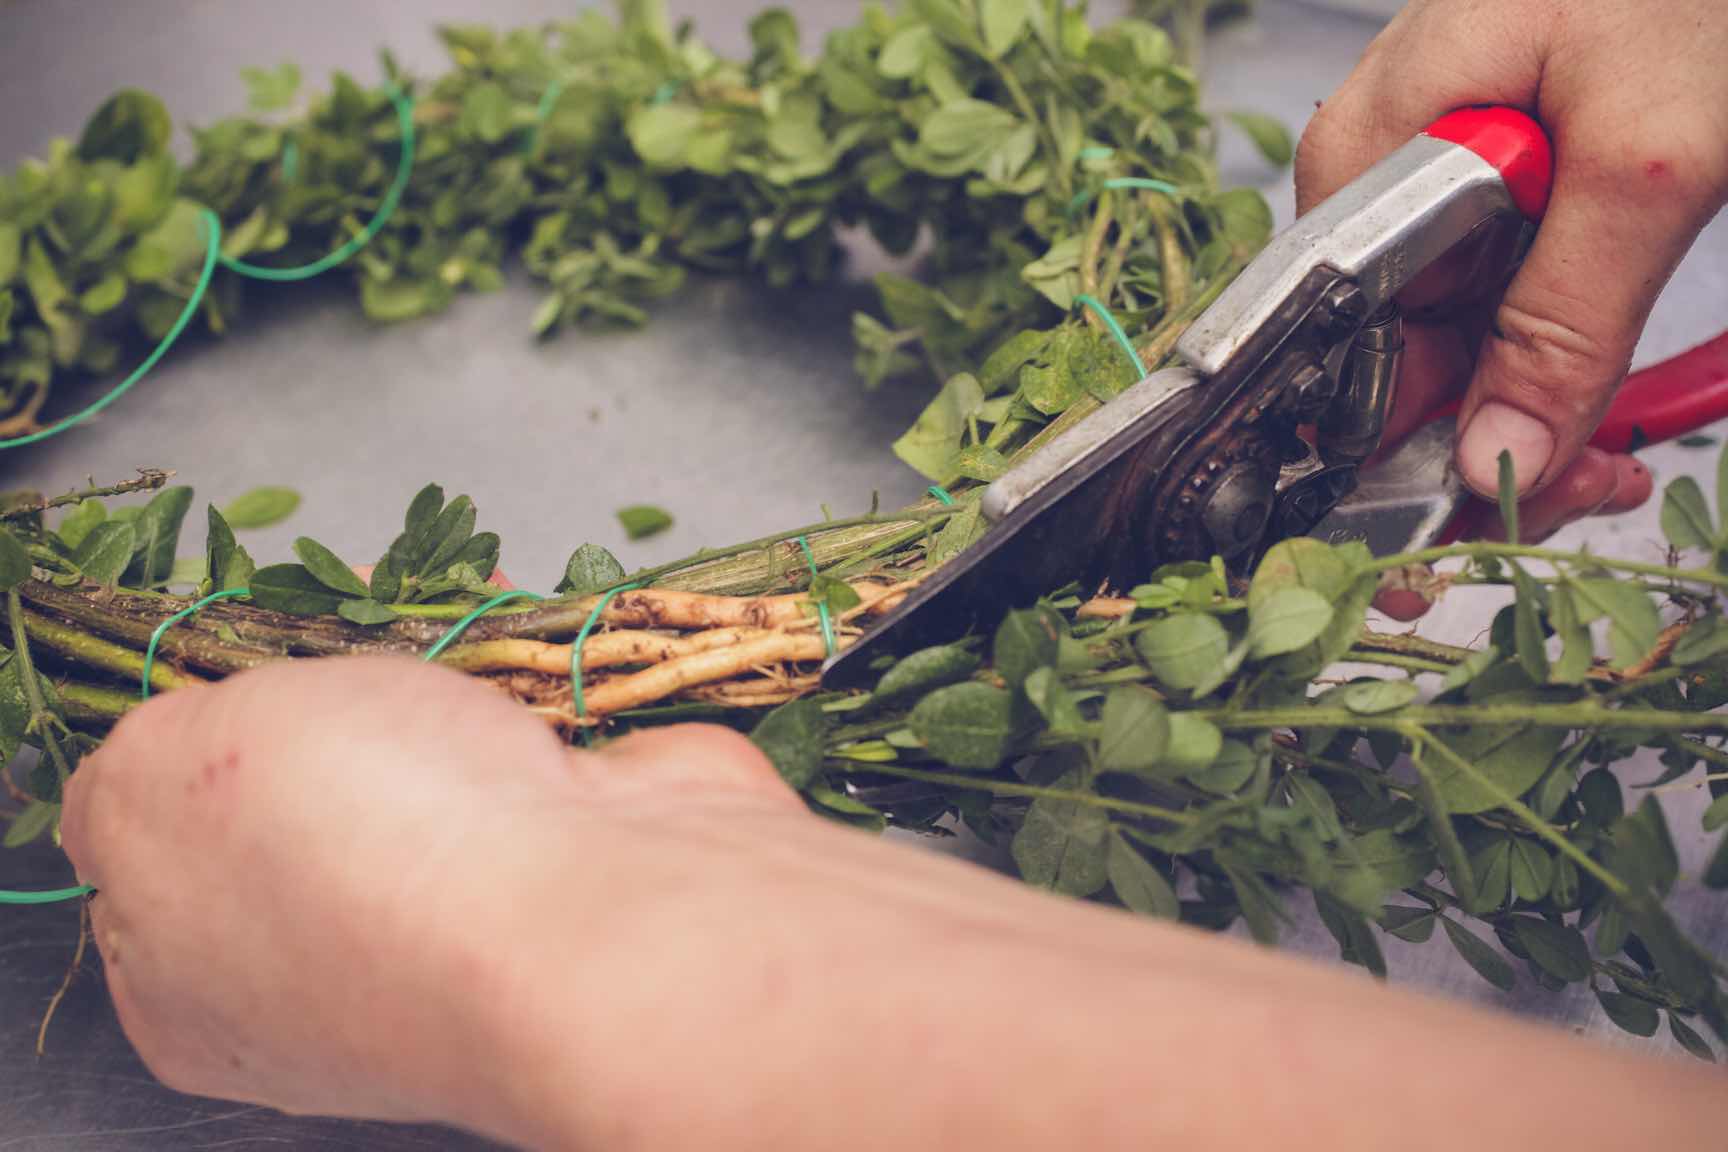
When the whole wreath is wrapped and firm, cut the wire and tie it off. The wire should add flexibility and hold any shape changes you make.
Use pruners to trim off any parts that stick too far out or to the inside.
Making the Wreath
Now for the fun part, to use all the bounty you've gathered!
Try to use foliage that is not too wet; you don't want mold to set into the wreath base. Conifers are remarkably resilient to mold, but you still don't want those spores in your nose or your house.
Make a Small Bouquet
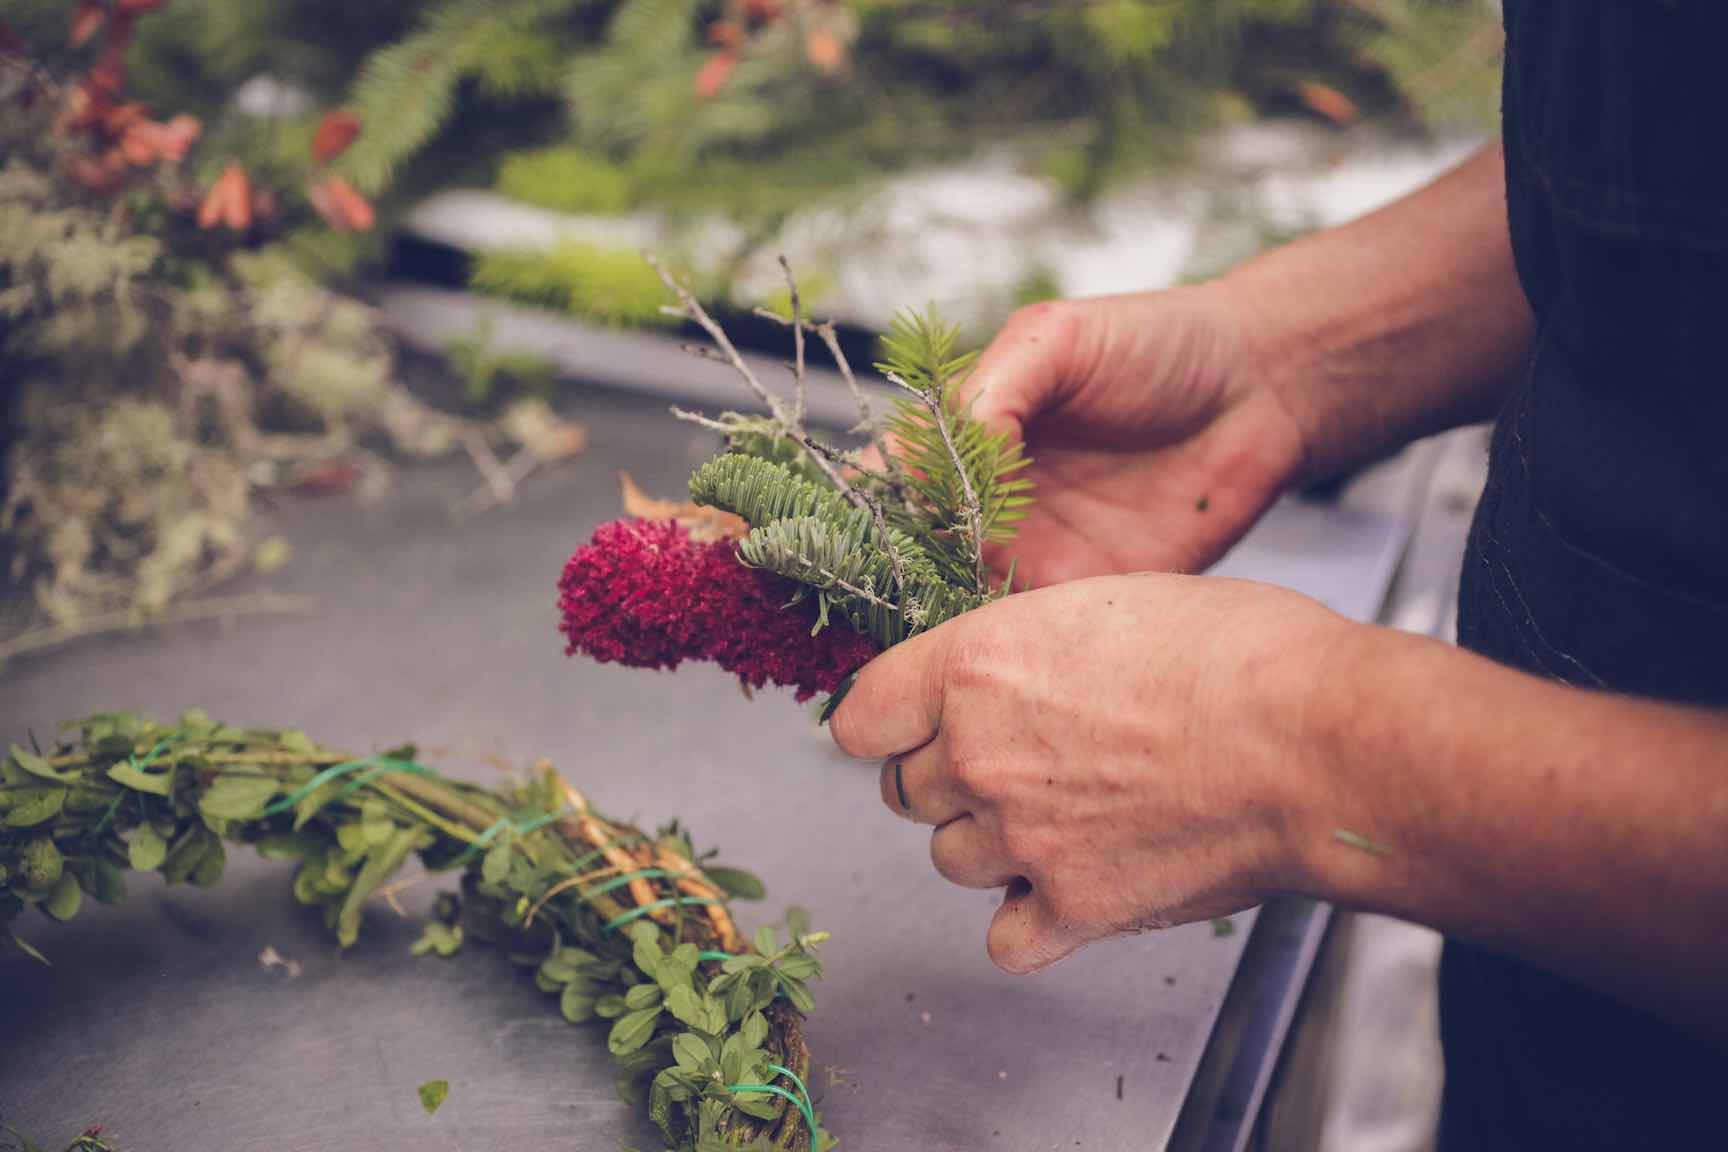
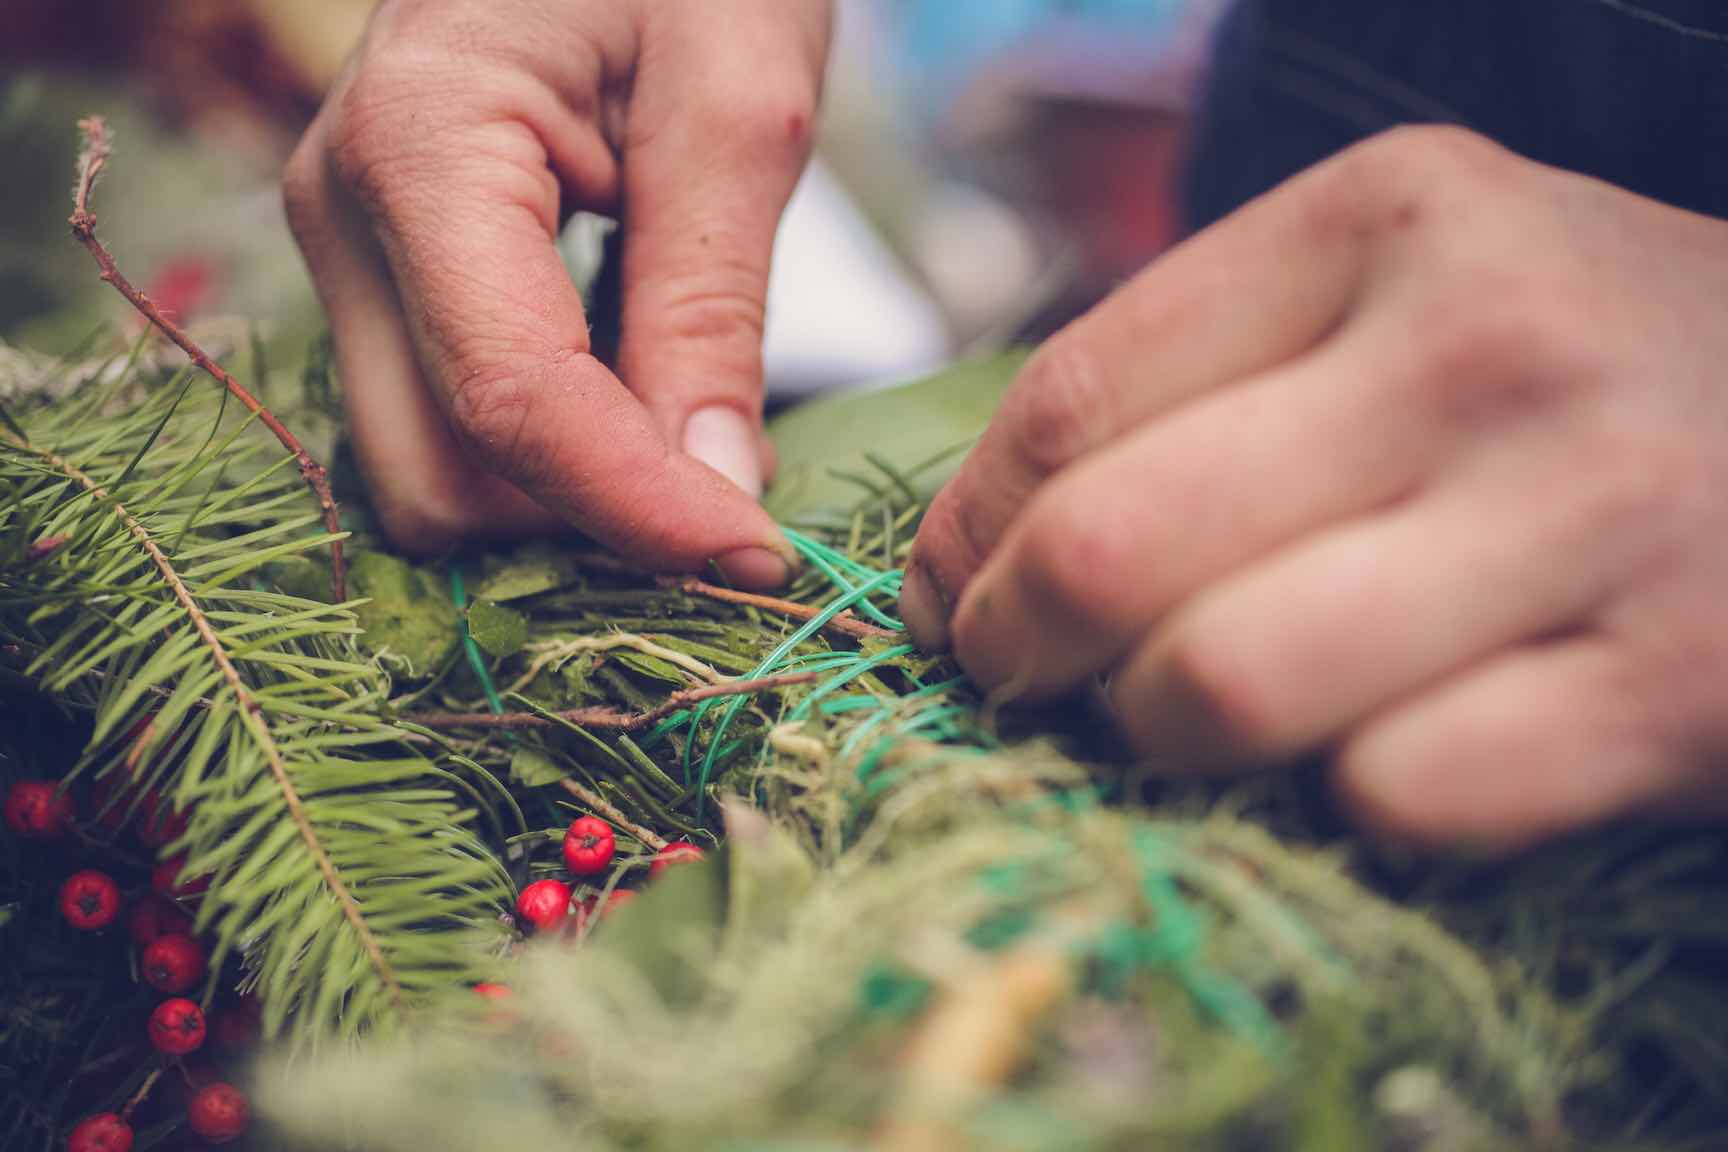
Make a small "bouquet" of foliage, perhaps combining several kinds of leaves, and wrap a new length of wire around it to hold it in place.
Place and Layer your Small Bouquets
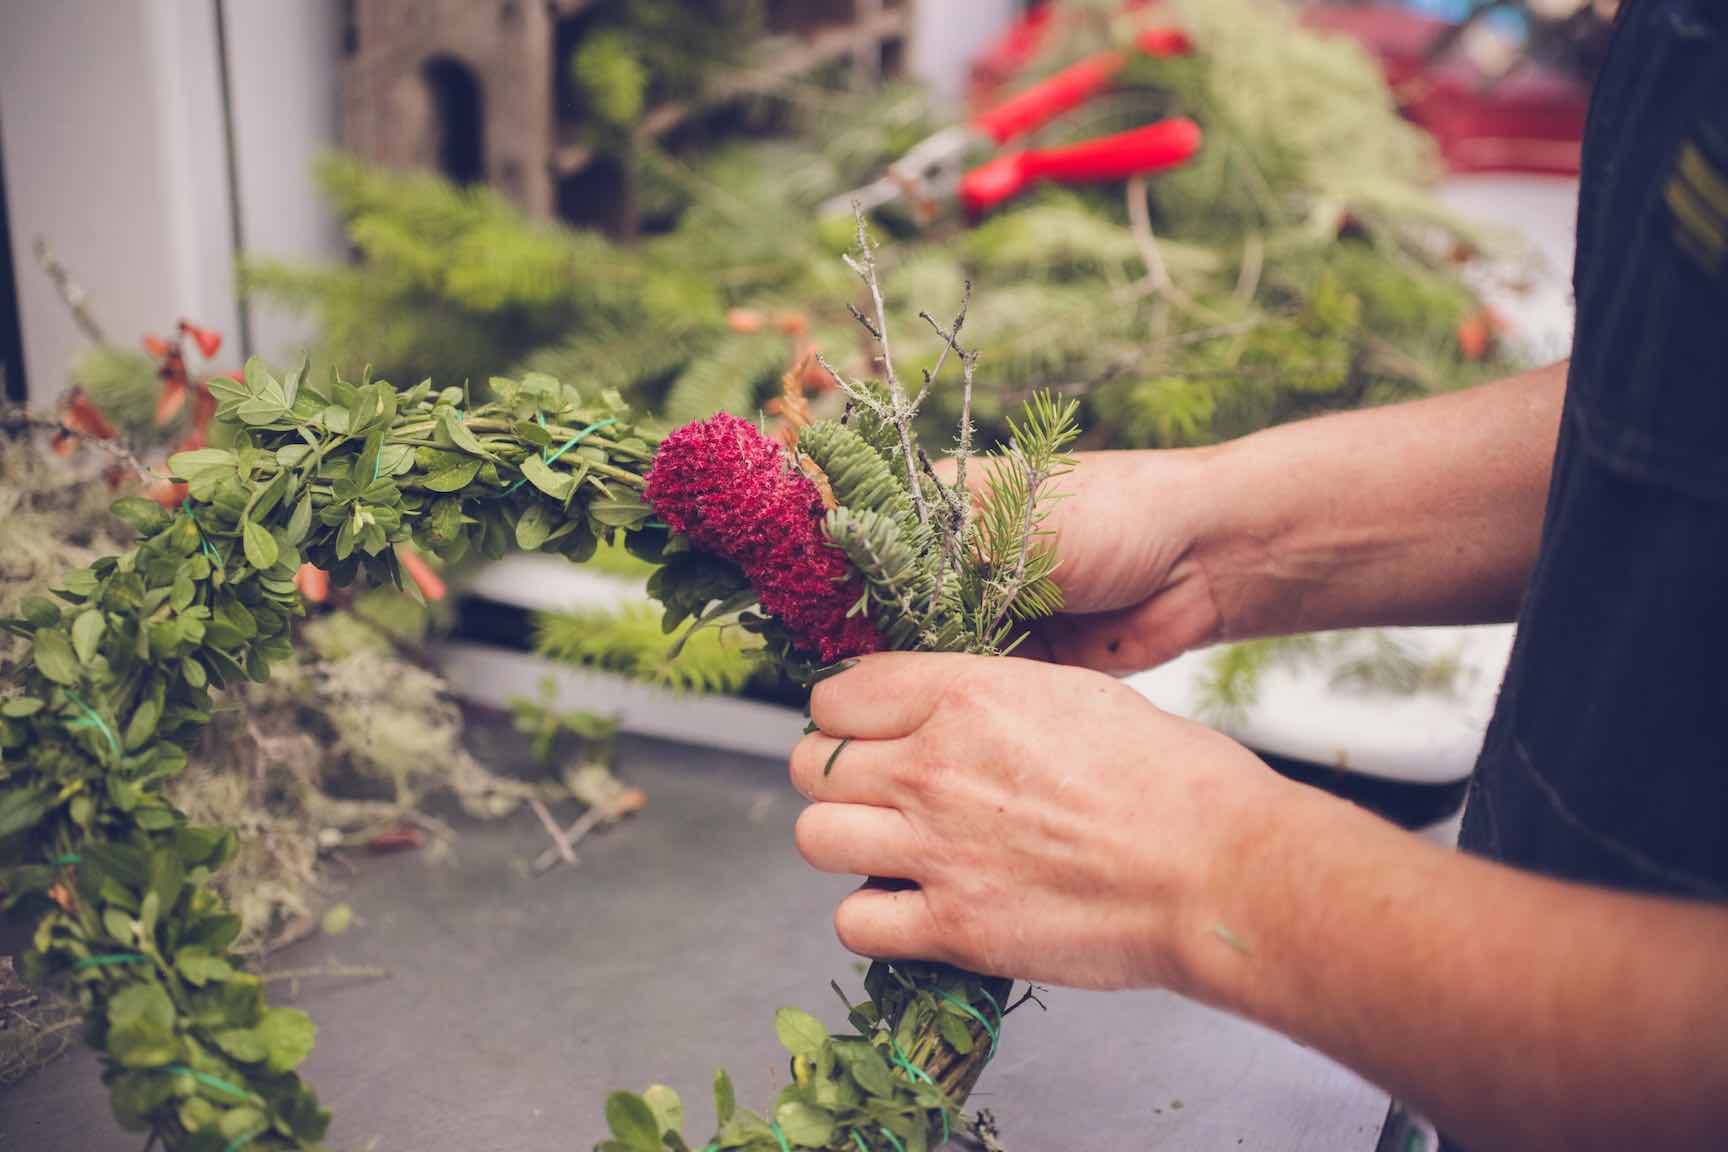
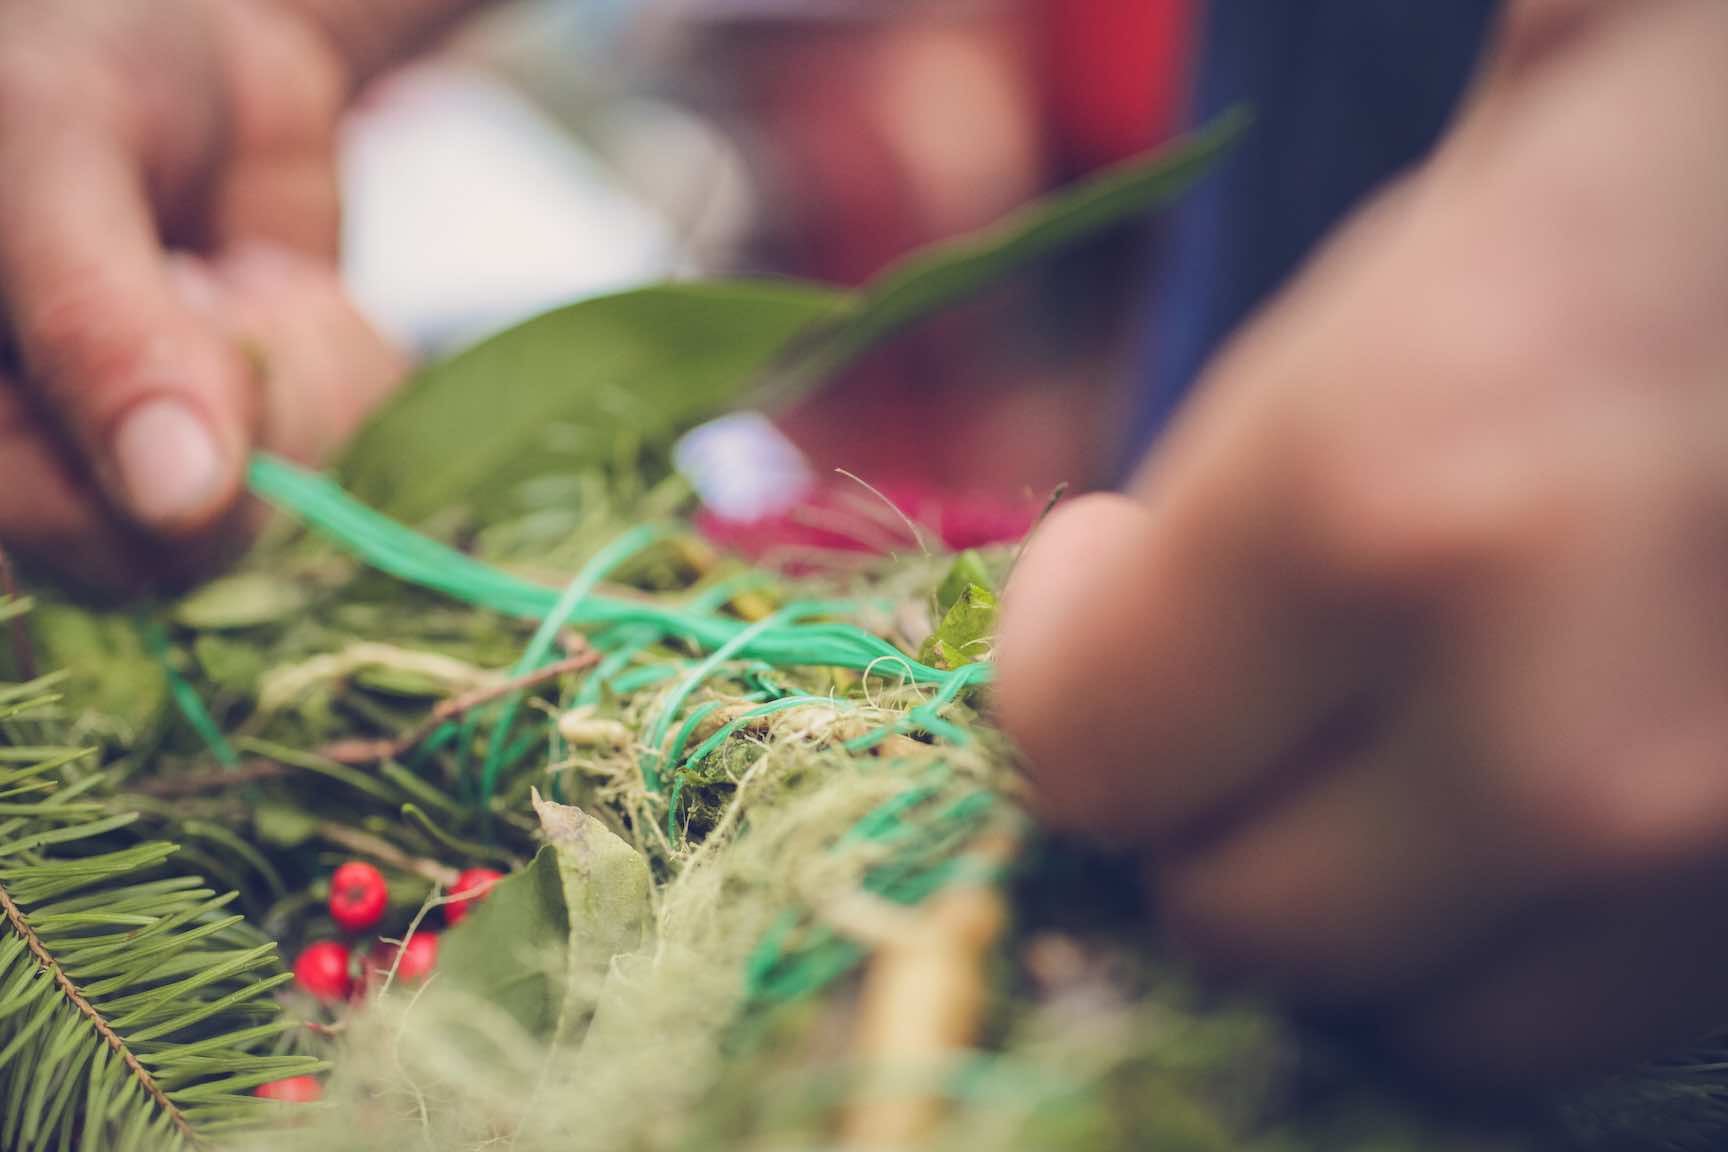
Wreaths have a direction; choose one and stick with it. Make another small bouquet, and place it on the stems of the first. Secure it with a wrap of wire, and repeat! And repeat. And repeat.

As the wreath takes shape, you may start to sense a rhythm, or a pattern in the design. Is it purely esthetic? Or is it a form of communion, with seasons and circles and plants and rituals? You be the judge.


Style Points
Don't use up all the good stuff before the wreath is finished; space your accent berries and branches evenly, but not rigidly.
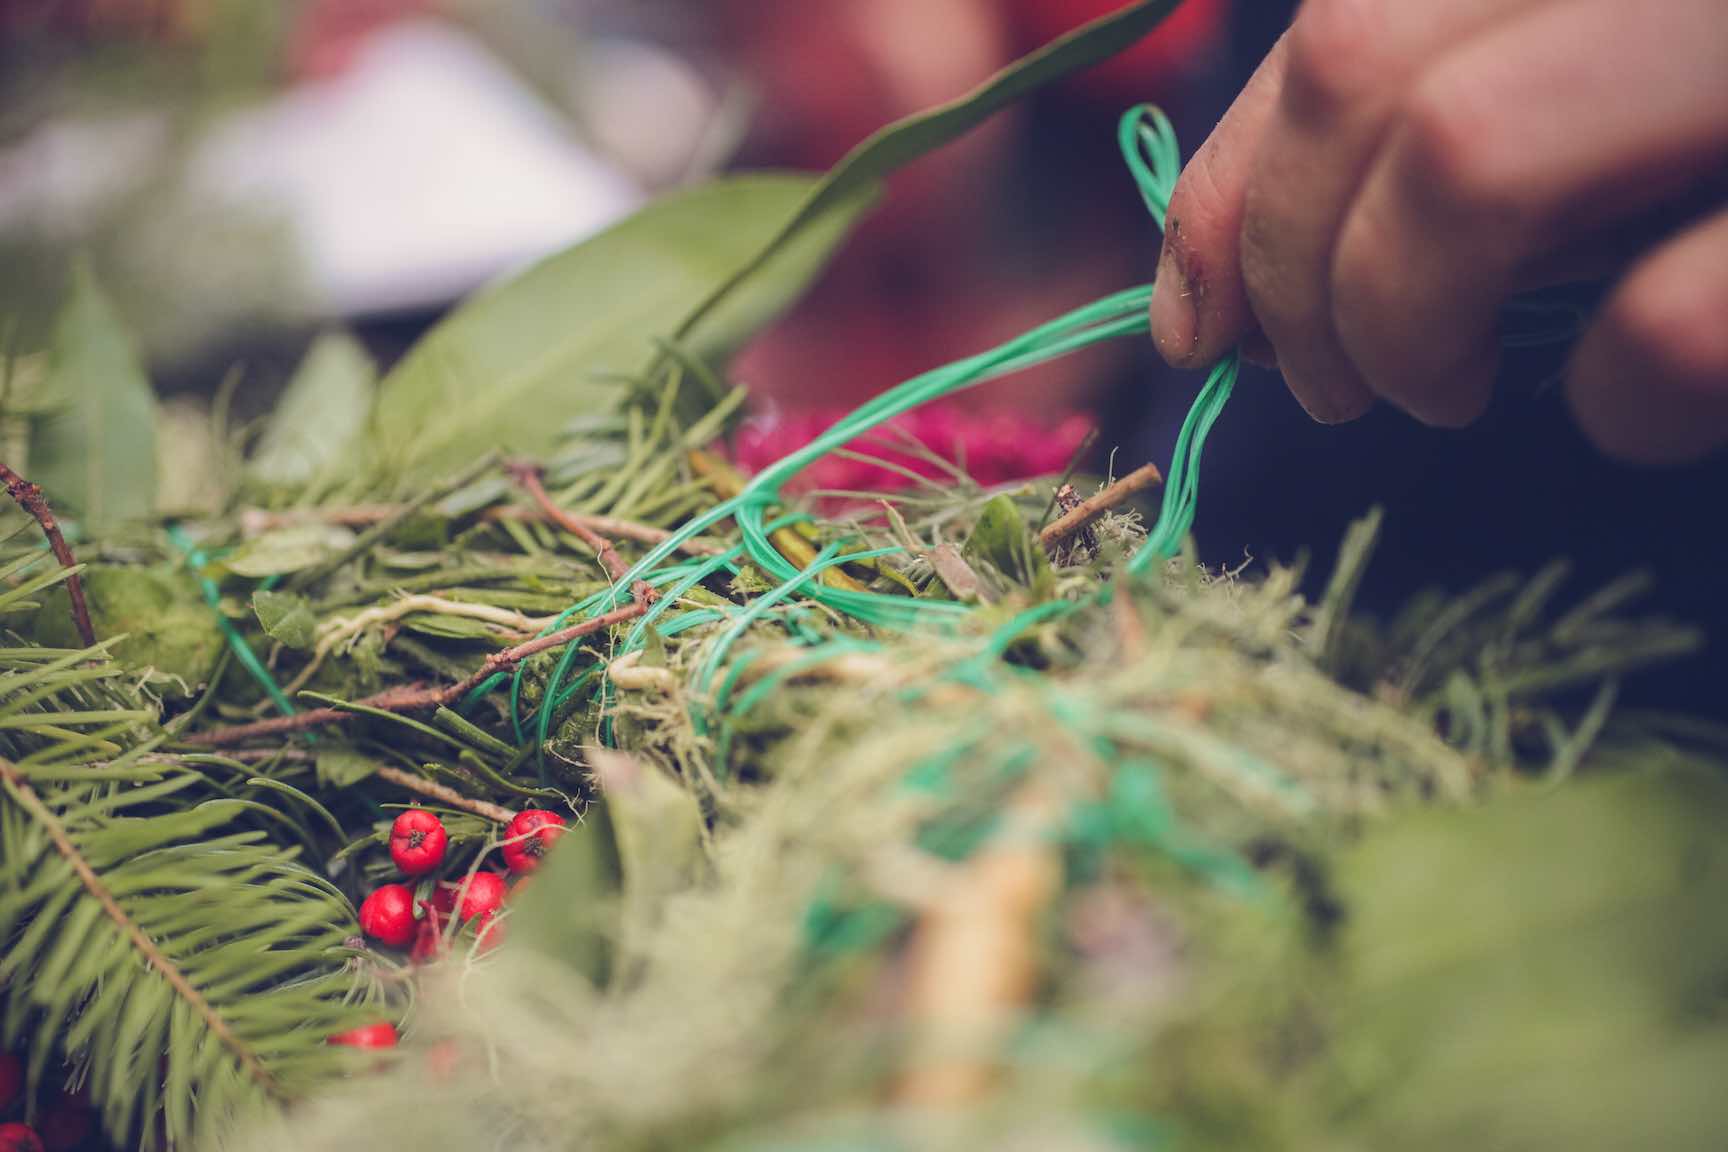
When you get to the end (or back to the beginning) there is some fancy wreath-work needed. Luckily, you're an old hand at this, by now. Make the final bouquet, and tuck its stem end under the first bouquet.

Wrap with wire as usual, and before tying it off, study the wreath. Maybe tuck a few more sprigs in here and there?
Hanging the Wreath
 Secure the wire using several twists around itself. Determine which is the top and bottom of your wreath. Make a loop to hang the wreath from. Like this!
Fold a 12" piece of wire in half and then in half again, making a super wire that's several strands thick.
Thread this through the base wire for about an inch, before bringing it back and securing it to itself with several firm twists. Hide any poky ends down in the wreath, so groping fingers encounter only smoooooth wire while trying to hang it up.

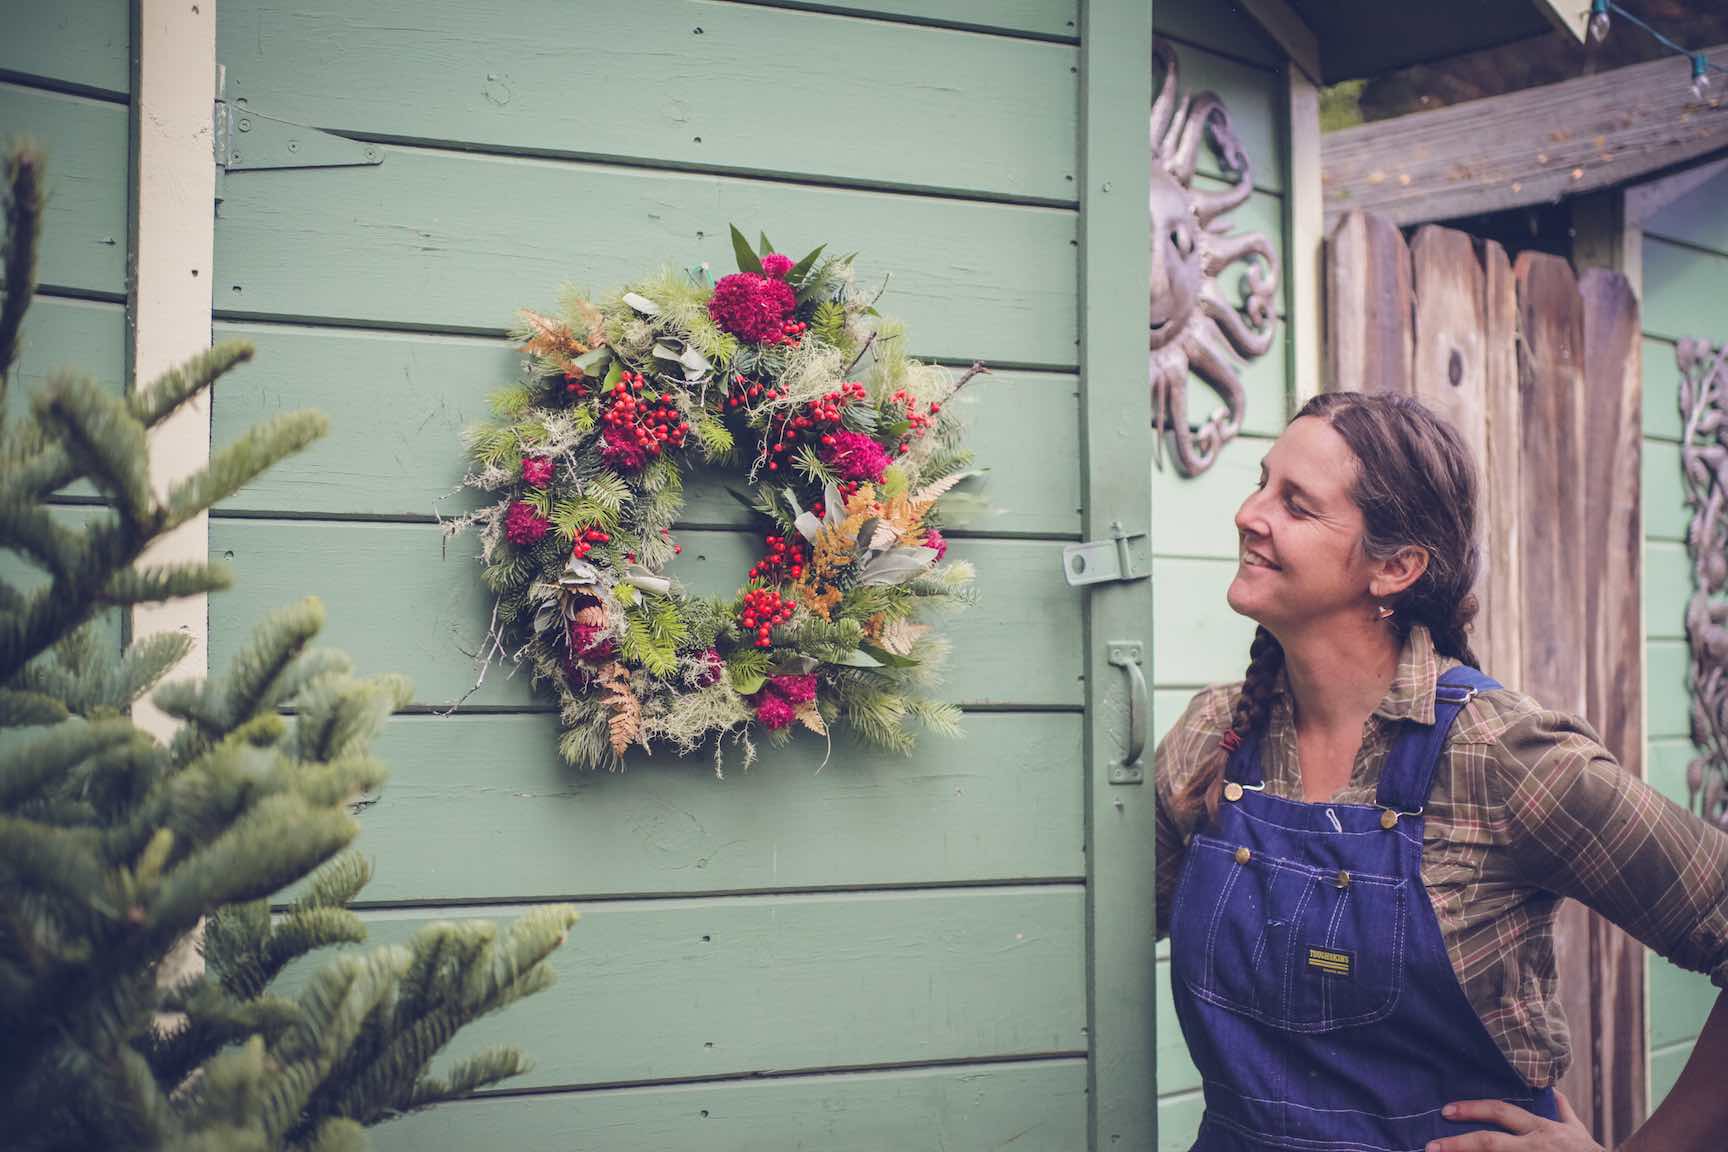
Hang it up!
Admire it!
Oh it looks so very seasonal.
Over to You
It’s part of our mission here at Mountain Feed to help you make delicious, sustainable, homemade food more often. Stop by and say hello on Facebook, Twitter, Instagram or Pinterest. Or, as always, you can do it the old fashioned way and come by the store to speak with one of our in-house experts.