- Continue Shopping
- Your Cart is Empty
Feta Cheese Recipe - Classic, Easy & Delicious
What You'll Need
Ingredients
- 1 gallon goat's milk
- 1/4 tsp Flora Danica culture. Any mesophilic culture can also be used to make feta
- (optional)1/4 tsp. lipase powder, strong or mild, dissolved in 3 tbs. cool, unchlorinated water
- (optional) 1/4 tsp. calcium chloride, diluted in 1/4 cup of cool, unchlorinated water
- 1/4 tsp. liquid rennet, diluted in 1/4 cup of cool, unchlorinated water
- 1-3 tbs. salt
Feta: The Gateway Cheese.
Feta is a nice bridge between soft cheeses, like chevre and ricotta, and hard cheeses, like cheddar or jack. Feta incorporates all of the techniques that are used in the hard cheeses, while also taking less time to make, and requiring less equipment to start with. While feta is considered a hard cheese, it is generally not pressed in a cheese press at the higher weights that are usual for the other hard cheeses; the weight of the curds as they drain in a sack of cheesecloth is sufficient to expel all the whey that is necessary.

When Do I Use Lipase? What Kind of Milk?
Feta was traditionally made from sheep and/ or goat's milk, although many commercially available cheeses are made from cow's milk today. While the finished texture is similar no matter what kind of milk is used, the flavor of a feta made from cow's milk can be milder than we are used to in a feta cheese unless lipase is added.
Usually lipase comes in a powder form, in mild and strong concentrations. Goat's milk has the enzyme lipase naturally present in it and so does not require the addition of lipase powder. If you are making this cheese from other types of milk you may want to add the lipase powder to more closely approximate the tangy flavor that we associate with this cheese.
If you are using goat's milk that has been pasteurized, the lipase enzyme will have been mainly destroyed in the process, so you will need to add lipase back into the milk to get the flavor benefits.
What About Adding Calcium Chloride?
Another optional ingredient for this cheese is CaCl, or calcium chloride. If the milk you are using has been pasteurized, you may want to add CaCl to create a firmer curd. The pasteurization process damages the milk proteins and decreases the amount of calcium in the milk, making the curds less able to knit together when rennet is added. Adding calcium chloride restores the calcium balance so that the curds can form strong bonds. This is less vital when making feta as opposed to some of the other hard cheeses, because it is not pressed under high pressure, but you will definitely see a difference in the finished texture of the cheese, with cheese that is deficient in calcium being more crumbly and softer.
Directions For Basic Feta
1) Sanitize Equipment & Prepare the Recipe
As in all cheesemaking, make sure that your kitchen and all your equipment is clean and sanitized. This means washing the pot and all the utensils that will come into contact with the cheese in soap and water, and then boiling a small amount of water in the bottom of the pot, with all the utensils inside it.The thermometer, knife, and spoon can all go into the pot and the steam from the boiling water will sanitize them. Let the utensils cook for 10 minutes, then remove them to lay on a clean kitchen towel until you are ready to use them.
2) Begin the Cooking Process
Heat the milk to 88 degrees farenheit. Really, anywhere between 86 and 90 degrees is an acceptable range for these mesophilic bacteria to do their work. Sprinkle the Flora Danica (or equivalent culture) onto the surface of the milk, and allow the cultures to rehydrate for 2 minutes before stirring them into the milk. Stir gently, in an up and down motion, for 2 minutes to ensure that the culture is properly mixed into the milk.
- If you plan to use lipase powder, now is the time to add that, too.
- If you plan to use calcium chloride, now is the time to add that, as well.
Cover the pot and allow the milk to ripen for an hour.

3) Add The Rennet
Stir in the diluted rennet solution, using an up and down motion, for a full minute.
4) Let it Set Until You See a Clean Break
Allow the curd to set for an hour, or until a clean break is achieved. A clean break is evident when the tip of a thermometer or a knife slices easily into the curd mass, leaving a clean, straight edge, or break, rather than a jagged tear.

5) Cut The Curd
Once a clean break is achieved, it is time to cut the curd. Using a sharp knife, cut the curd into 1/2" cubes. This is generally done using a knife that is longer than the milk is deep. A specially designed curd knife is perfect for this, as it is sharp on both sides and has a curved bottom that will not scratch the bottom of the pot and will glide easily through the curd.
To begin, place the knife 1/2" from the edge of the pot and draw it slowly through the curd, making sure to reach the bottom of the pot. Make slices every 1/2" across the pot, and then rotate the pot 90 degrees, to make slices that horizontally intersect the first cutting. Repeat the method of cutting every 1/2", until you have a pot full of tall rectangular slices in a grid.
Next, hold the knife at a 45 degree angle, and use the previously cut lines as a guide. retrace the cuts across the pot, while holding the knife at a slant. Repeat again, from the opposite side.
When you are done cutting, gently stir the curd so that the pieces float in the whey, and use the knife to cut any cubes that are too large. While it is not vital that each cube be the exact same size, you do want to have the curds be as close to the same size as possible, so that they lose whey at the same rate. Treat the curds as gently as possible, being careful not to stir too much. The curds at this stage are soft, with a texture something like a soft jelly. Stirring too vigorously will result in the loss of too much butterfat, altering the final texture of the cheese.
After cutting the curds, let it set for 10 minutes.

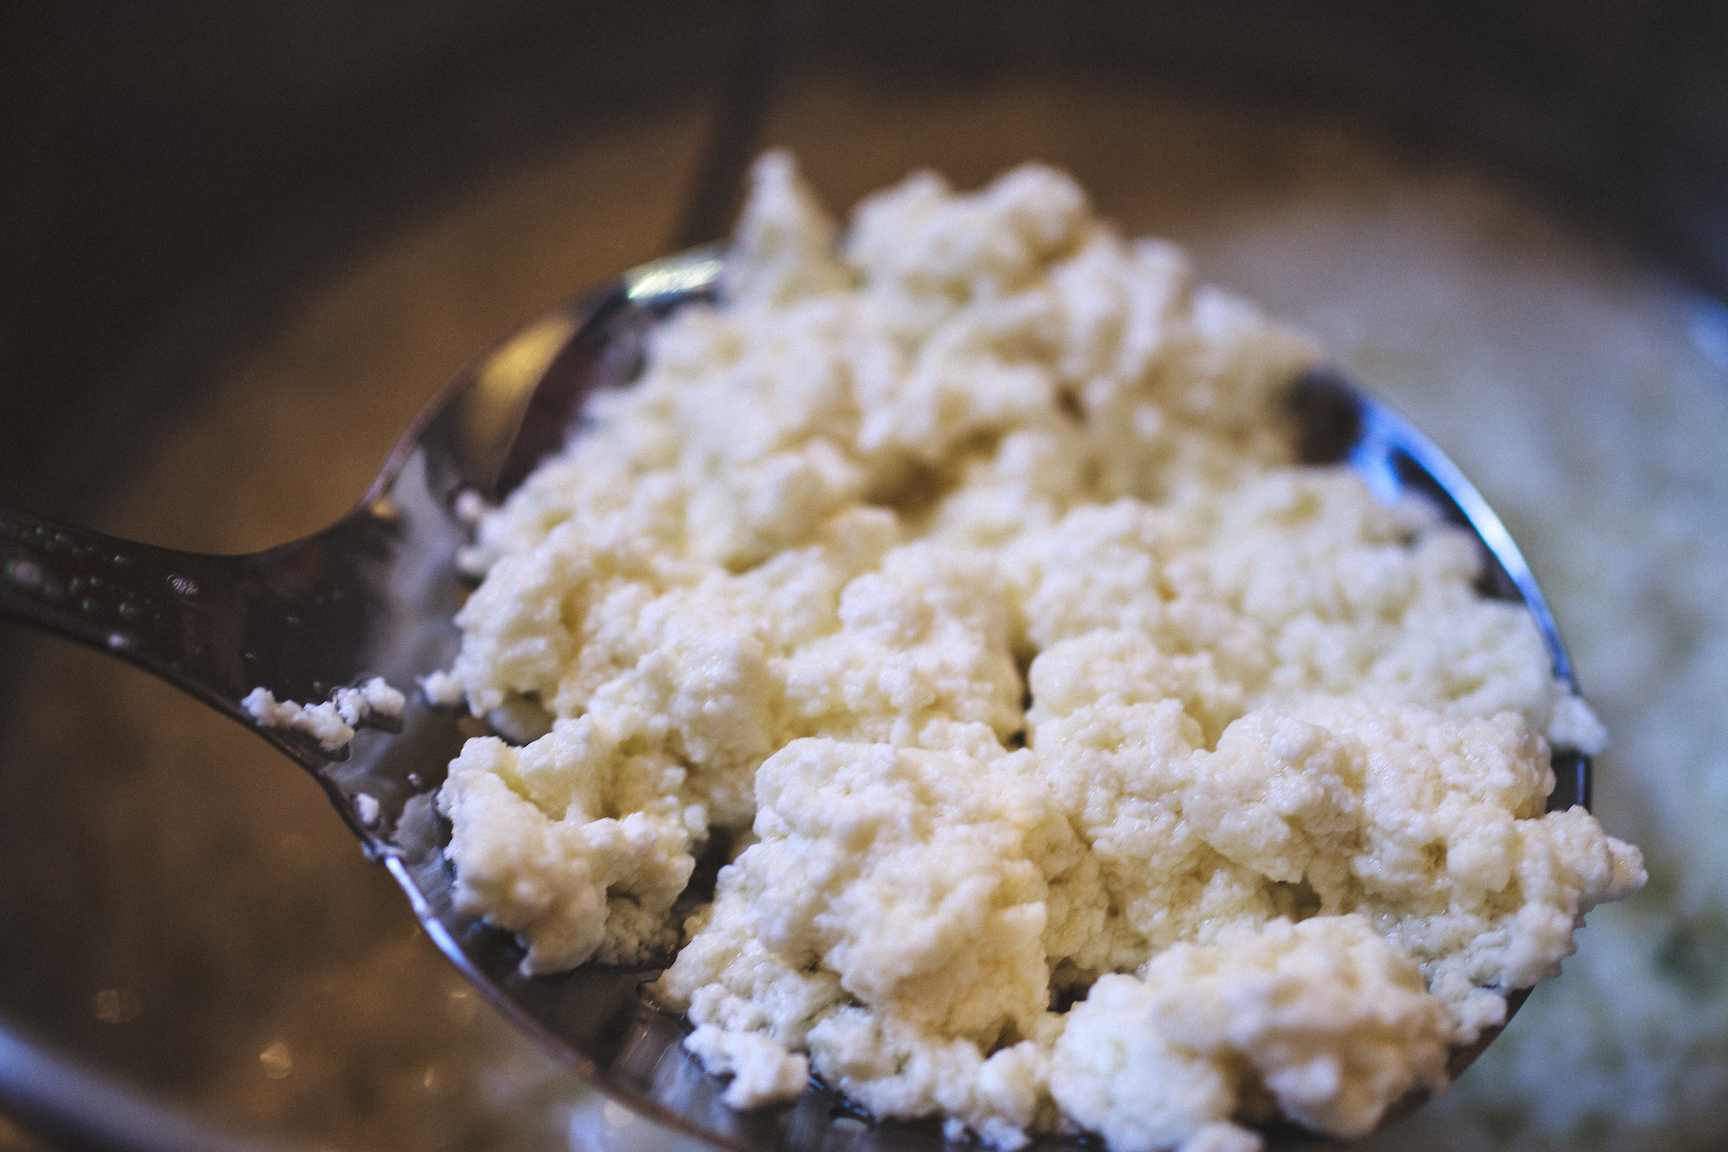
6) Drain & Hang the Curds
Stir the curds for 20 minutes to prevent matting. Pour the curds into a colander lined with cheesecloth, then tie the cheesecloth in a knot and hang it to drain for 6 hours.
7) Salt, Age & Enjoy
Take the drained curds down and cut them into slabs or cubes. Sprinkle salt over the surface of the cheese to taste. The salt will slowly equalize throughout the cheese over the course of several days. It is possible to eat it right away, however it is best after being aged in a covered bowl in the fridge for 4-5 days.
Over to You
You can find everything you need to make this recipe and get started on your own cheesemaking adventures in our Home Cheesemaking Department and the Homestead Library.
It’s part of our mission here at Mountain Feed to help you make delicious, sustainable, homemade food more often. Stop by and say hello on Facebook, Twitter, Instagram or Pinterest. Or, as always, you can do it the old fashioned way and come by the store to speak with one of our in-house experts.
Keeping a great journal leads to delicious results! Get inspired by new recipes, expert articles and homemade food adventures in our Monthly Journal.