- Continue Shopping
- Your Cart is Empty
Jam Making Basics - Homemade Jam Using a Water Bath Canner & The Hot Pack Method

What You'll Need
Equipment
- Our Must-Have List of Canning Supplies
- A non-reactive shallow pot or cooking vessel
- A food mill
- Stirring spoon
- Measuring cups and spoons
Ingredients
- Fresh Tasty Fruit
- Sugar
- Pectin
- An acid ingredient such as bottled citrus juice
- Any other ingredients your recipe calls for
This approach to jam making uses the water bath canning method for in-depth instruction. As always, make sure you are following all safety guidelines outlined by the USDA when canning anything.
Strawberries, raspberries, blackberries, blueberries and many other juicy summer fruits are showing up for sale at Farmer’s Markets and popping up in our gardens. Hmm…. we just can’t seem to get enough of those tasty, juicy treats. Especially for a little pick-me-up during those early afternoon yawns! Sometimes though, you just can’t seem to eat all the fresh berries that abound in the summer months… unless you want to get a serious case of the berry bellyaches! Making jam is one of the best ways to preserve this summer flavor, and be able to experience that wonderful fresh fruit taste all throughout the year.
Save Some Berries for the Winter
Recently we held a class on making jam here at Mountain Feed and I was surprised to find that many people have tried making jam before and had a hard time. Not to worry, it’s our mission here at Mountain Feed to give you the best knowledge and highest-quality equipment for successful homesteading. Everything is better when you set yourself up right!
So here are some fundamentals for making homemade jam using the water bath canning and hot-pack methods. This article is not a specific recipe, but gives a basic overview of common jam making fundamentals. Remember, always follow your recipe!

1) Choosing Your Jars
Choose the right canning jars for what you’re making. Always make sure you have proper new canning jar lids to ensure a good seal. If you are gifting the jam then you might choose smaller sizes or more decorative jars like the Weck Mini Tulip Jar. If you are keeping the jam for your own pantry, you might choose a more economical canning jar like the 8oz. Ball Jelly Jar.
2) Sugar - Always Follow The Recipe for Correct Gelling
Traditional jam recipes call for a LOT of sugar. You’ve been warned! Many of these recipes call for a fruit to sugar ratio of anywhere from 5:3 to 1:1. Sugar combined with acid activates the natural pectin in the fruit so, adjusting the amount of sugar can affect the gelling and result in disaster.
Stick to your recipe!

3) Pectin - to Add or Not to Add
There are a lot of choices when it comes to pectin. Classic Pectin, Liquid-Pectin and Instant Pectin (for freezer jams). Use the pectin that your recipe calls for. Don’t add pectin to non-pectin recipes or omit pectin from recipes that call for it. Again, you will almost certainly end up with undesirable results.
There are low-sugar or no-pectin jam recipes out there. The set of these jams is typically a bit softer and the ratio for these are 4:1. The no-sugar or low-sugar recipes require the fruit to be macerated for 24-36 hours and require a longer cook time so plan ahead for those recipes.
When using pectin, be sure not to cook the jam longer than one minute once you have added it. Cooking it longer will break down the pectin and you will not get the results you are hoping for. Using natural pectin like Pomona’s Universal Pectine, which is calcium-activated, can be a good option when a sugar-substitute or low-sugar jam is desired.
Again, it is very important to not overcook these recipes.
4) Now Let’s Make Some Jam - Prepare Your Equipment
Prepare your equipment by filling your water bath canner 1/2-2/3 full and start it heating on your burner. Select the number of canning jars you will need based on your recipe. Select jars free of cracks, defects or chips.
Wash the jars, lids and bands and all of your tools in hot, soapy water. Sterilize your jars by placing them in the hot canning water for 10 minutes above 185° F. Leave your jars in the hot canning water until you are ready to fill them so they remain sterile and hot. DO NOT BOIL your lids - wash them in hot soapy water instead. It is no longer safe to sterilize Ball canning jar lids in hot water before use.
5) Prepare your recipe.
Proper preparation makes for more delicious jam! Clean and cut up all of your fruits before you start cooking. Measure your sugar and/or pectin and lemon juice and place all of your ingredients out on the counter. You don’t want to be measuring or cutting during the cooking process. Adding ingredients at the wrong time or over cooking your jam can lead to a consistency that you weren’t expecting.
Follow your recipe to prepare the jam for cooking. This commonly involves adding some or all of your fruit and ingredients into your cooking vessel and preparing them to be cooked by mashing them with a potato masher or other utensil.
TIP: It is very important NOT to double recipes. Evaporation is your friend in jam making and more fruit=more liquid which results in a much longer cooking time. It is faster to make 2 smaller batches than double up on a recipe. Plus, you’ll get a fresher flavor from a shorter cooking time!
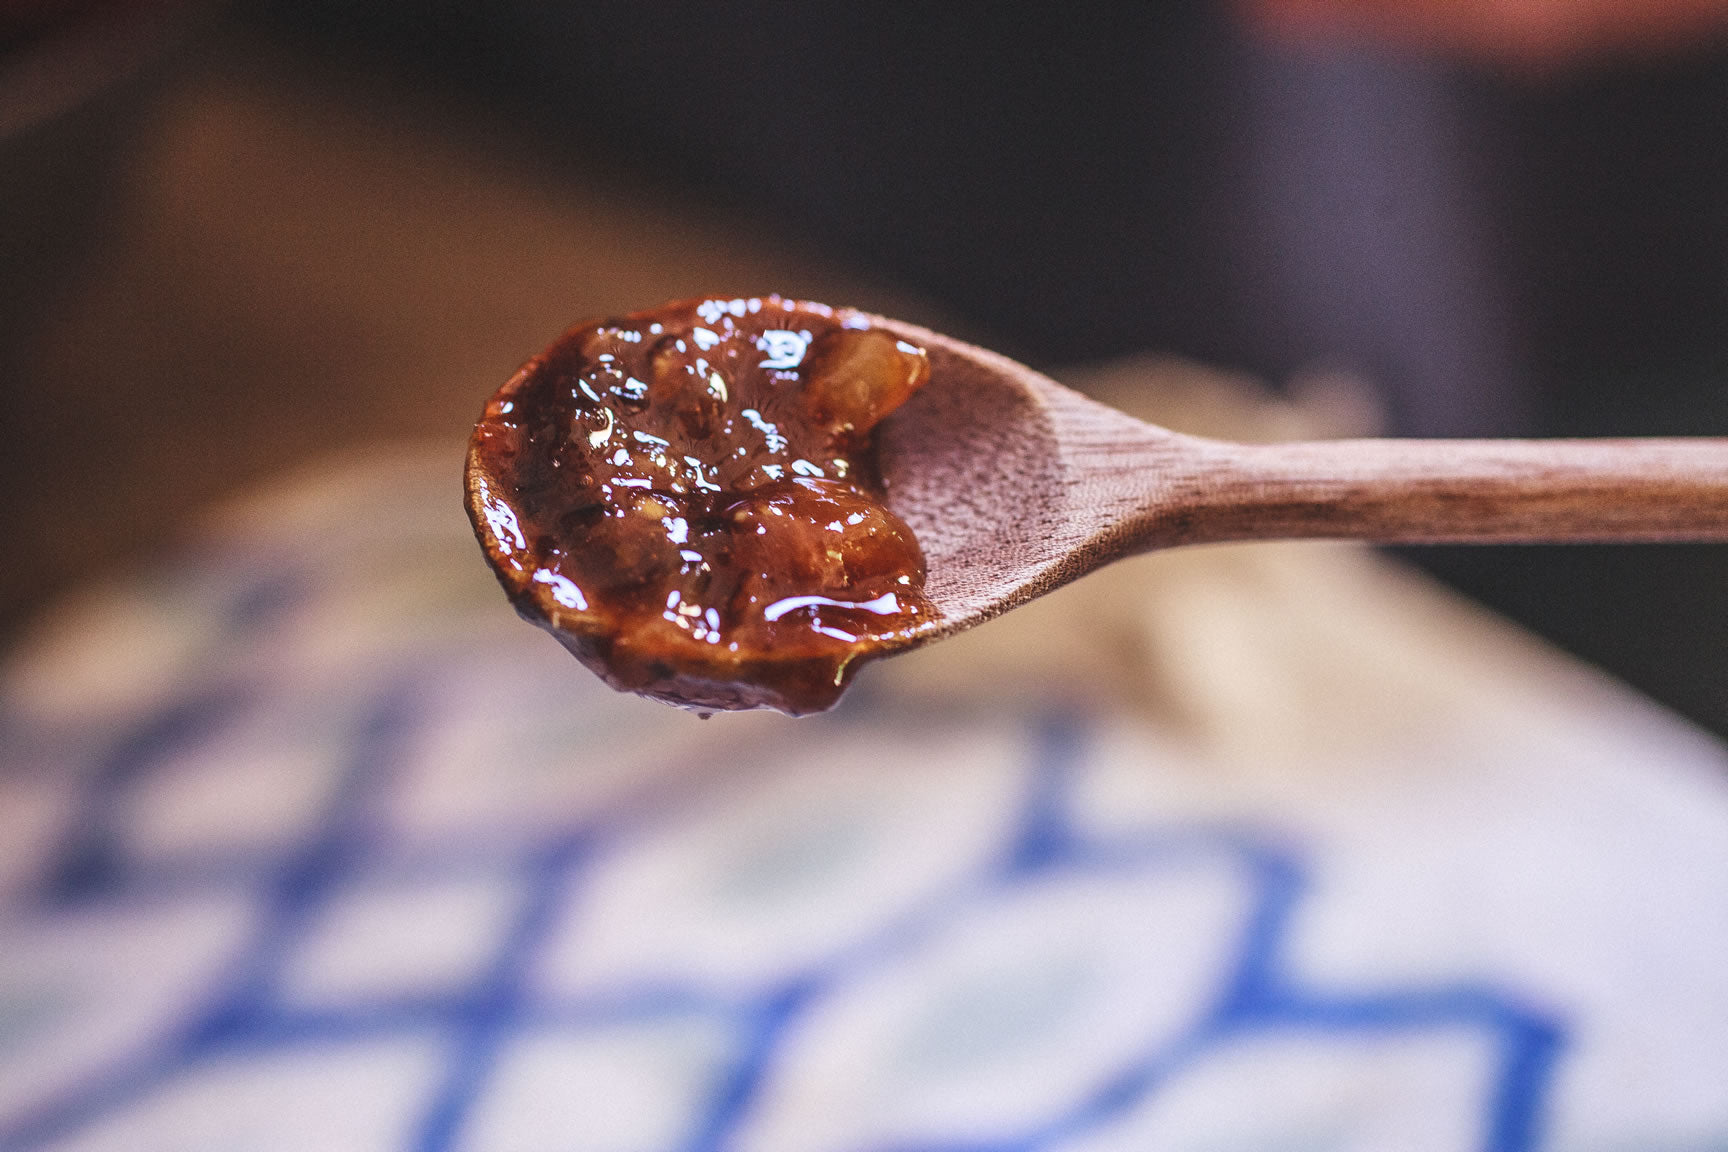
6) Cook Your Jam
Cook your jam according to your recipe, and always try to avoid burning your jam (this is why you prepared all of your ingredients ahead of time!) Wide, shallow pots offer quicker evaporation which is helpful in jam making. Stir your jam as often as is needed to avoid burning on the bottom of the pan.
7) Find the Perfect Set for Your Jam
You will quickly learn how firm you like your jams and can adjust your cooking times accordingly. Different fruits have different natural pectin levels so every recipe may set at a different time.
When making a jam recipe with pectin, the recipe is timed so you don’t need to worry about your setting time. For no-pectin recipes like my blackberry peach candied ginger jam, you will need to learn how to find your own setting time.
Not sure how to tell when your jam is perfectly set? Check out our FAQ, How Do I Know When My Jam is Set? 3 Go-To Methods.
When your jam is set, turn off the heat. Always follow your recipe!
8) Pack Your Canning Jars with the Hot-Pack Method
Once you know that your jam is properly set and you’ve removed it from the heat, you’ll want to fill your jars for processing using the hot-pack method.
Hot-pack is when you fill hot sterile jars (directly out of the hot canning water) with hot food such as your just-cooked jam. This method is preferred for canning most foods, especially foods that tend to shrink during the processing time. The hot pack method allows for a tighter pack. A tighter pack means less jars needed! Always remember to leave the appropriate headspace at the top of your jars, and often times you'll need to wipe the rim of your jars with a clean kitchen towel before placing the lids on. See the water bath canning video for more in-depth details on the hot-pack method.
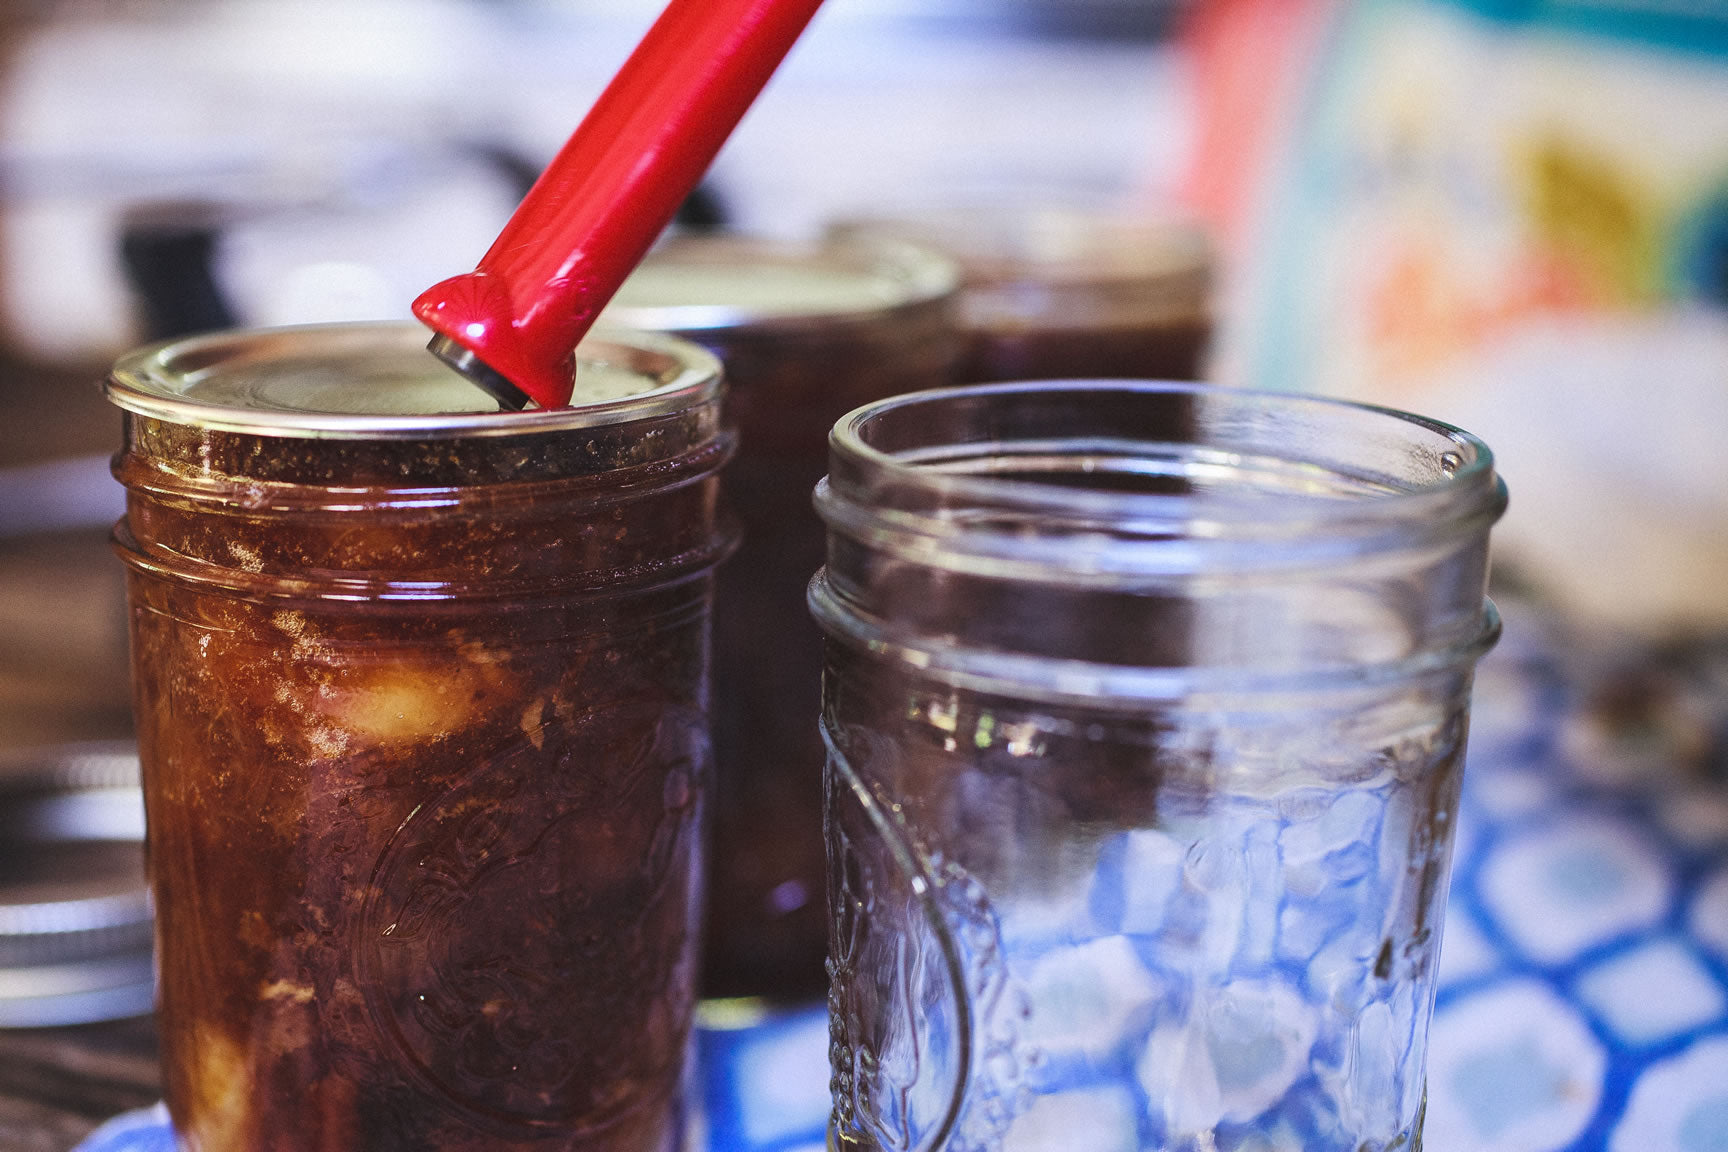
9) Process Your Jars in the Water Bath Canner
Place the packed jars of jam in your water bath canner with a jar lifter and process the jars in the canning water for the amount of time that your recipe instructs. When your jars are done processing, remove them from the canner with your jar lifter.
Place the jars on a kitchen towel or other buffer so as not to shock the hot jars by placing them on a cold surface. Once they've cooled down, you’re ready to store them in a cool, dry place until you're ready to start popping them open.

Over to You
The tips above outline the basic fundamentals for homemade jam that will delight family, friends and neighbors. Some common recipes you might want to look up include blackberry, boysenberry, olallieberry, strawberry and more. Check out my original recipe for Pectin-Free Peach & Blackberry Jam with Candied Ginger, a Mountain Feed favorite! I hope these jam making fundamentals will get you well on your way to your next batch of delicious homemade jam.
Of course, we are proud to offer you all the best home canning equipment listed above at the best prices in our Home Canning Department. See our Must-Have List of Home Canning Supplies to get off on the right foot.
It’s part of our mission here at Mountain Feed to help you make delicious, sustainable, homemade food more often. Stop by and say hello on Facebook, Twitter, Instagram or Pinterest. Or, as always, you can do it the old fashioned way and come by the store to speak with one of our in-house experts.
If you are not familiar with the water bath canning method watch our water bath canning video workshop. Always make sure you are following all safety guidelines outlined by the USDA when canning anything. Keeping a great journal leads to delicious results! Get inspired by new recipes, expert articles and homemade food adventures in our Monthly Journal.